Manual to Home with JobControl
|
The robot is in an unknown location and for some reason cannot move automatically to the home position.Follow this procedure to move the robot to the home position. |
|
First try to use normal to home function in the robot menu. This procedure should only be used in the exceptional case when the robot is not able to return to home automatically. |
1. Use following tools
|
|
|
|
2. Procedure
2.1. Set the robot to manual mode
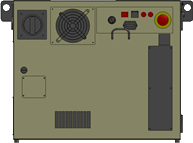
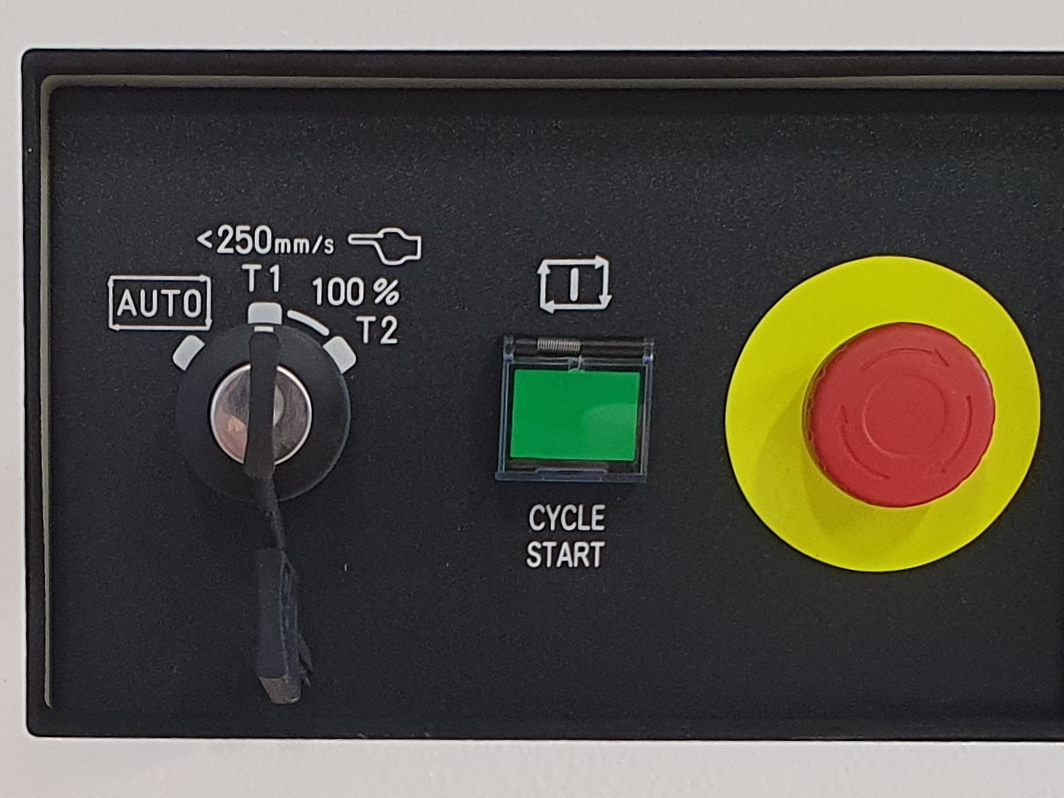
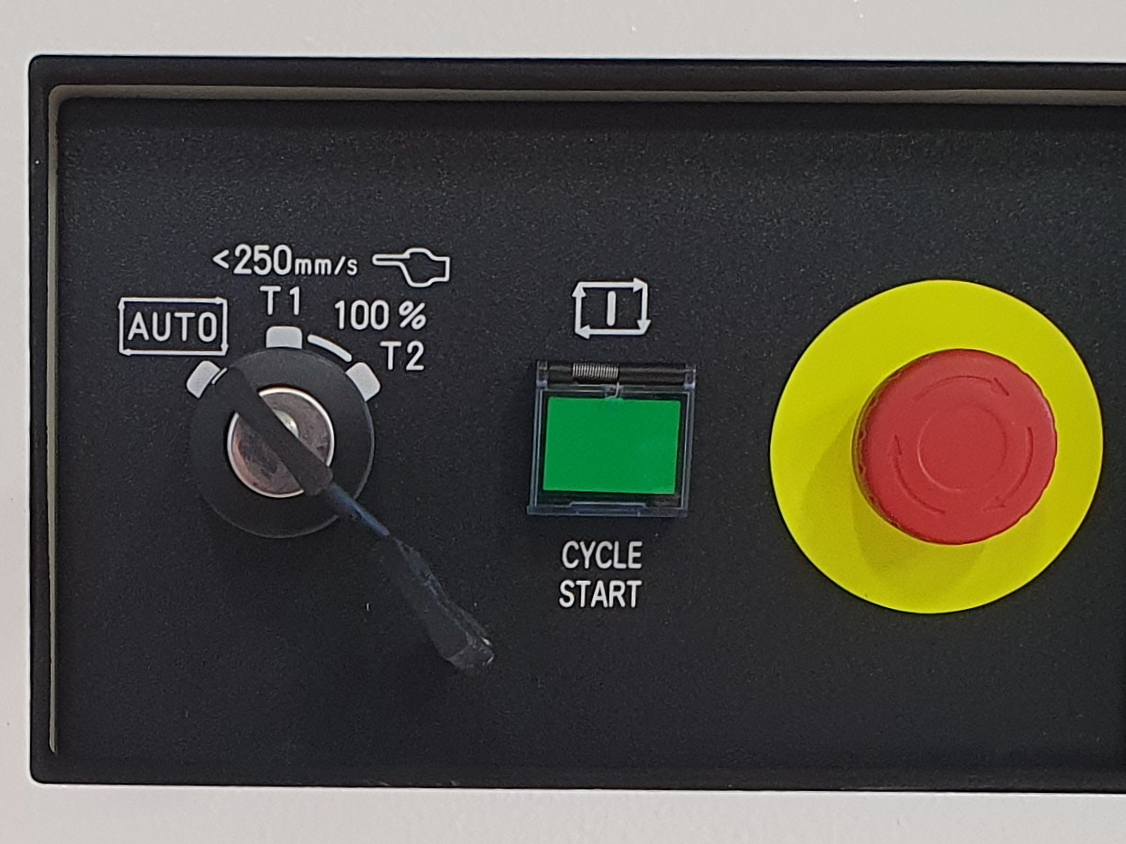
Put the three-position switch on the Robot Controller to T1.
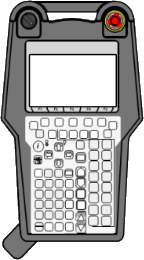
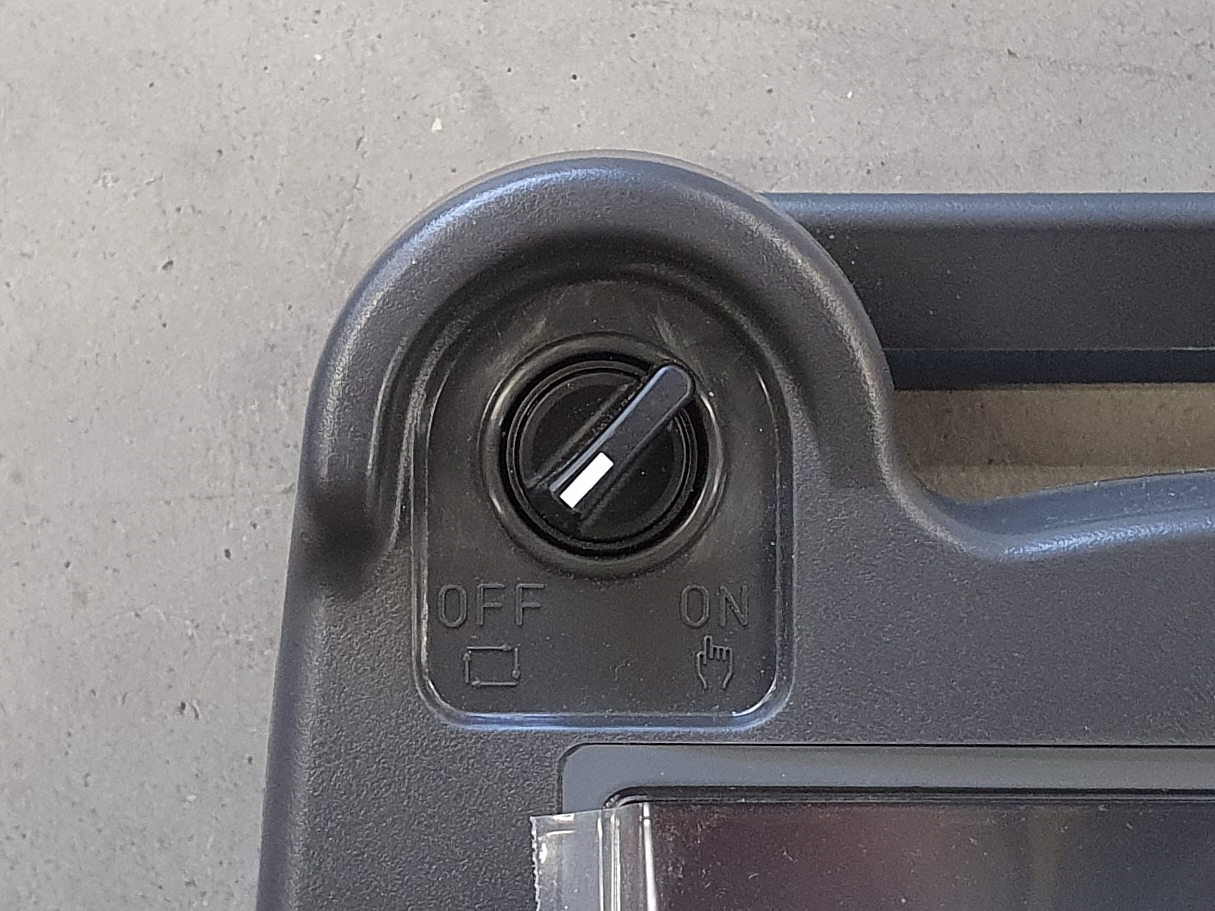
Put the two-position switch on the Teach Pendant to On.
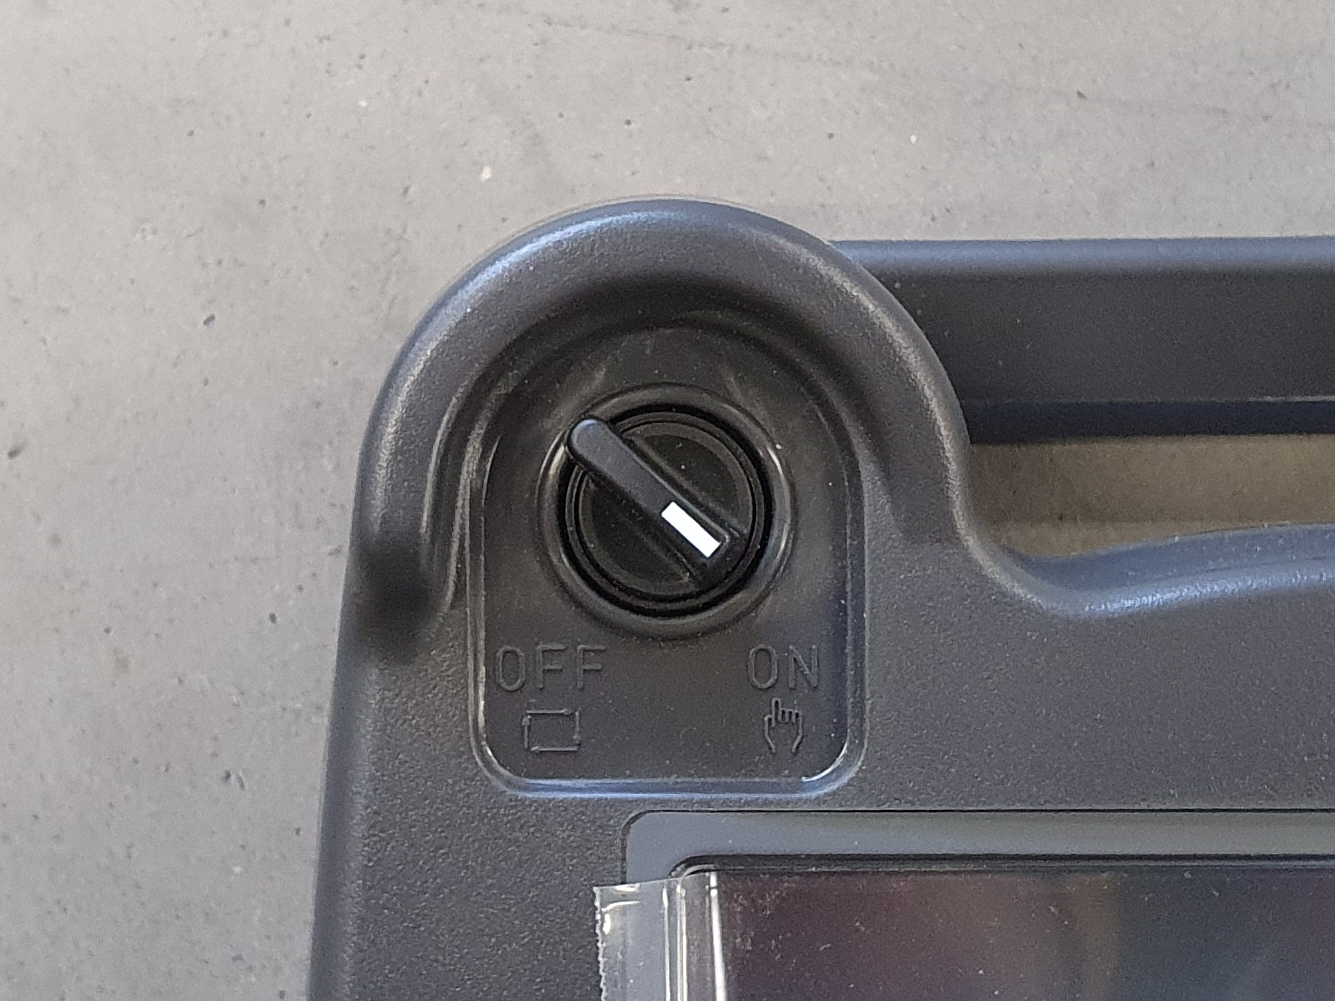
2.2. Enable manual movement
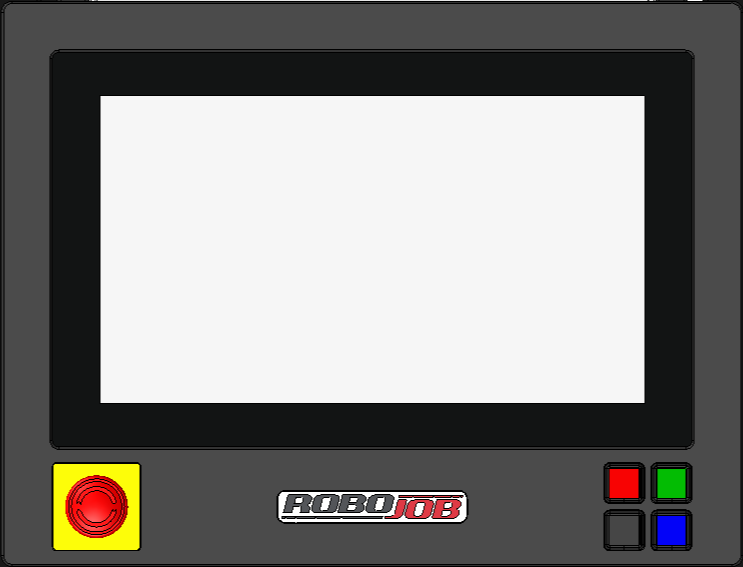
On the IPC, open the software and go to the Manual Robot Actions.
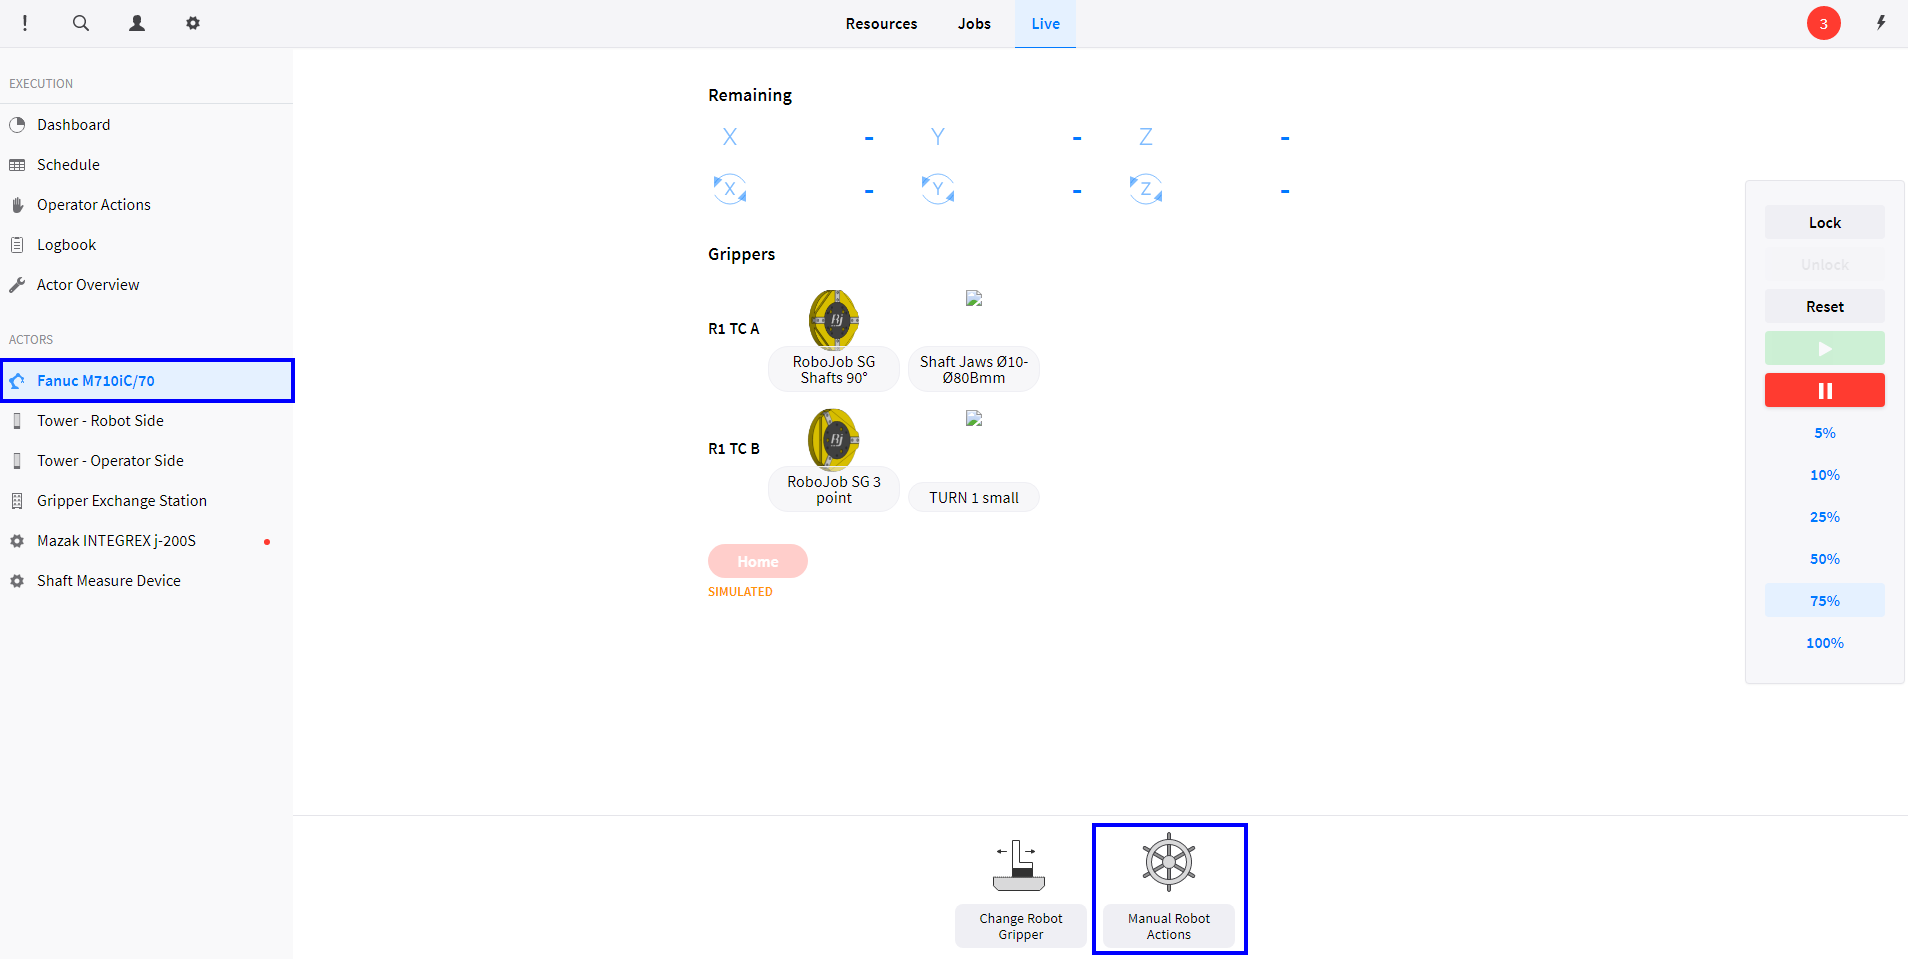
Lock the robot and click on Continue.
Click on the button 'Jog Robot' to move the robot manually.
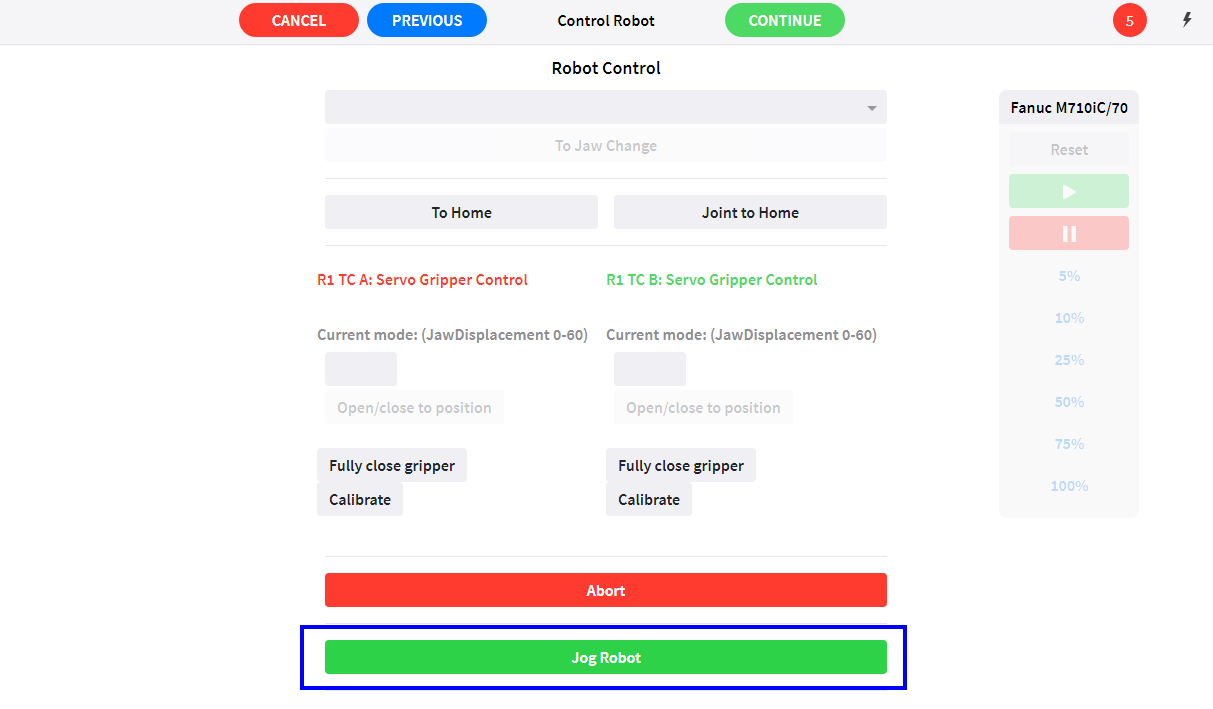
The robot can be moved manually while the popup is open.
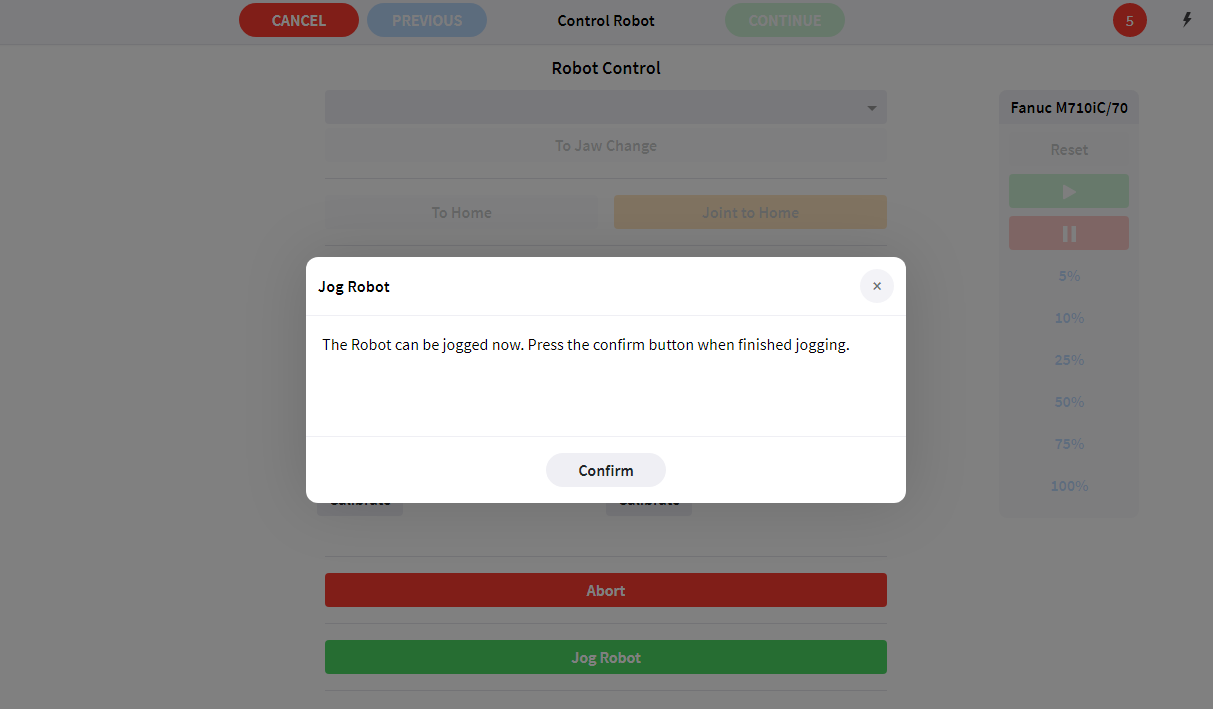
Note
If this button 'Jog Robot' is not present, please contact RoboJob for further assistence.
2.3. Reset all Faults
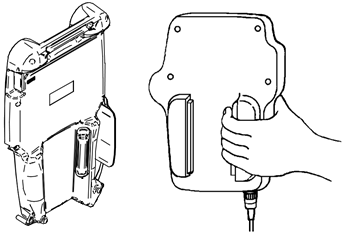
To move the robot in a safe way, one deadman switch on the back of the Teach Pendant must be in the safe middle position.
Both deadman switches have 3 positions:
-
Not pressed
-
Safe middle position
-
Fully pressed
Try if you can feel the three positions.To be able to reset the error and move the robot, only one of the two deadman switches has to be in the safe middle position.So don’t push too hard or too soft!
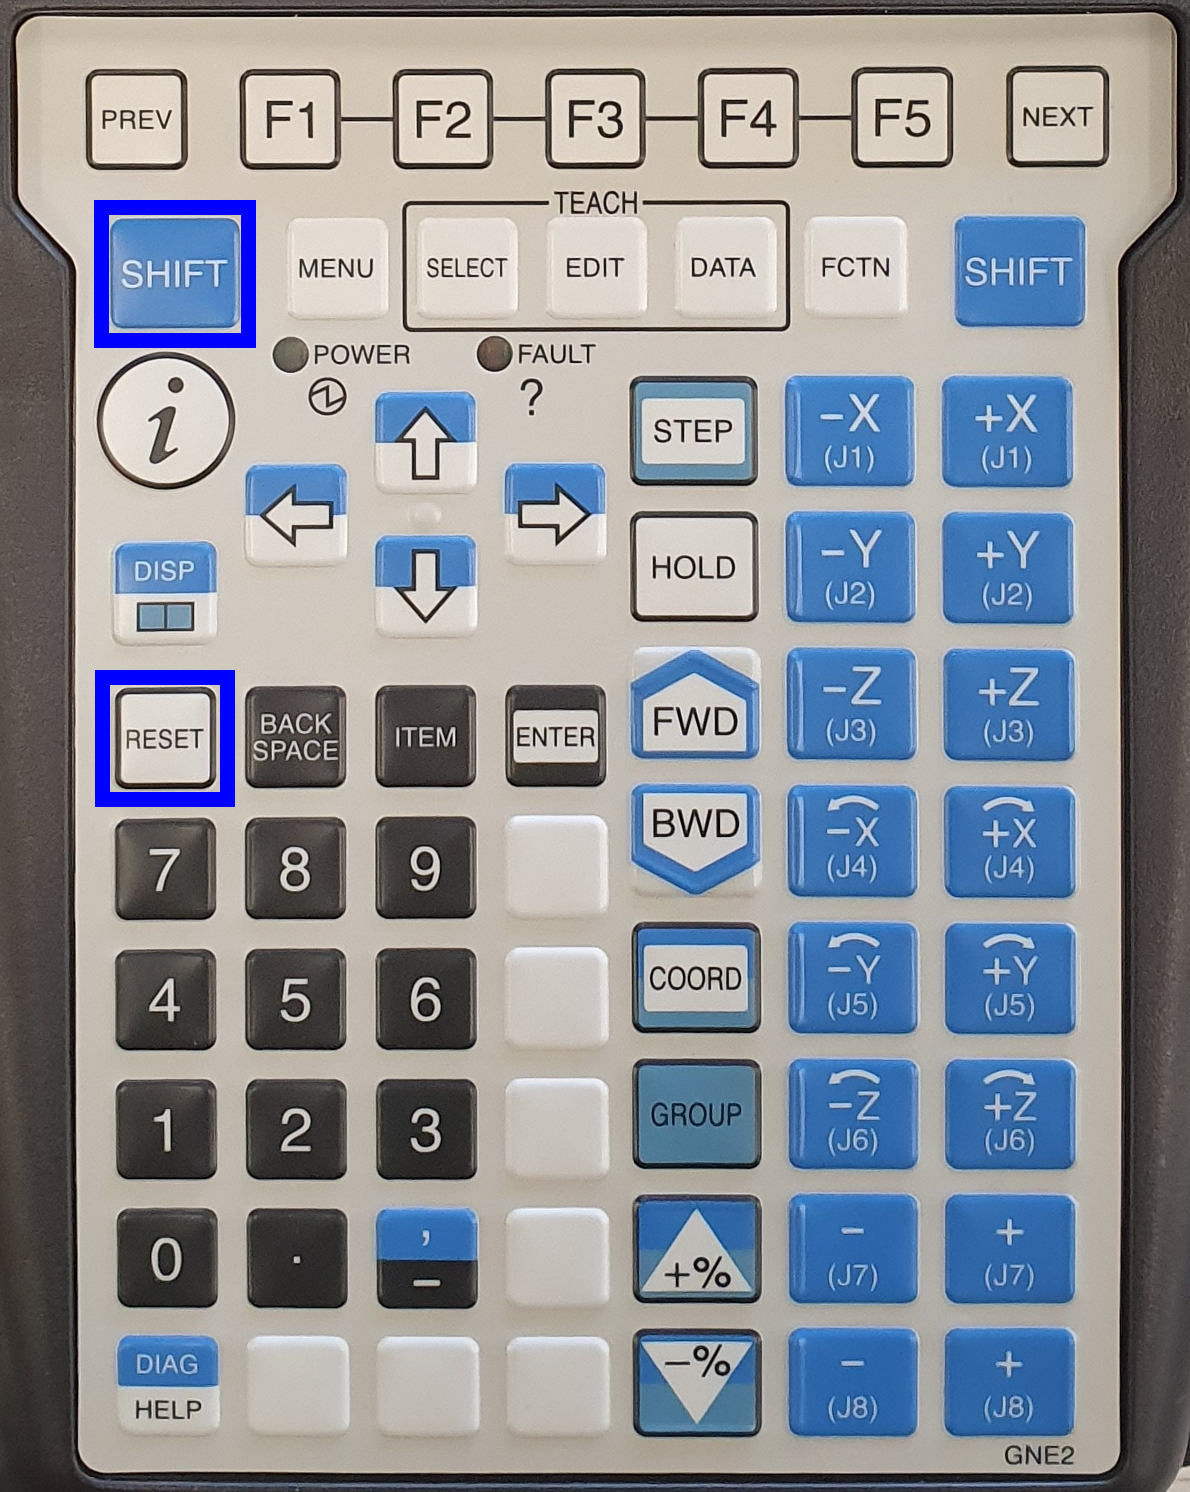
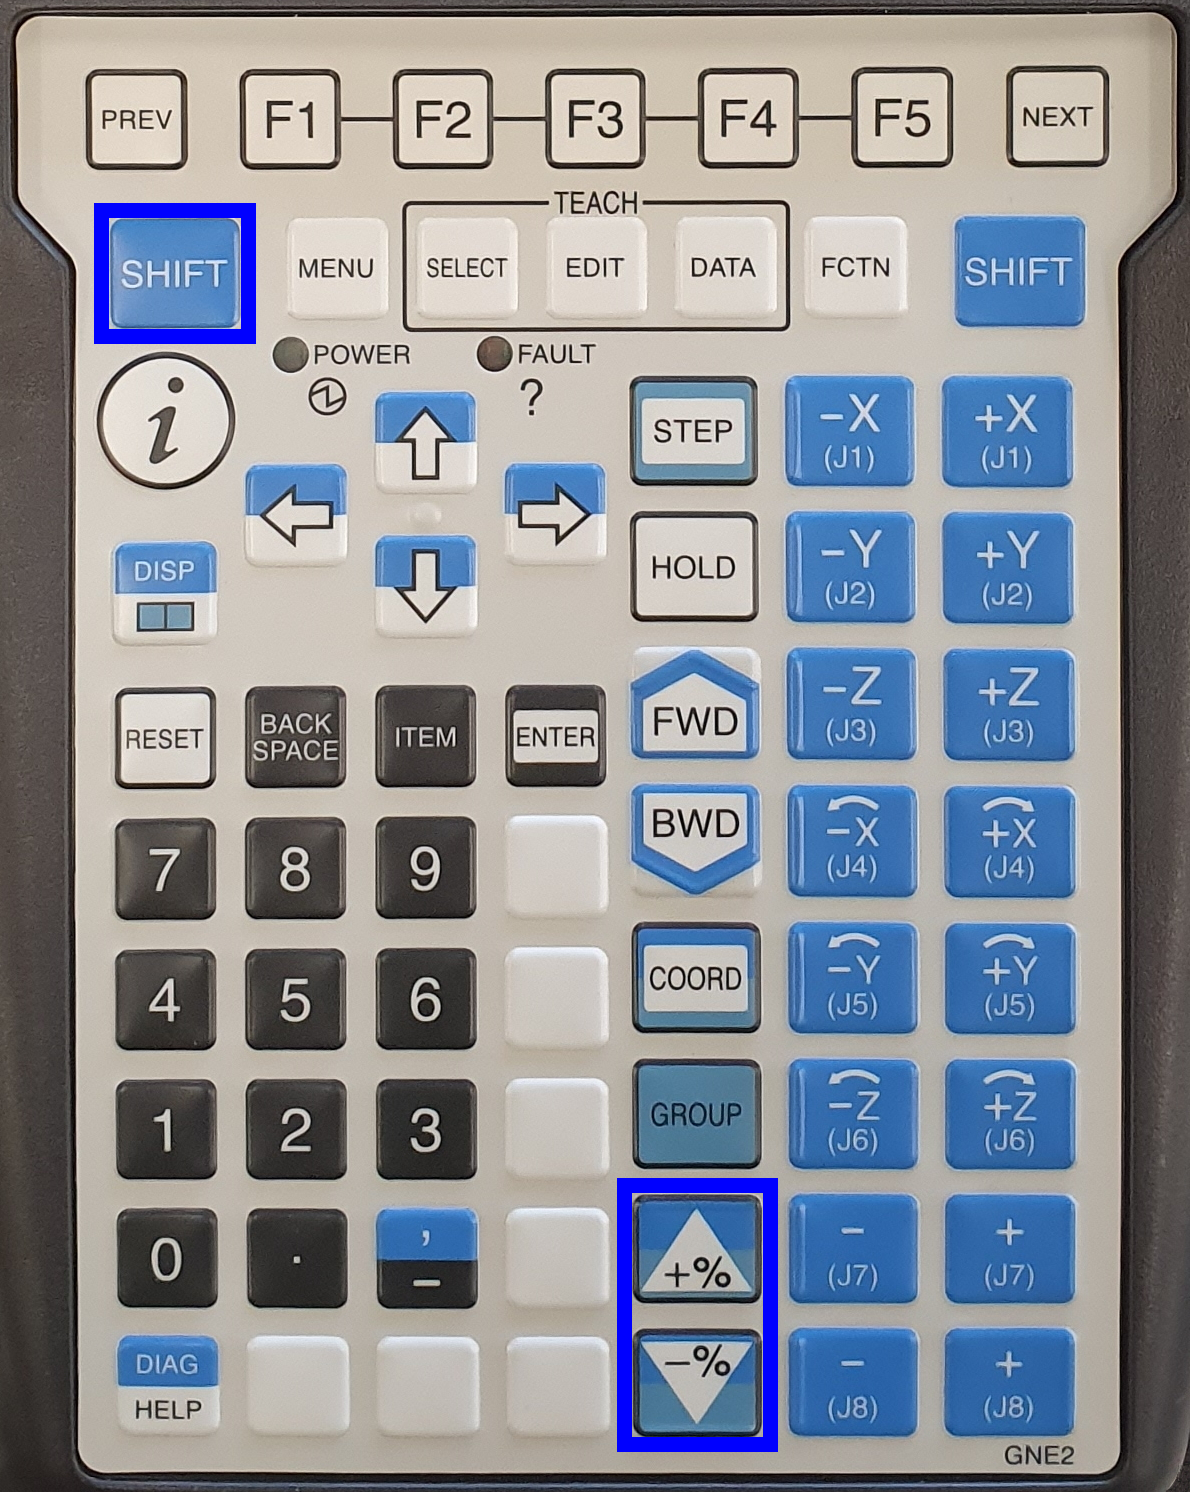
Press the SHIFT button together with the RESET button to clear all faults.
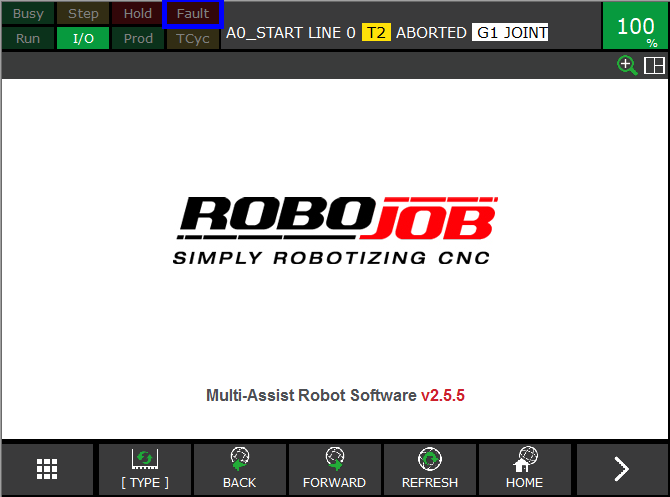
The fault indicator on the top of the teach pendant should become inactive.
2.4. Set the motion group to 1
Depending on the version of the robot, the 'Group' needs to be set to 1.Group 1 will move the robot, groups 2 and 3 will move the tables. If your robot is equiped with a servo gripper, groups 2 and 3 are used for gripper A and B respectively.
To check if the group is set to one press SHIFT + COORD (at the same time), a small window will pop up in the upper right corner of the screen.Press the down arrow until 'group' is highlighted.
|
If you don’t see Group in this menu, press the PREV button to exit the menu and go to the next step.The tool, jog and user numbers on your screen might be different than on the pictures below, this is okay. |
When standing on group (highlighted in blue) press on the button '1' and press ENTER.The little menu will disappear.
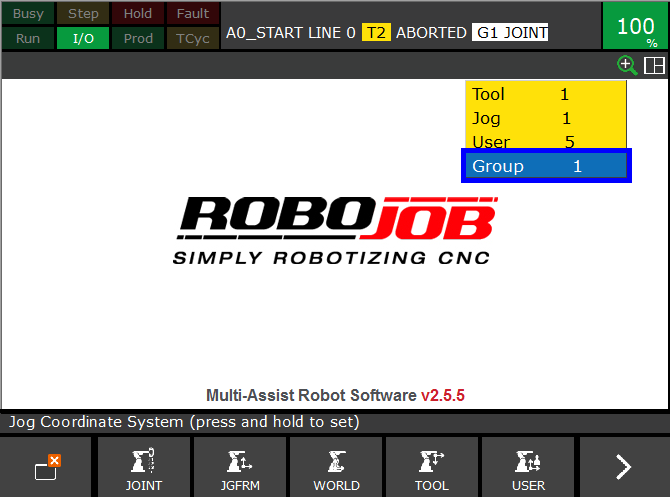
Now you are able to move the robot.
2.5. Move the robot manually
|
Make sure that the robot doesn’t hit anything during the movement.Watch out for other people, surrounding machines, other objects and the robot itself.Make sure the dress out cables around the robot don’t get damaged. |
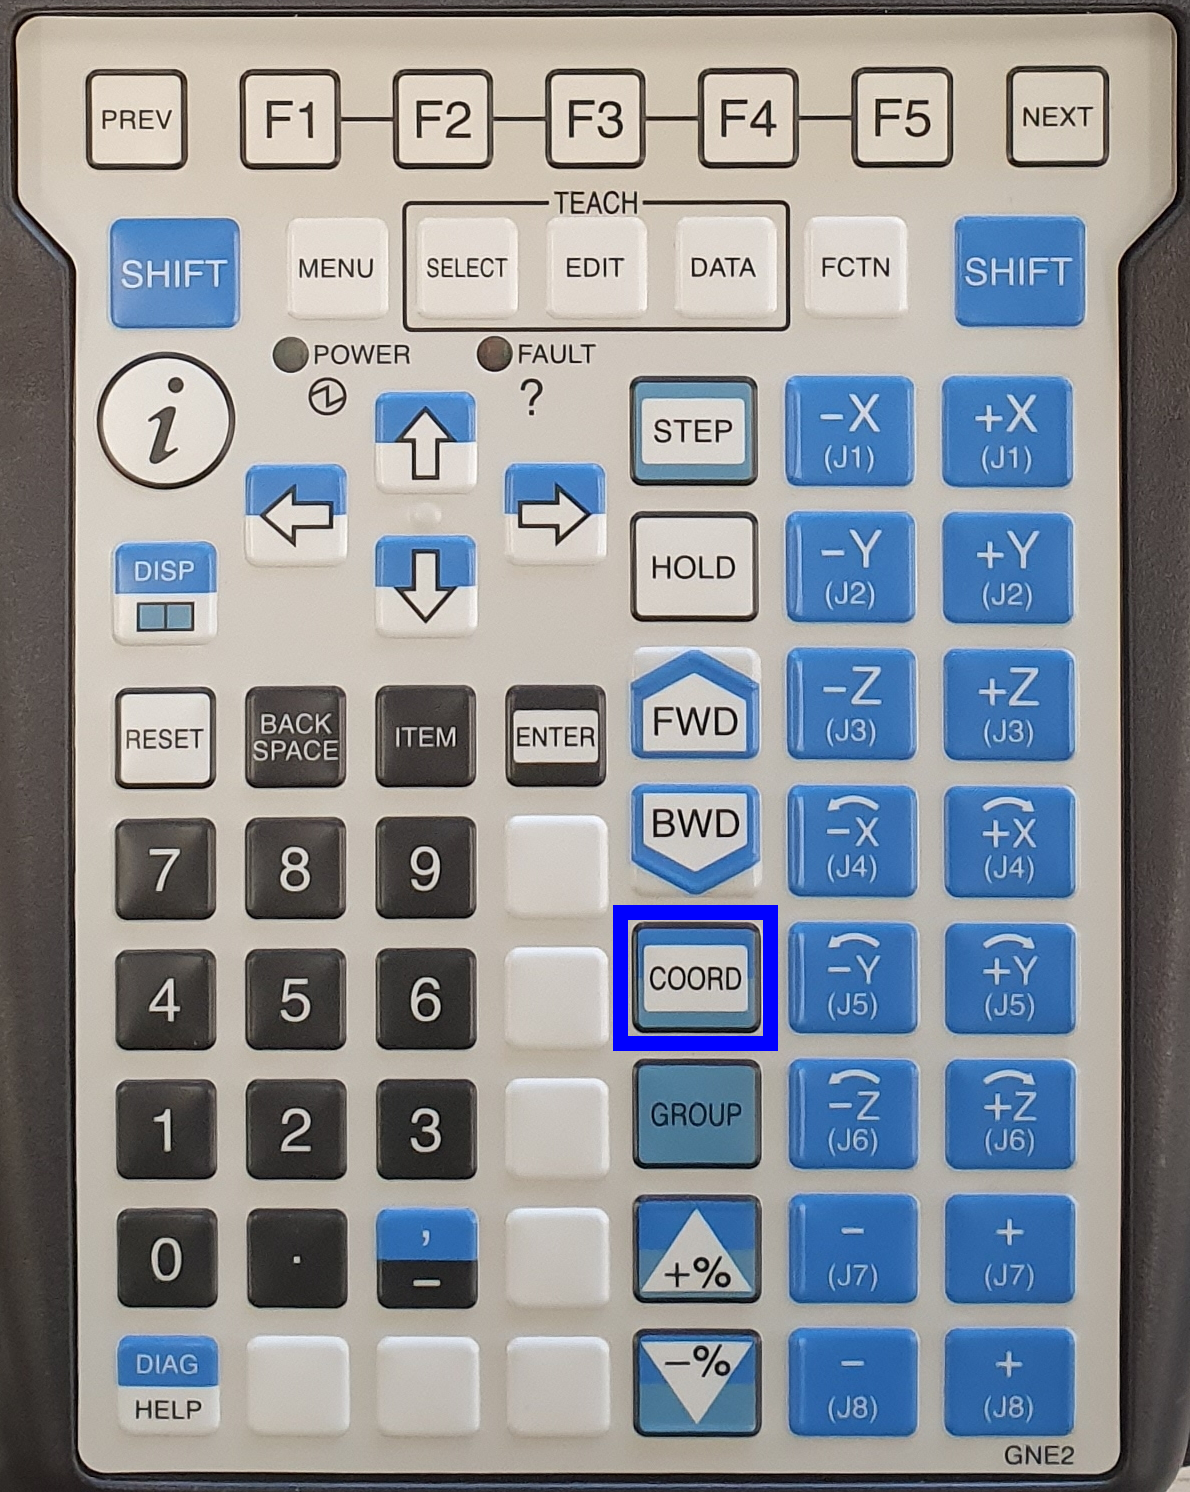
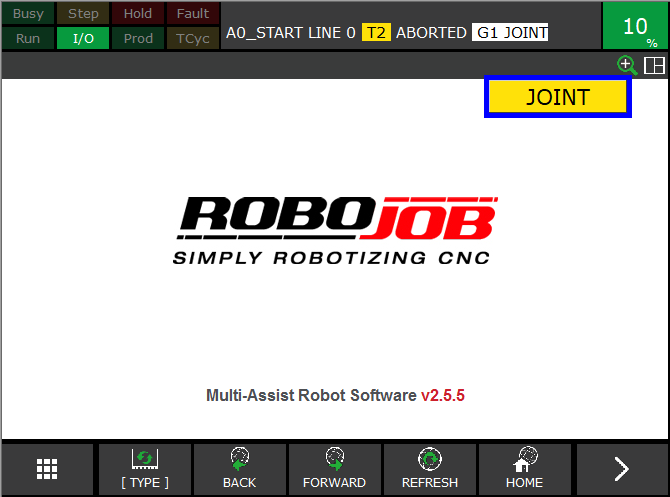
Press COORD to change the way of moving.Keep pressing until JOINT is selected.The JOINT movement mode is the easiest to work with.You can move the joints one by one.
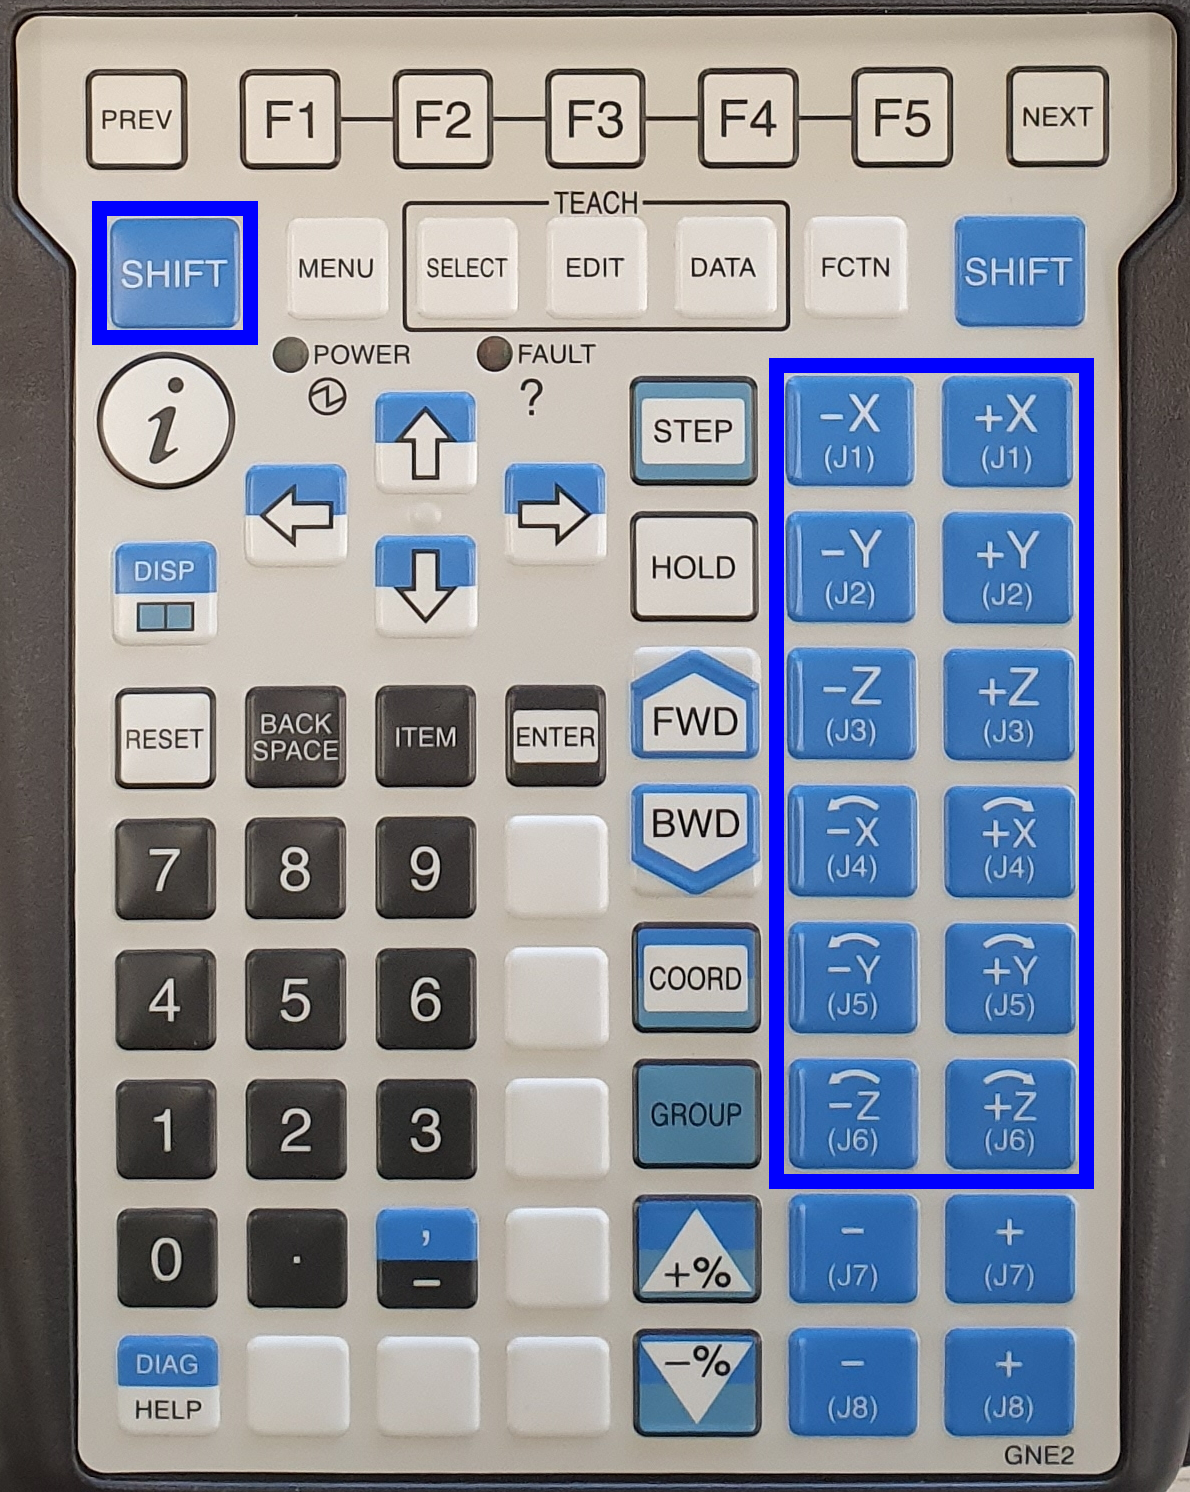
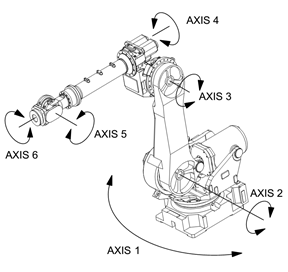
Press SHIFT + ±J1-8 to move the robot.
Press SHIFT + +% or -% to adjust the speed.
2.6. Joint to home
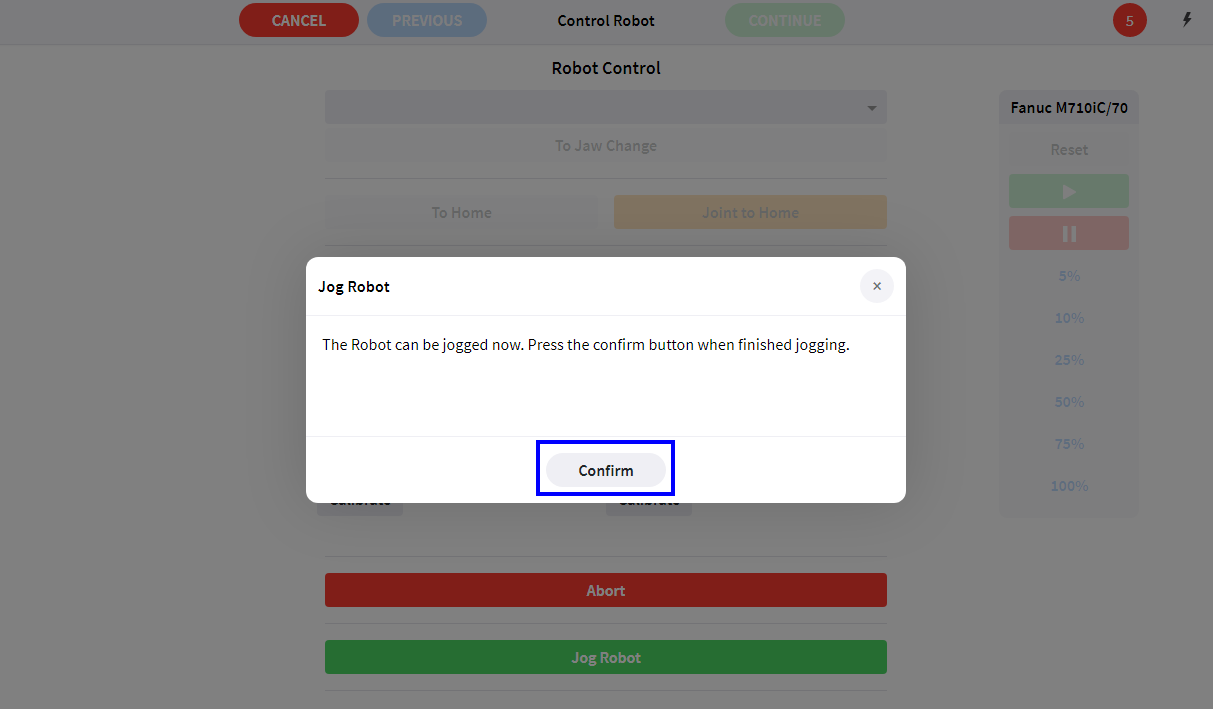
Exit the dialog by pressing Confirm to stop moving manually when it is close to the home position.
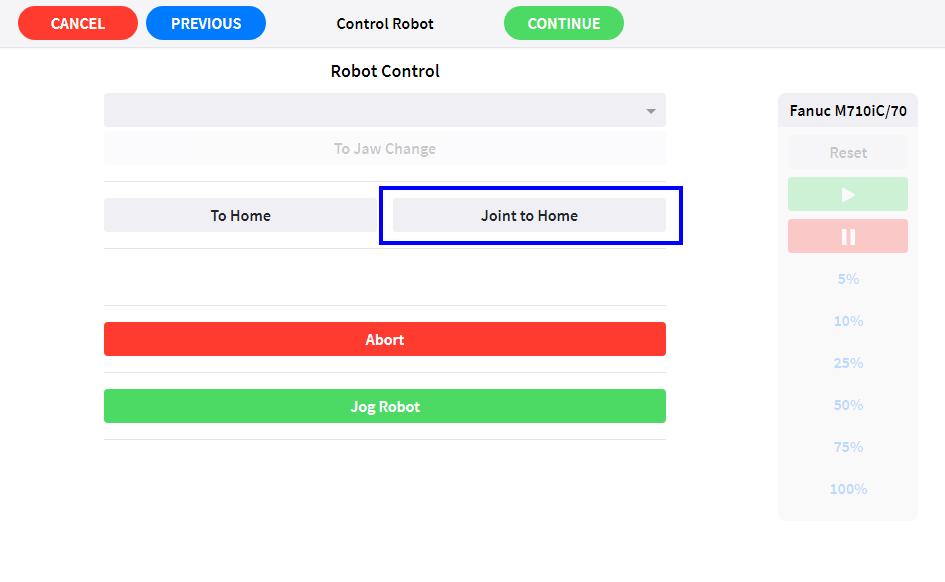
Click on the button to do a 'Joint To Home' to do a direct movement to the home position.
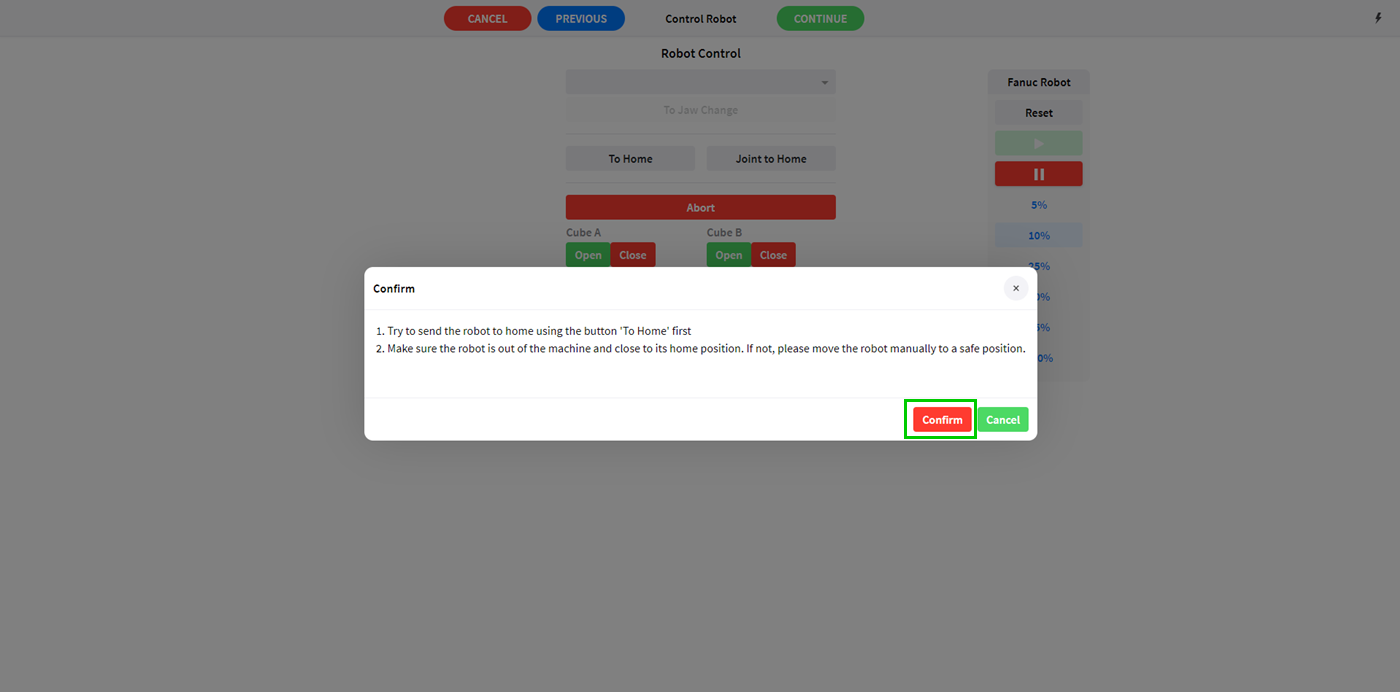
Confirm that you want to do a direct movement to home.Be aware that you can stop the movement at any time by releasing the deadman switches, but the robot will continue the movement after errors are reset.
The robot will move to the exact home position.Wait until the movement has finished.
2.7. Switch back to auto mode
Put the three-position switch on the Robot Controller to AUTO.
Put the two-position switch on the Teach Pendant to Off.
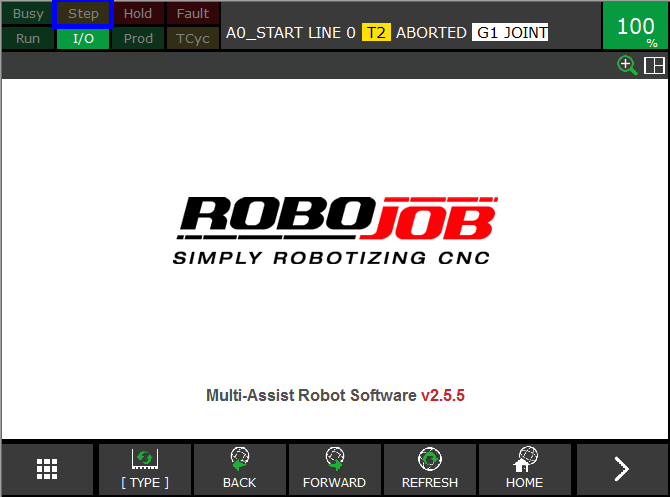
Make sure that Step mode is inactive. Use the STEP button to toggle step mode.
After the robot is in the home position, click on Continue. Next, unlock the robot again and click on Continue again.

3. How to get further help
Do not hesitate to contact us when you need additional support beyond the documents provided in the RoboJob Service Knowledge Base.
You may contact the RoboJob Service department using following means:
-
Help Center: service.robojob.eu
-
Email: service@robojob.eu
-
Phone: +32 15 70 89 70
We kindly ask you to provide us the following information:
-
Serial number xx-xx-xxx
-
Description of the fault or defective part
-
Exact error code or message
-
What did the robot do
-
What was the robot supposed to do
-
Pictures or videos
You can send this information to us via email.To send large files you may make use of a file transfer service like WeTransfer: robojob.wetransfer.com.
An automatic confirmation will be sent upon receipt of your mail.
