Update the robot software
|
To fix a bug the software on the robot has to be updated.Use this procedure to update the software on the robot controller. |
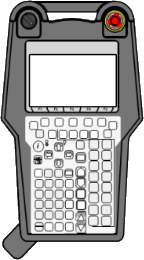
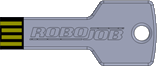
1. Use following tools
|
|
|
|

2. Procedure
2.1. Backup robot and settings
|
It is best practice to take a backup before the update procedure! (See HOW TO: Backup FANUC robot) |
The backup can be used to restore customer specific programs and settings after the update.It can also be used to restore the robot to its state before the update, if needed.
2.2. Delete all programs
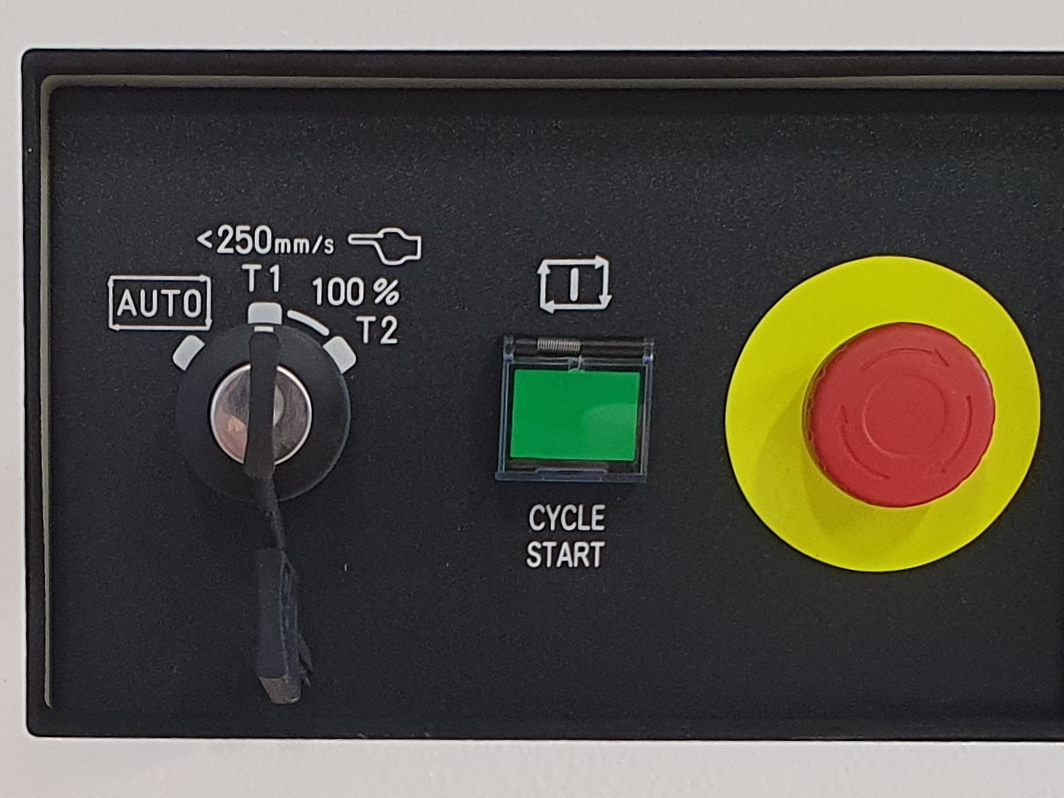
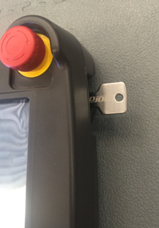
Put the Robot in manual modePut the three-position switch on the Robot Controller to T1-Mode.
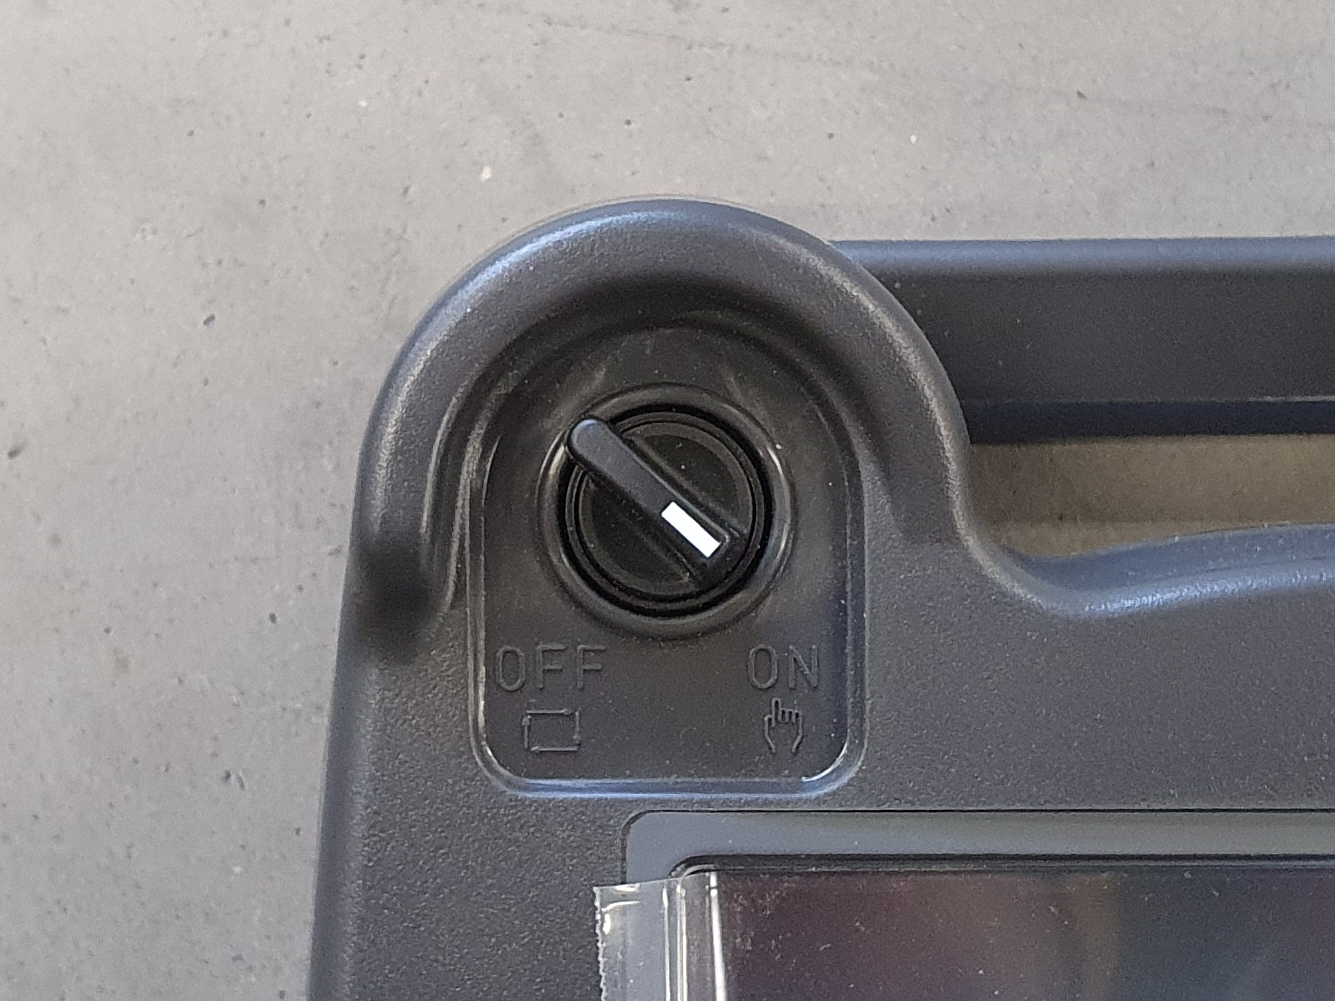
Put the two-position switch on the Teach Pendant to On-Mode.
Abort all the running programsRoboJob communication programs are still running on the robot.
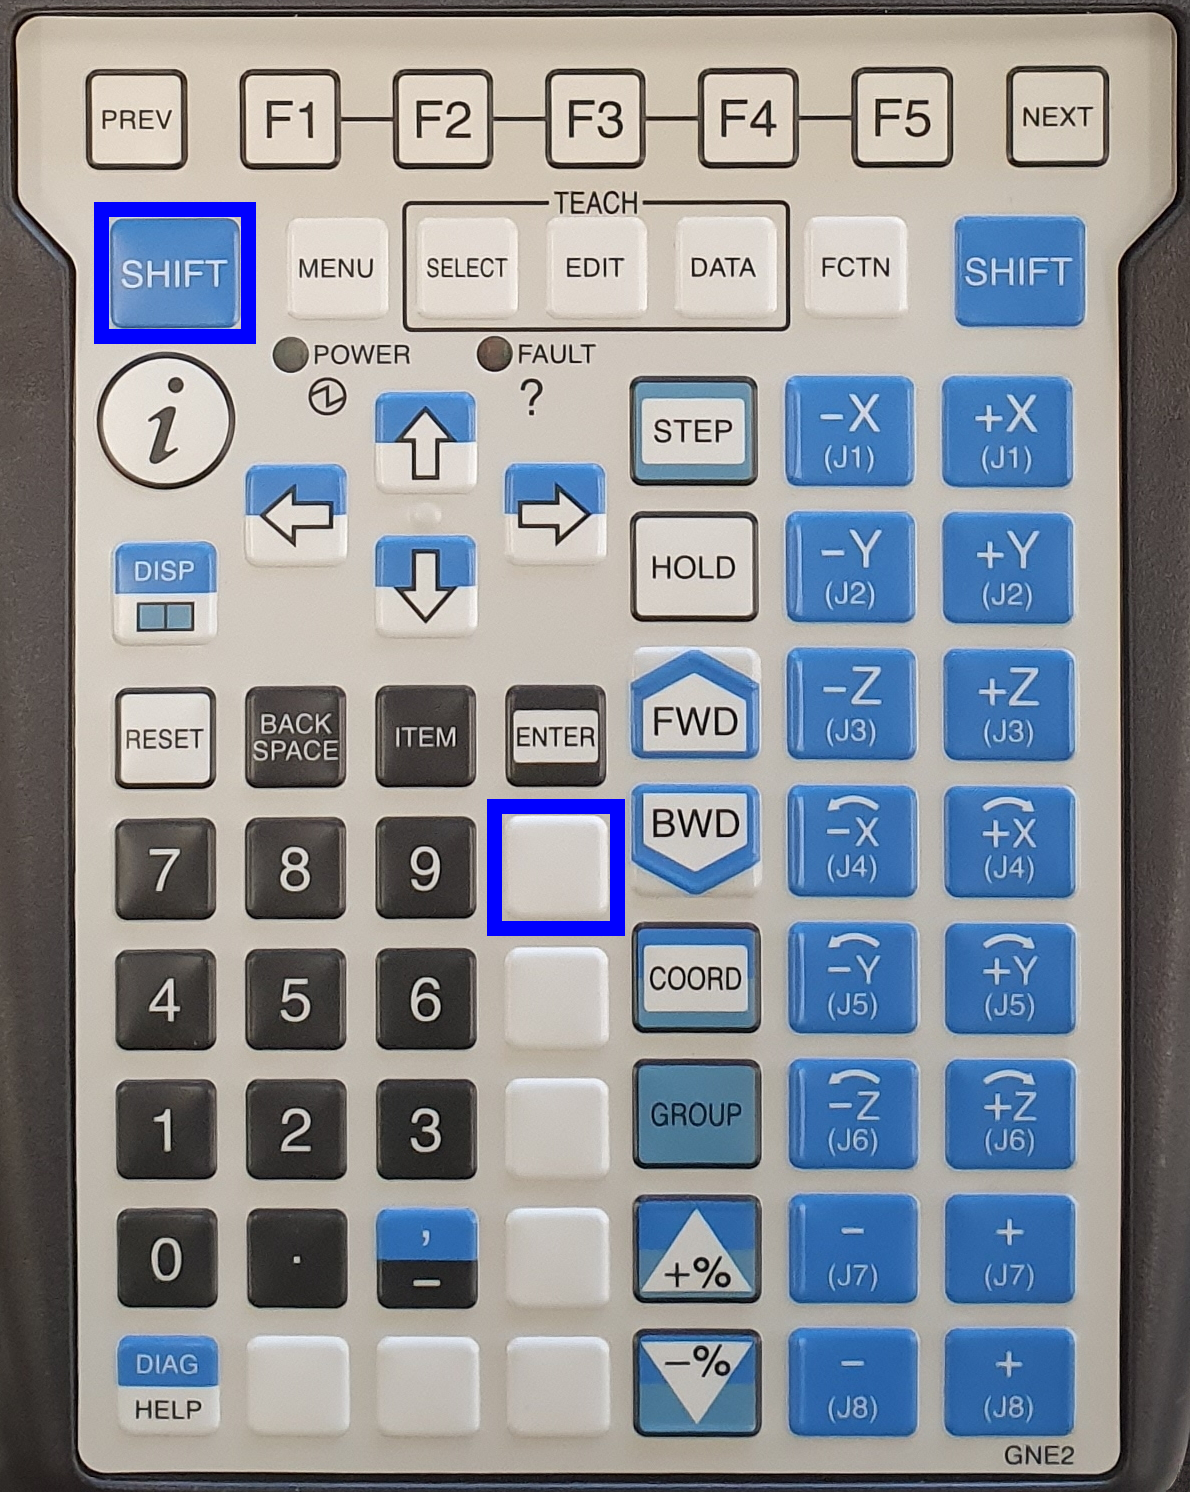
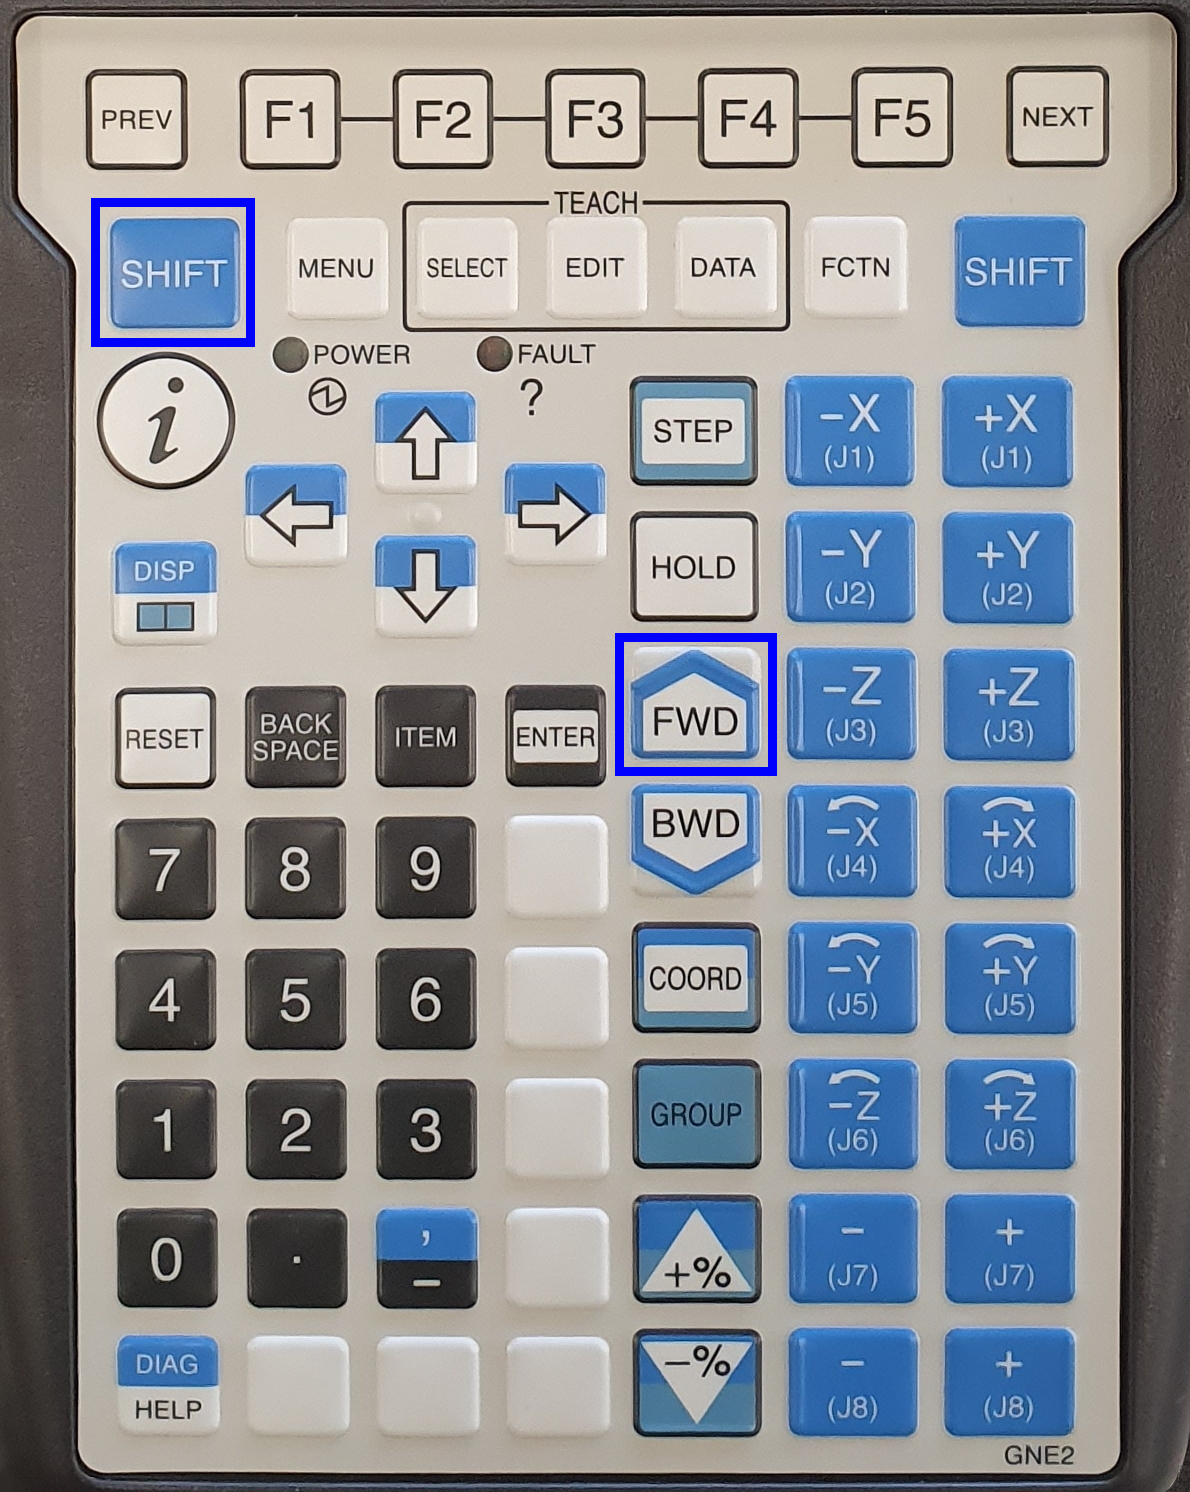
Abort the running programs by pressing SHIFT + USER KEY 1.The USER KEY 1 is the first key underneath ENTER, sometimes also referred to as Unmarked key 1, Tool 1 or Unnamed 1.On newer versions of the Teach Pendant this key is a blank white key.On older versions of the Teach Pendant this button is the blue WELD ENBL button.
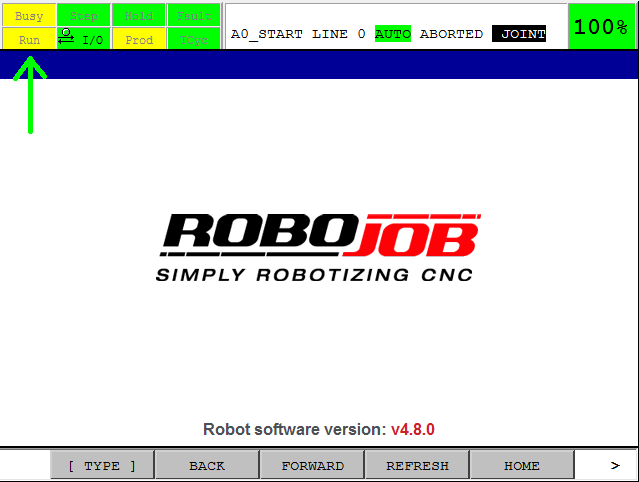
Verify that the software is stopped.The indicators Busy and Run on the top left of the screen should be yellow.
Reset all Faults
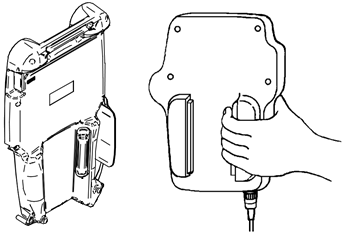
To manually run software or to move the robot in a safe way, one deadman switch on the back of the Teach Pendant must be in the safe middle position.
Both deadman switches have 3 positions:
-
Not pressed
-
Safe middle position
-
Fully pressed
First try if you can feel the three positions.To be able to reset the error and move the robot, only one of the two deadman switches has to be in the safe middle position.So don’t push too hard or too soft!
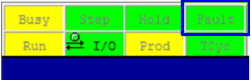
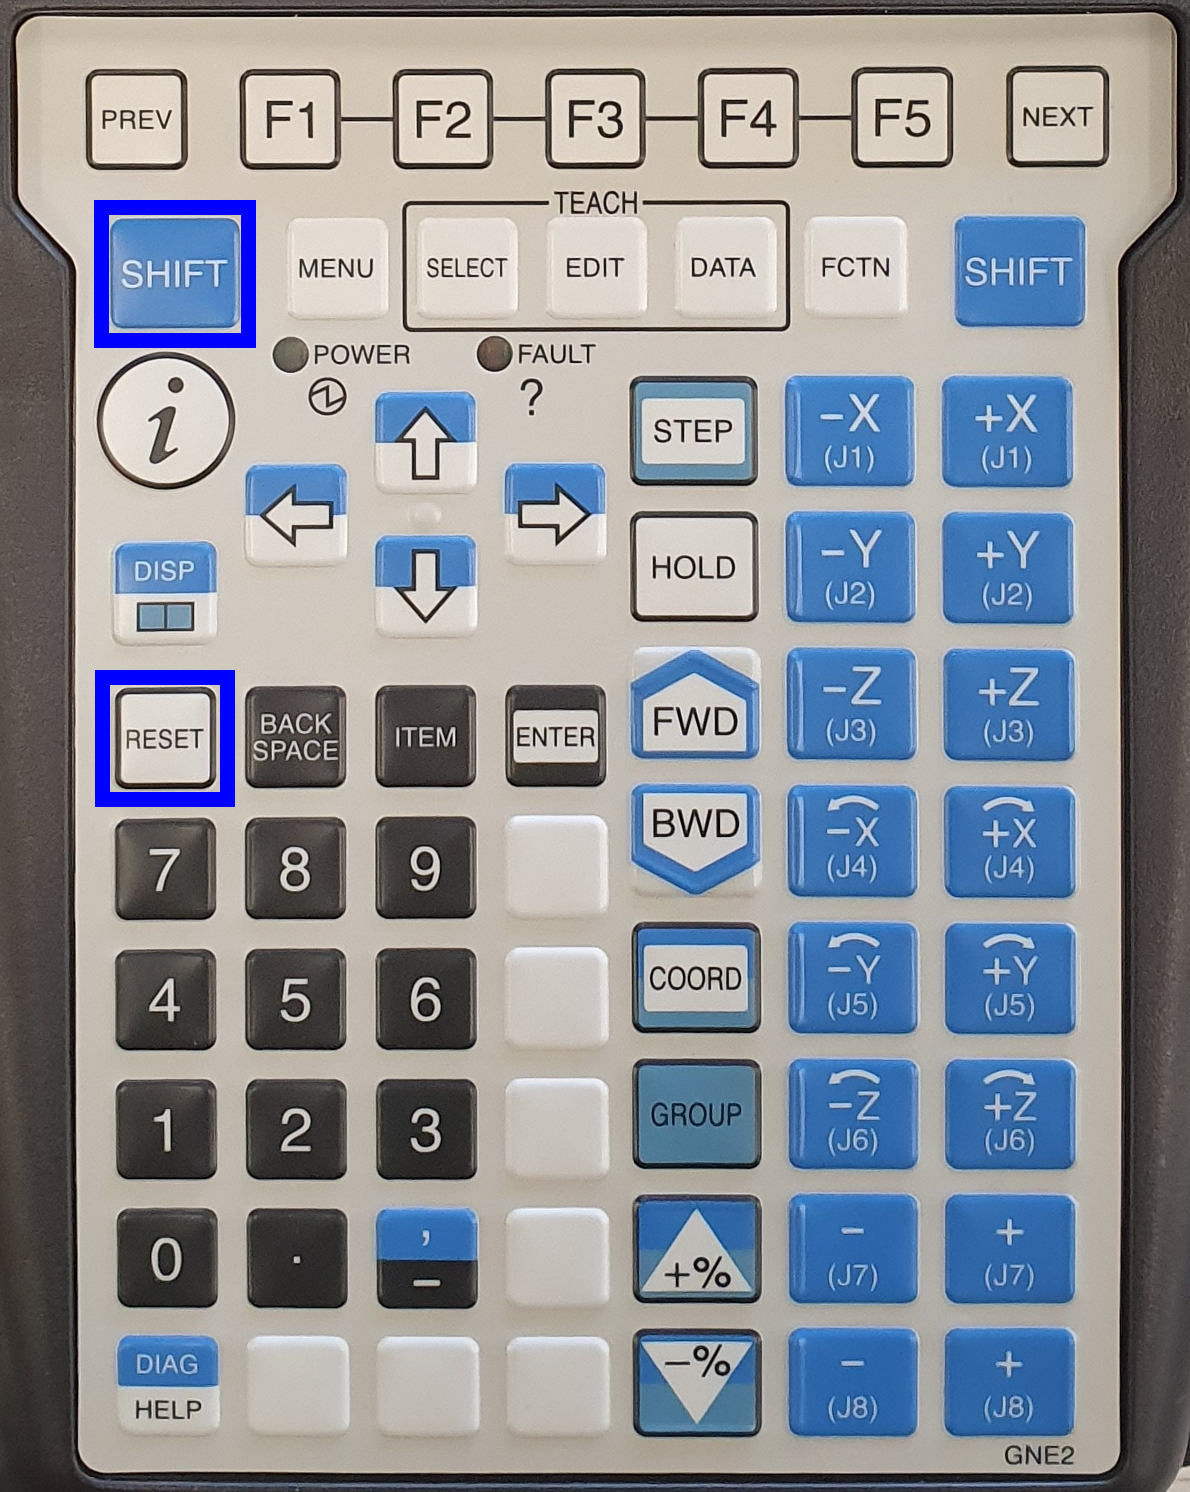
Press SHIFT + RESET to clear all faults.Fault indicator will change to green.
Now you are able to run a program.
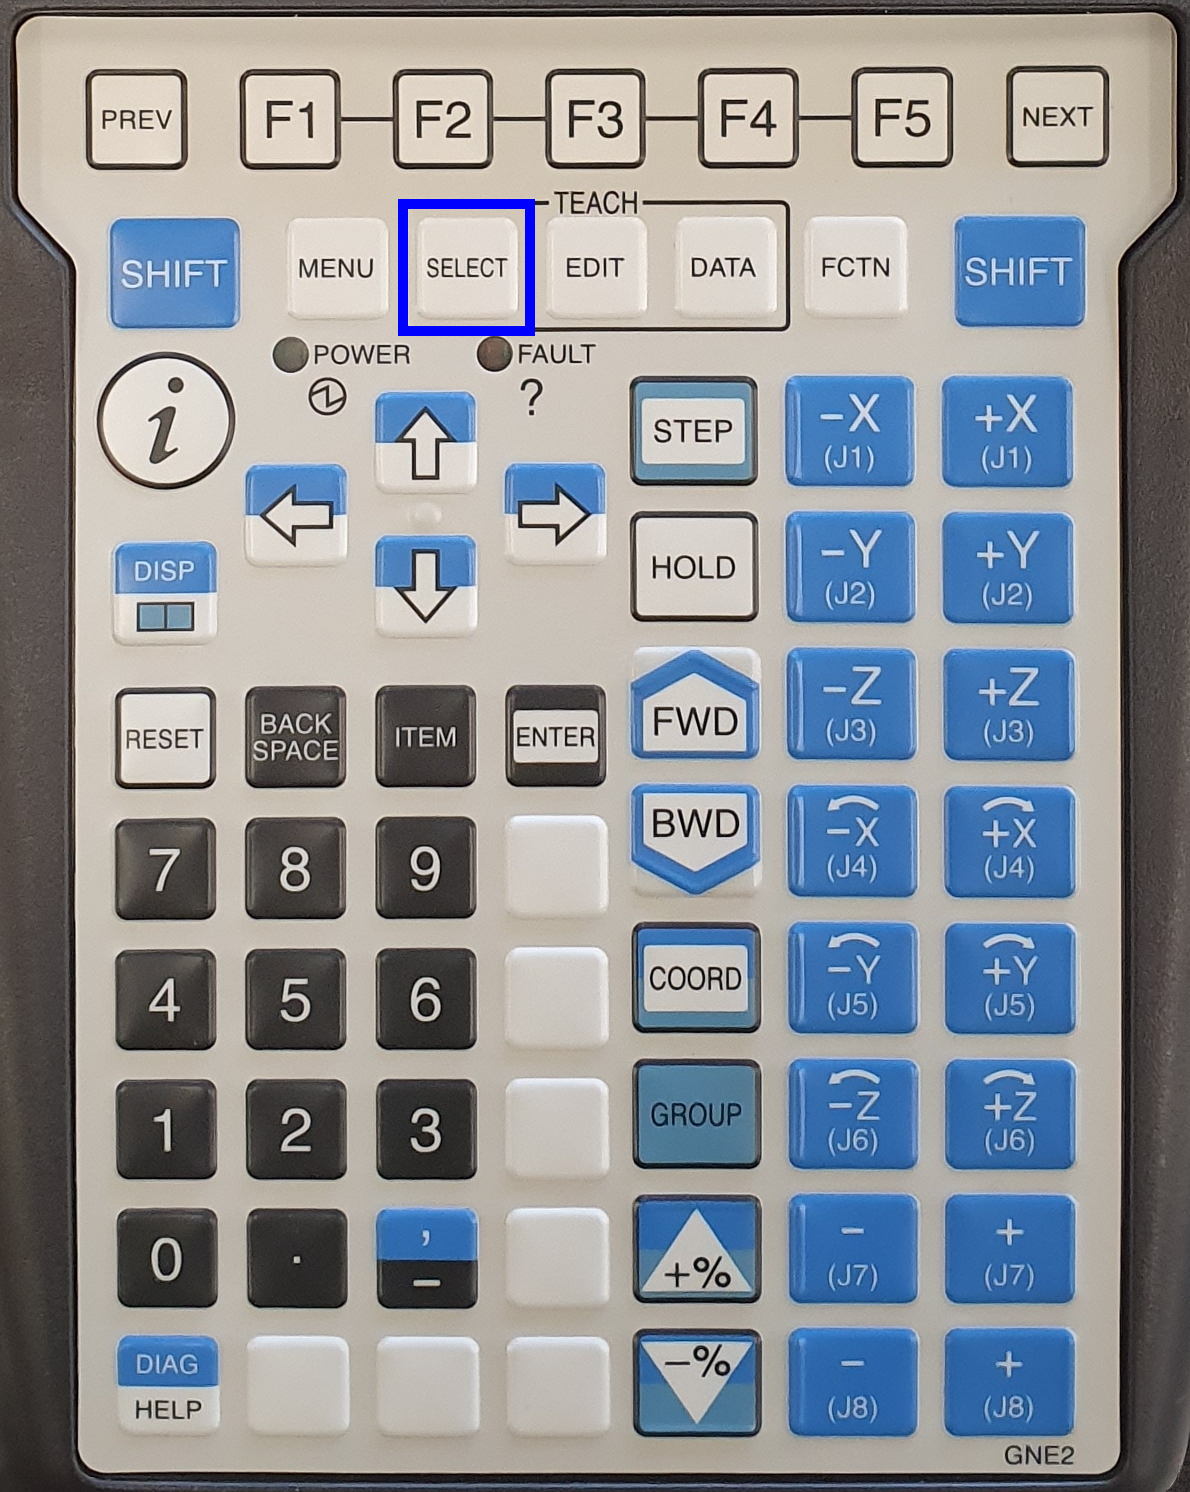
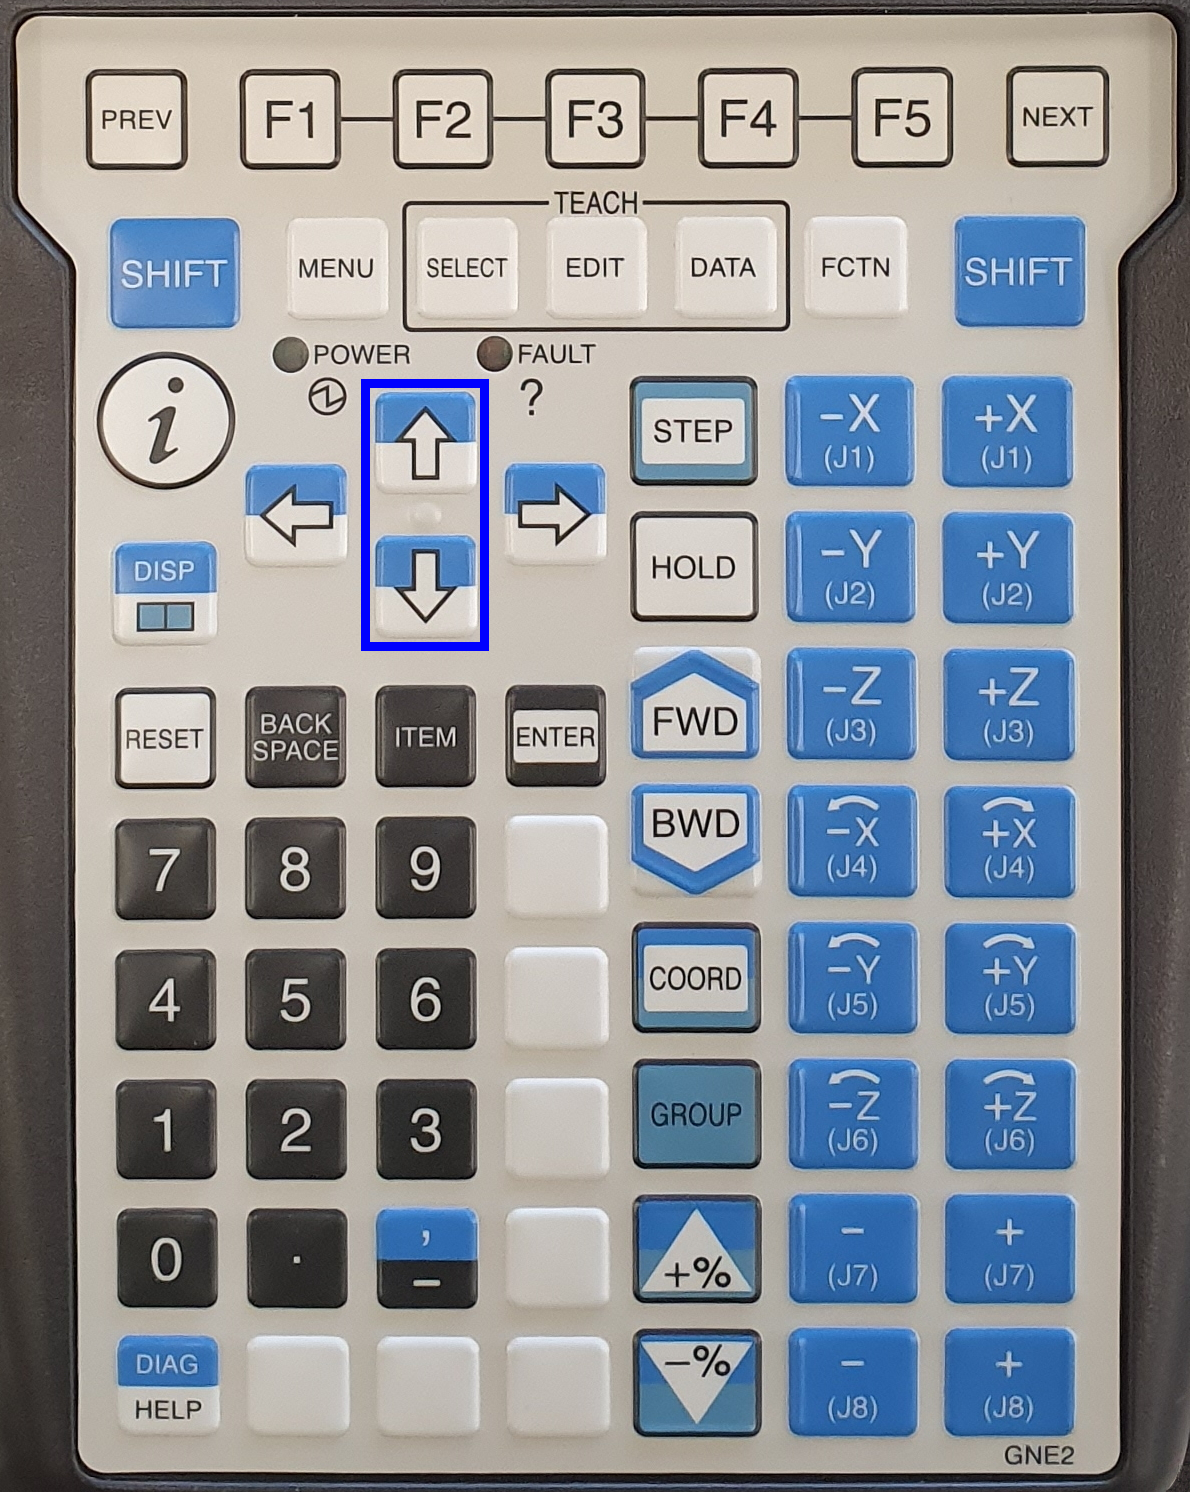
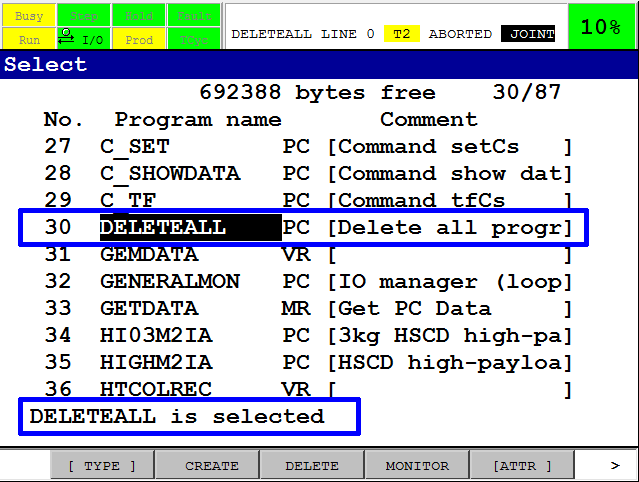
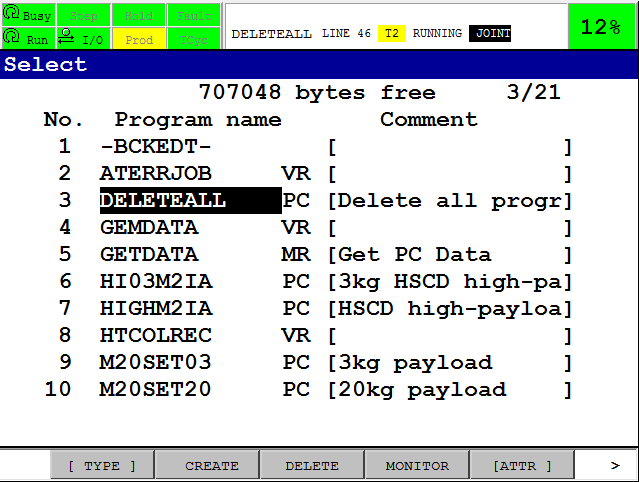
Select DELETEALL program.Press SELECT to open the program selection.Use UP and DOWN to select DELETEALL.Hold SHIFT to scroll faster.
When DELETEALL is selected press ENTER to select the program.The message DELETEALL is selected will appear.
Run DELETEALL program.
|
By default, the costumer specified (CS) programs will not be deleted when selecting 'DELETEALL'.When a RoboJob worker asks to delete the CS-programs, you can adapt these settings. |
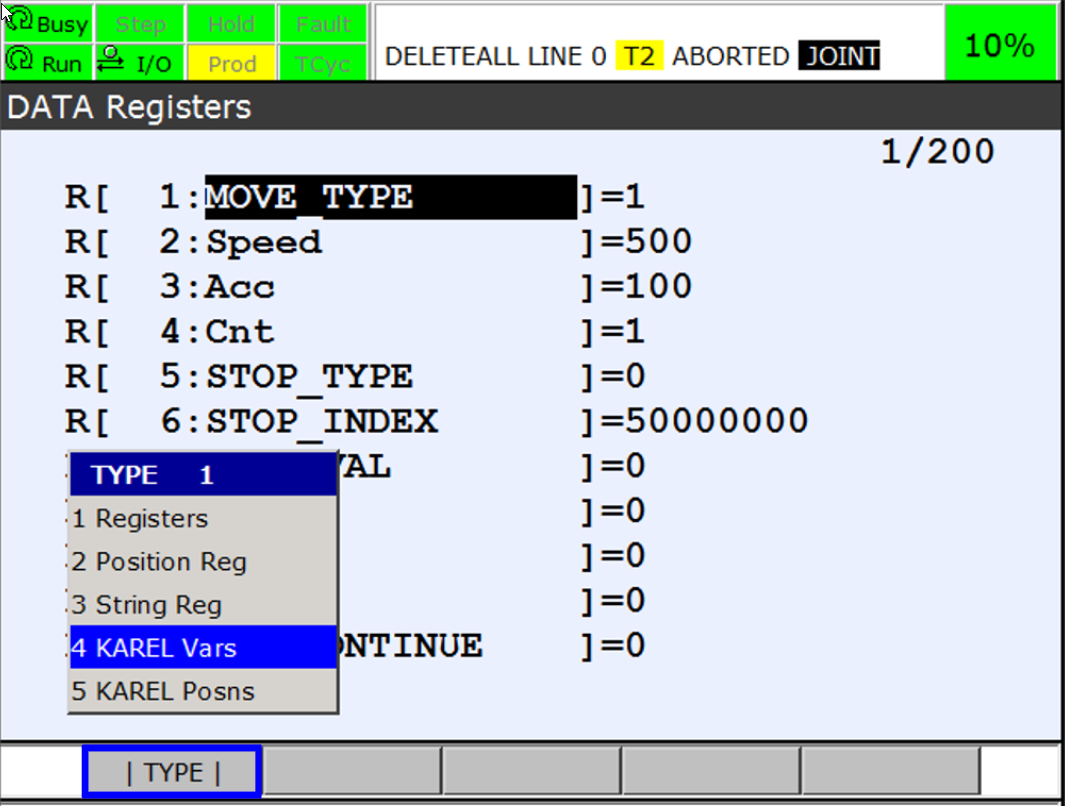
When the 'DELETEALL' option is selected, click the button 'DATA' on the Teach Pendant.The settings for the DELETEALL-option will appear.Click on '[TYPE]' by pushing the touch screen or clicking the F1-button and select '4 KAREL Vars'.
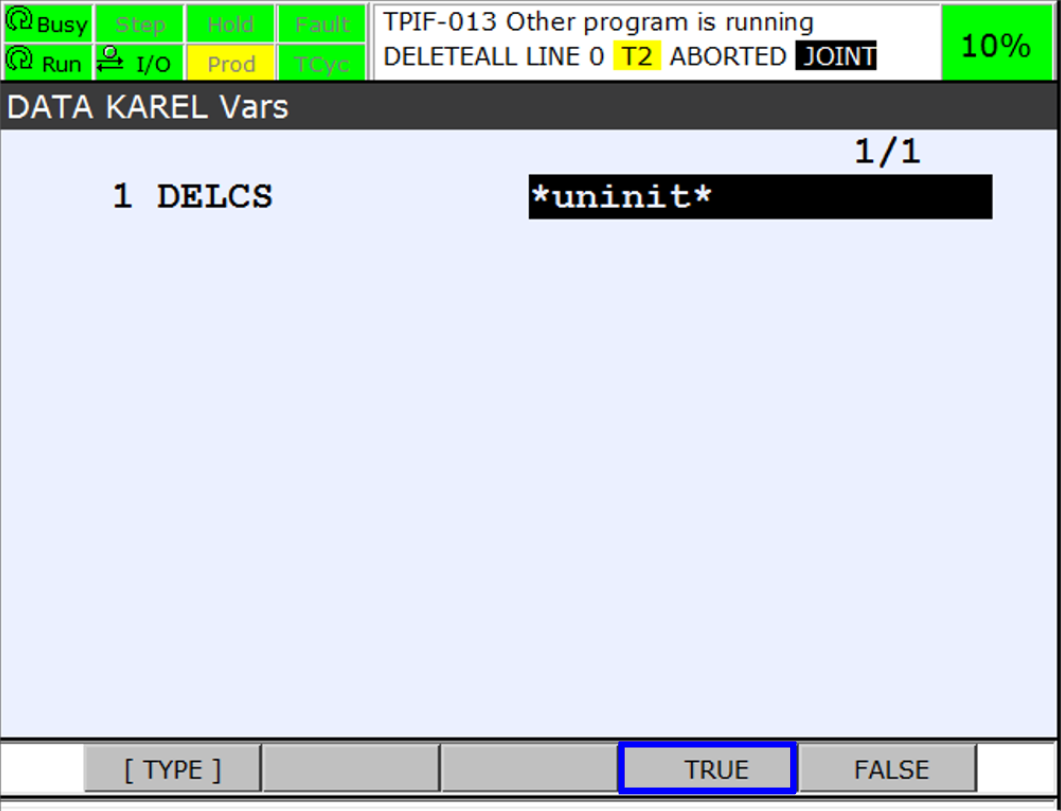
By default, the 'DELCS'-option will not delete the CS-programs.By setting this option to TRUE, the CS-programs will be deleted as well.
Press SHIFT + FWD to execute the program.All programs in the robot controller will be removed.
The indicators Busy and Run will become green while the program is running.Hold SHIFT and one deadman switch until program is finished.
Run the program twice to make sure all programs are removed.
2.3. Load files on the robot
Unzip and copy the new software files on an empty USB-stick
Unzip the files sent by RoboJob.Copy the files on an empty USB-stick.
Plug in the USB-stick on the Teach Pendant
Plug the USB-stick in the USB-port of the Teach Pendant.
Load files on robot
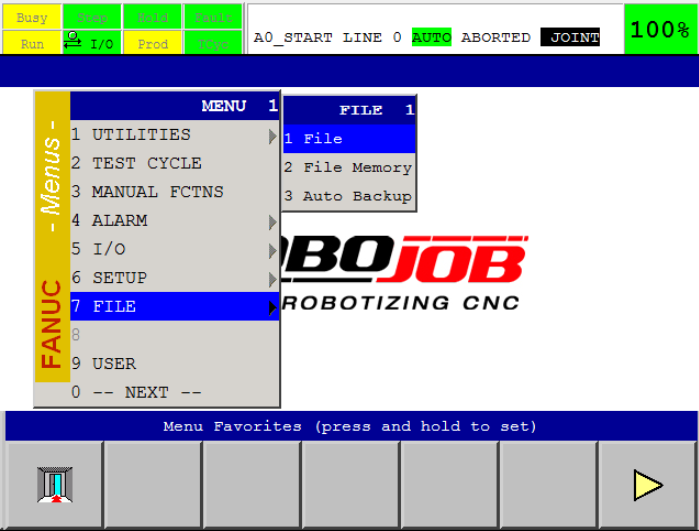
Press Menu, select 7 File, press arrow RIGHT to select 1 File and press ENTER.
Press F5 (UTIL), select 1 Set Device and press ENTER.Then arrow RIGHT and select 1 USB on TP (UT1:) and press enter.

Verify the correct memory device is active in the top left corner.
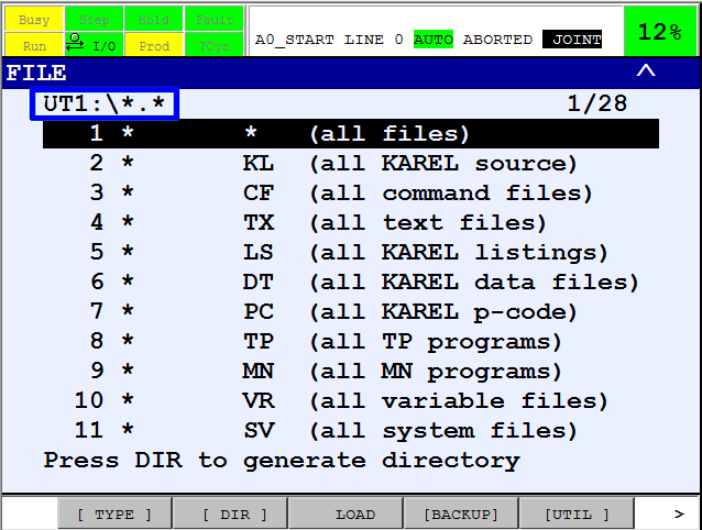
Verify the root folder of the USB-stick is selected.If this is not the case, select 1 .. (Up one Level) <DIR> and press ENTER.

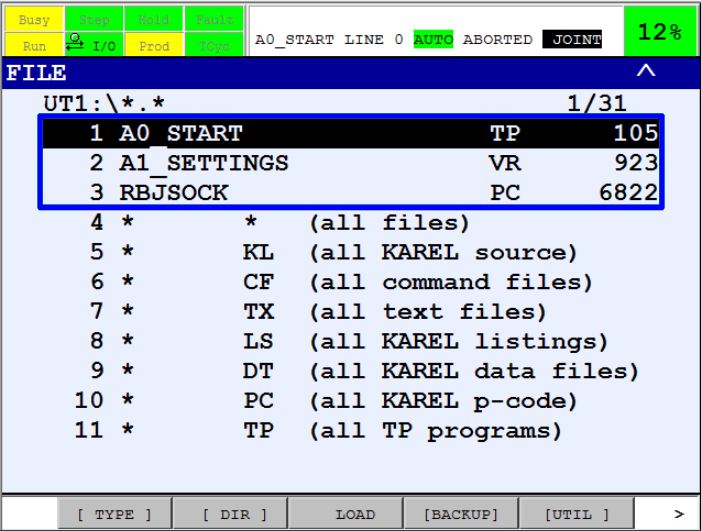
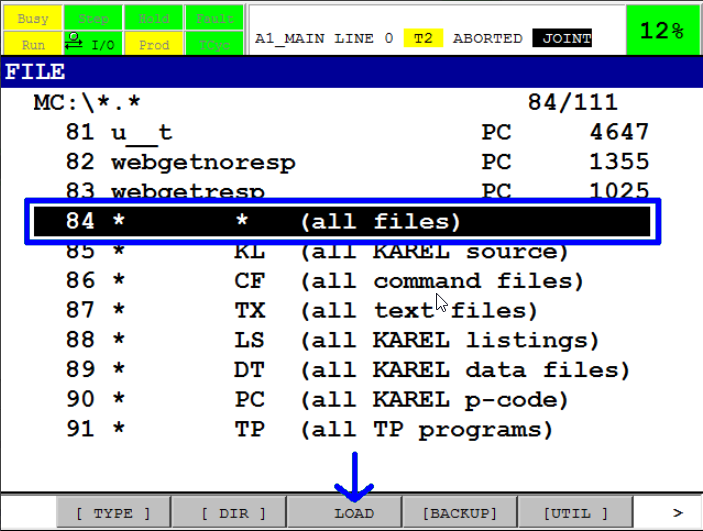
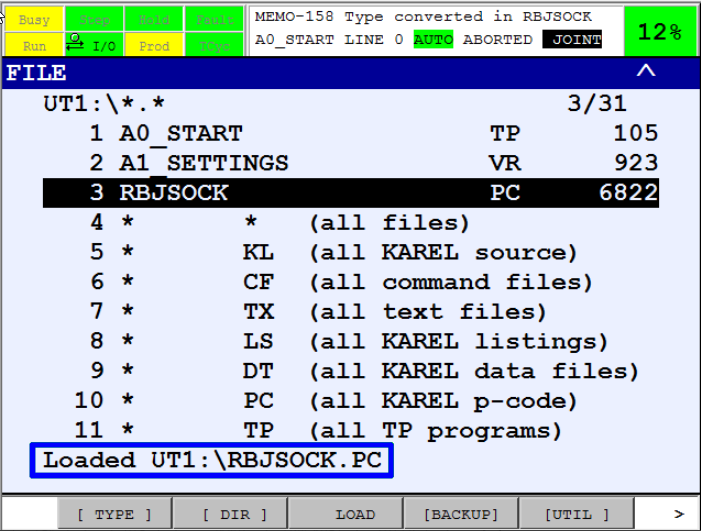
Select 1 * * (all files) and press ENTER to display the files on the USB-stick.You should see all the files that you copied to the USB-stick.
In this example you can see the files A_START of type TP, A1_SETTINGS of type VR and RBJSOCK of type PC.
Select * * (all files) to load all files at once and press F3 LOAD.
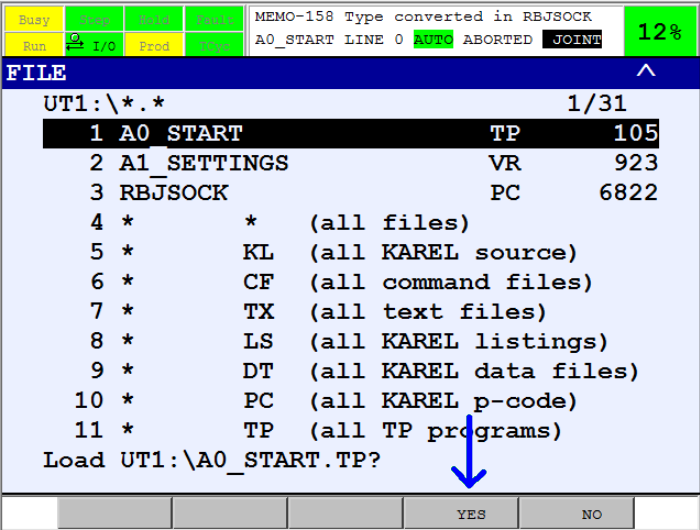
Confirm with F4 YES.
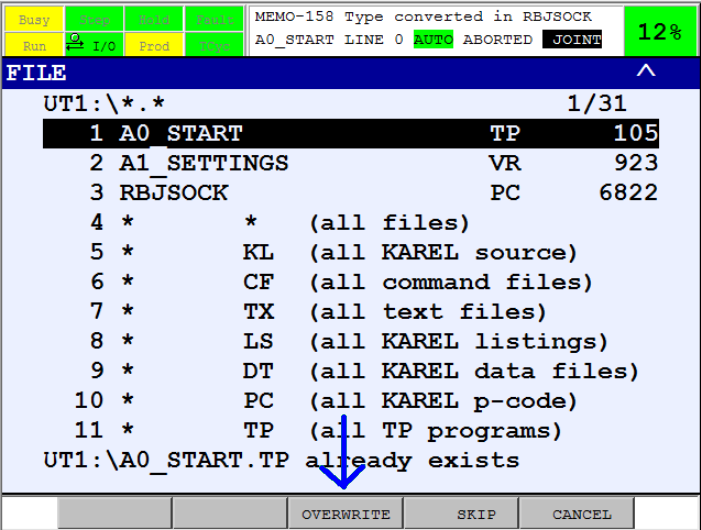
If asked press F3 OVERWRITE to overwrite existing files.
If asked press F4 YES to convert.
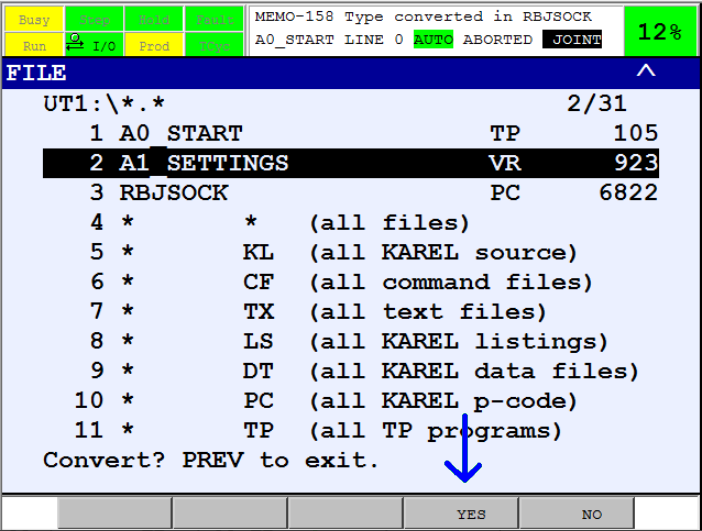
Verify that you get the message that the file is loaded.
2.4. Restore settings
Restore the customer specific programs and settings from the backup.
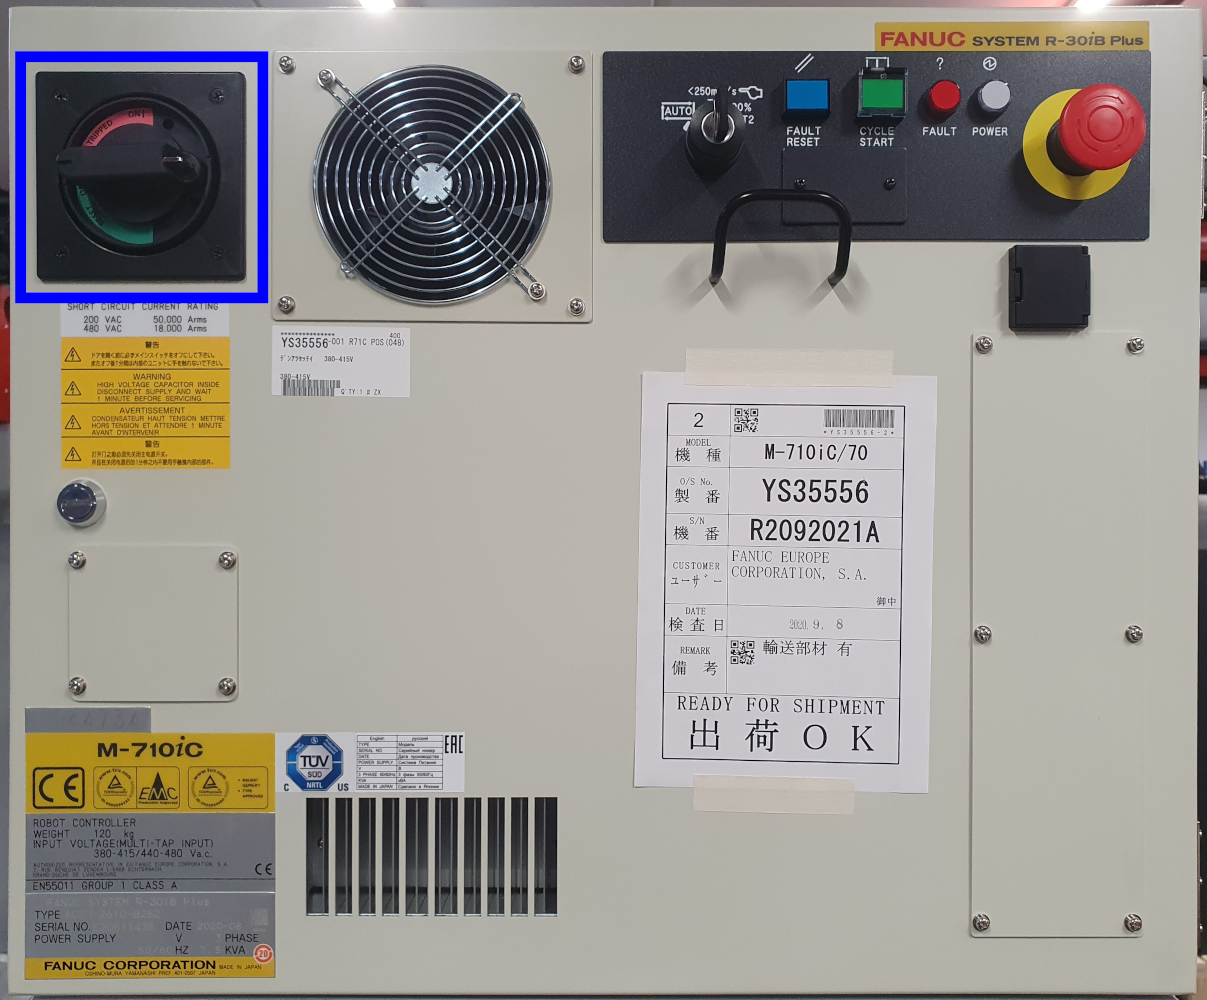
2.5. Cycle the power
Cycle the power on the robot controller to restart the robot software.Put switch in off state, wait 10 seconds and then power on the robot.
At this point, you can start using the updated software again.Please ensure that the update has the expected results.
3. How to get further help
Do not hesitate to contact us when you need additional support beyond the documents provided in the RoboJob Service Knowledge Base.
You may contact the RoboJob Service department using following means:
-
Help Center: service.robojob.eu
-
Email: service@robojob.eu
-
Phone: +32 15 70 89 70
We kindly ask you to provide us the following information:
-
Serial number xx-xx-xxx
-
Description of the fault or defective part
-
Exact error code or message
-
What did the robot do
-
What was the robot supposed to do
-
Pictures or videos
You can send this information to us via email.To send large files you may make use of a file transfer service like WeTransfer: robojob.wetransfer.com.
An automatic confirmation will be sent upon receipt of your mail.