Transport Integrated system
|
Prepare the RoboJob system for transport |
1. Use following tools
|
|
|

2. Procedure
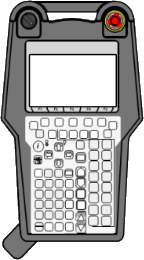
2.1. Manually jog robot
During the procedure the robot is jogged manually to the correct positions.Below is explained how to manually jog the robot.
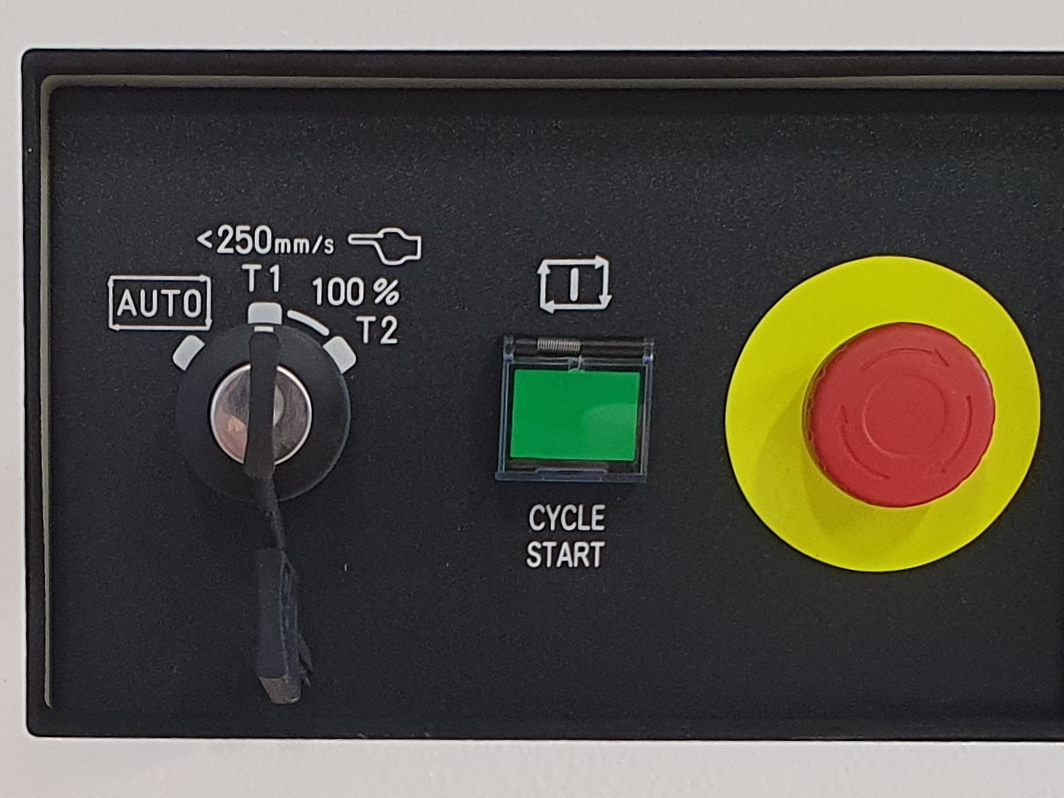
2.1.1. Put the Robot in manual mode
Put the three-position switch on the Robot Controller to T1-Mode.
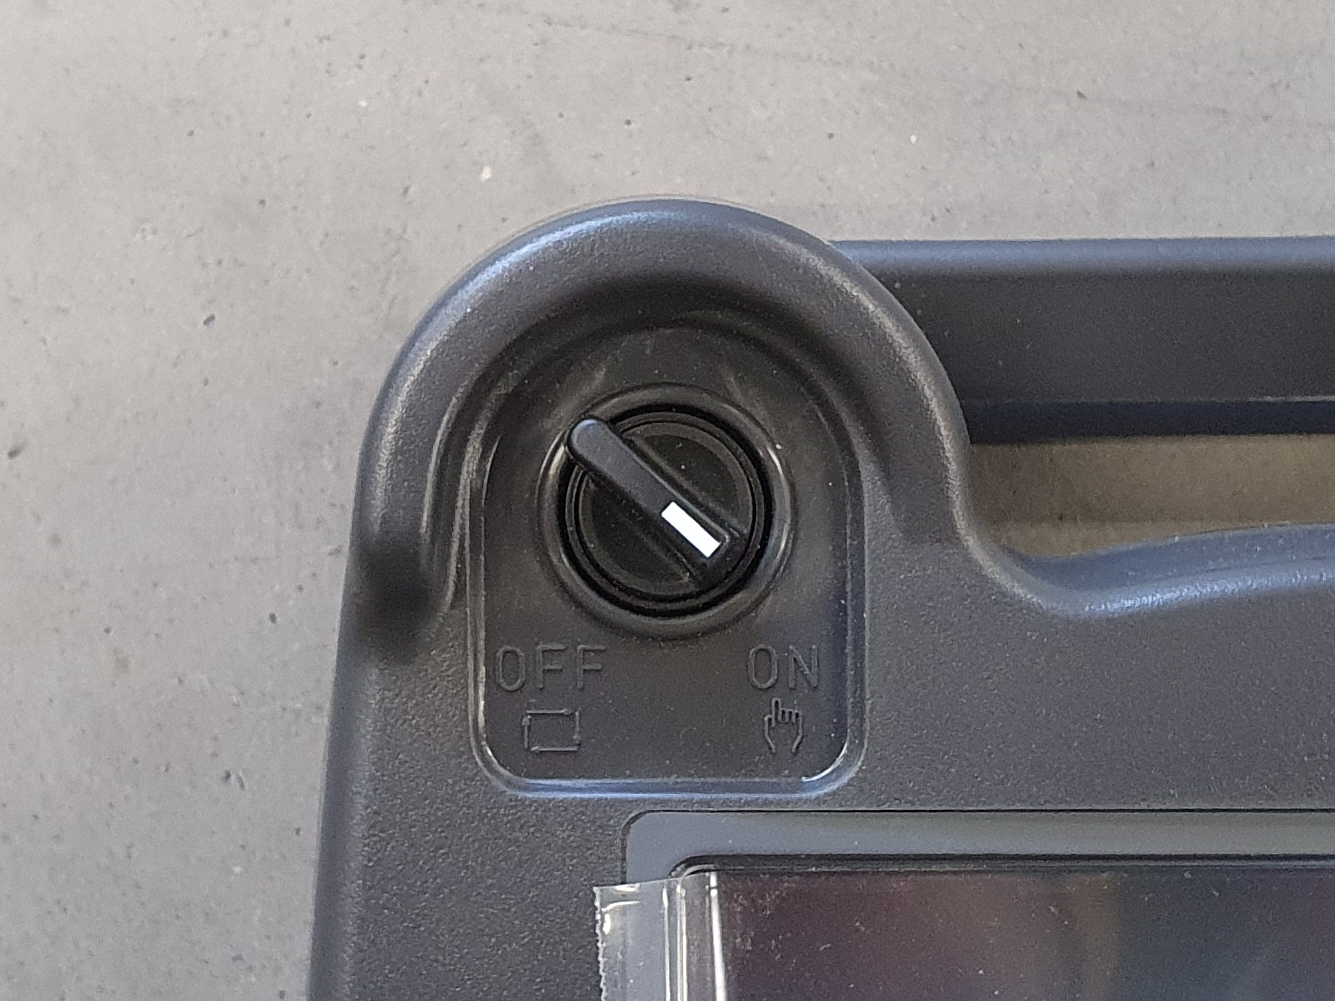
Put the two-position switch on the Teach Pendant to ON-Mode.
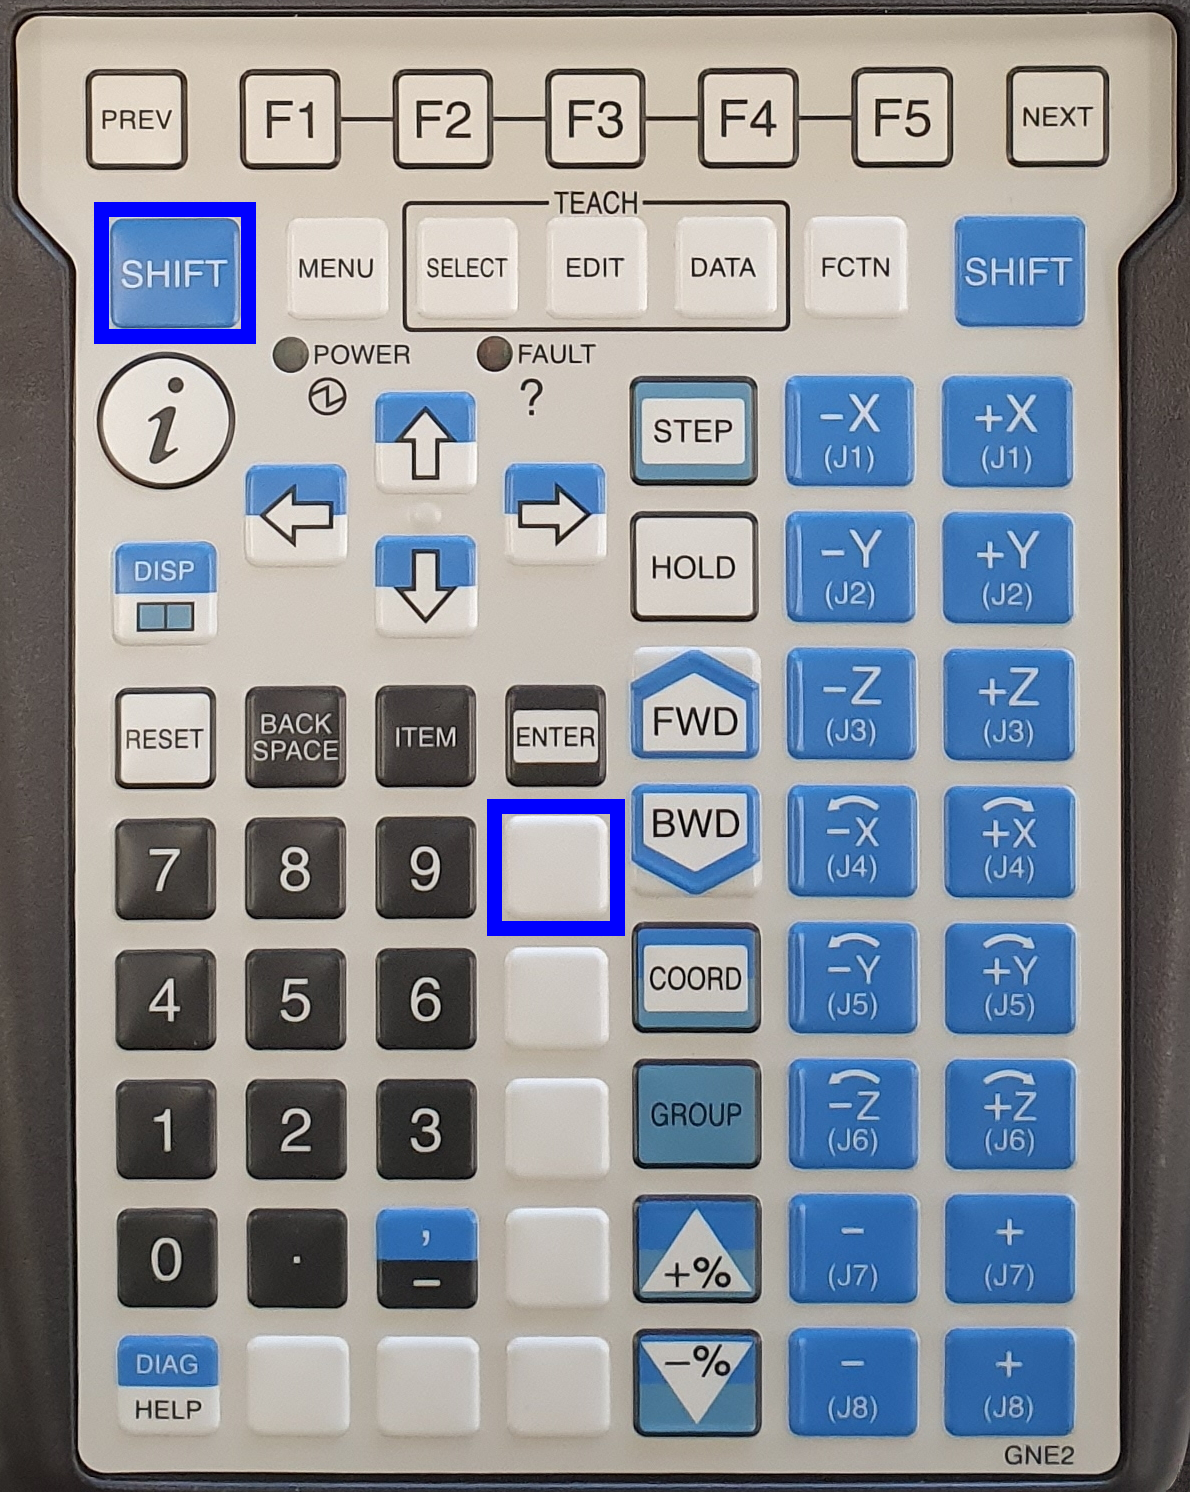
2.1.2. Abort all the running programs
RoboJob communication programs are still running on the robot.
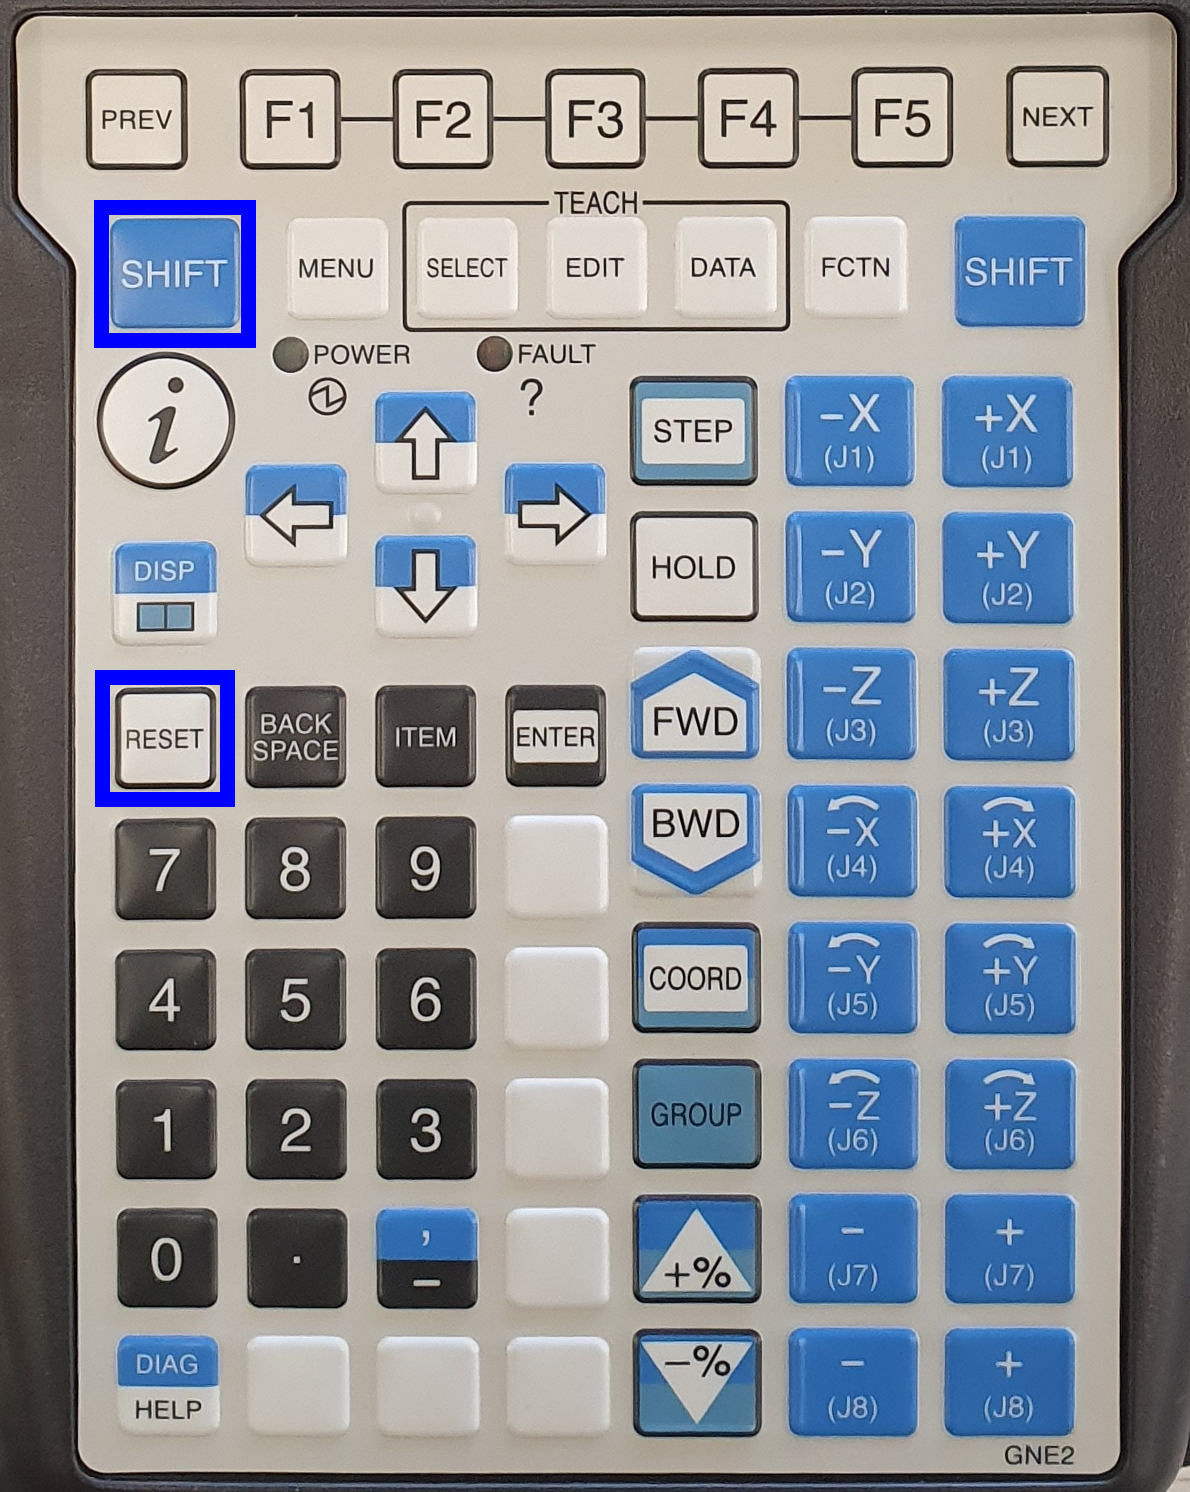
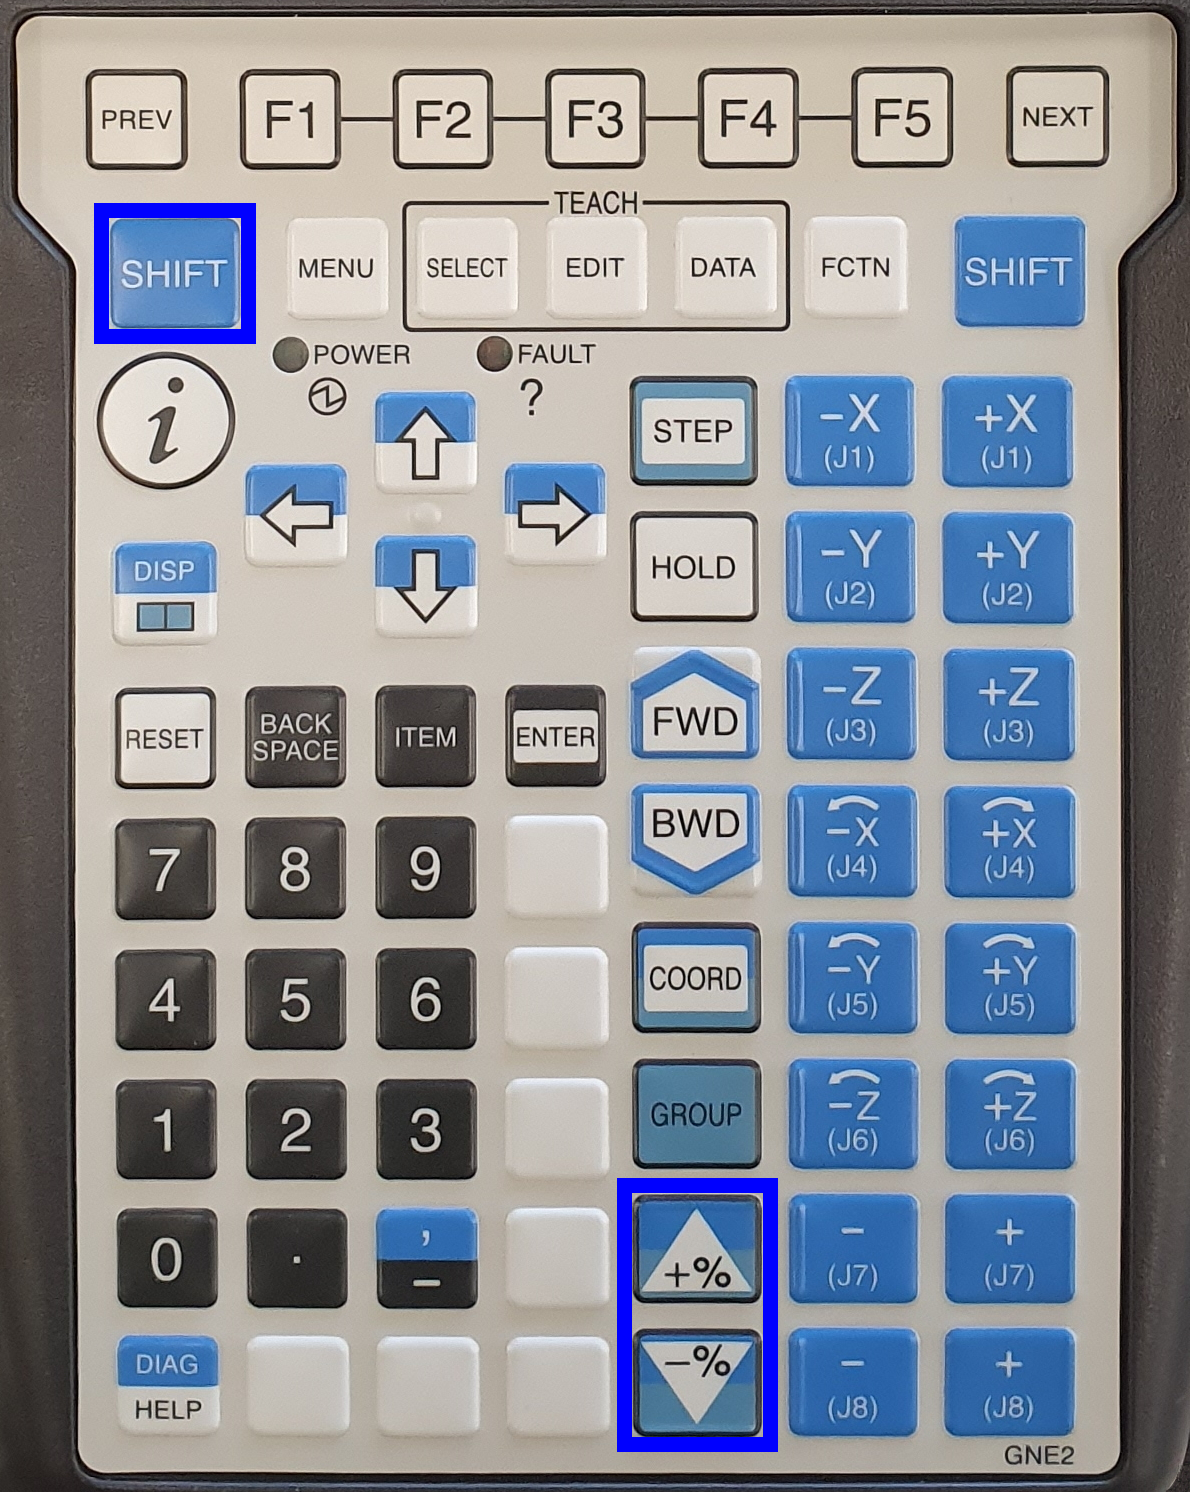
Abort the running programs by pressing SHIFT + USER KEY 1. The USER KEY 1 is the first key underneath ENTER, sometimes also referred to as Unmarked key 1, Tool 1 or Unnamed 1. On newer versions of the Teach Pendant this key is a blank white key. On older versions of the Teach Pendant this button is the blue WELD ENBL button.
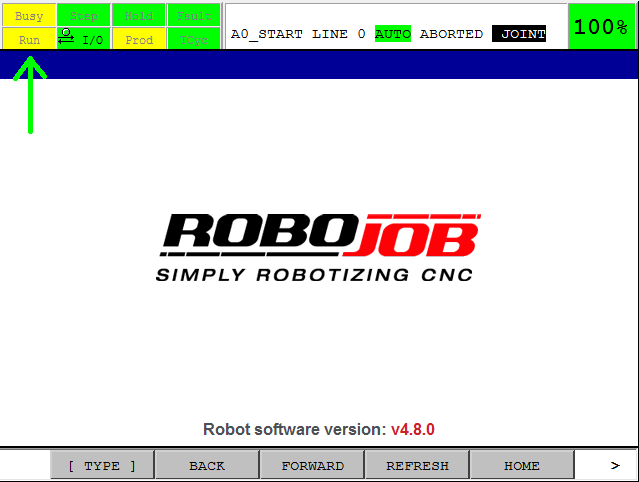
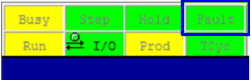
Verify that the software is stopped. The indicators Busy and Run on the top left of the screen should be yellow.
2.1.3. Reset all Faults and move the robot manual nearby his Home Position
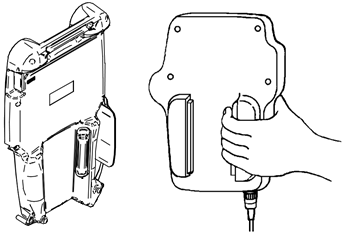
To move the robot in a safe way, one deadman switch on the back of the Teach Pendant must be in the safe middle position.
Both deadman switches have 3 positions:
-
Not pressed
-
Safe middle position
-
Fully pressedTry if you can feel the three positions. To be able to reset the error and move the robot, only one of the two deadman switches has to be in the safe middle position. So don’t push too hard or too soft!
Press SHIFT + RESET to clear all faults. Fault indicator will change to green.
Now you are able to move the robot.
| Note |
Watch that the robot doesn’t hit anything during the movement. Watch out for other people, surrounding machines, other objects and the robot itself. Make sure the dress out cables around the robot don’t get damaged.
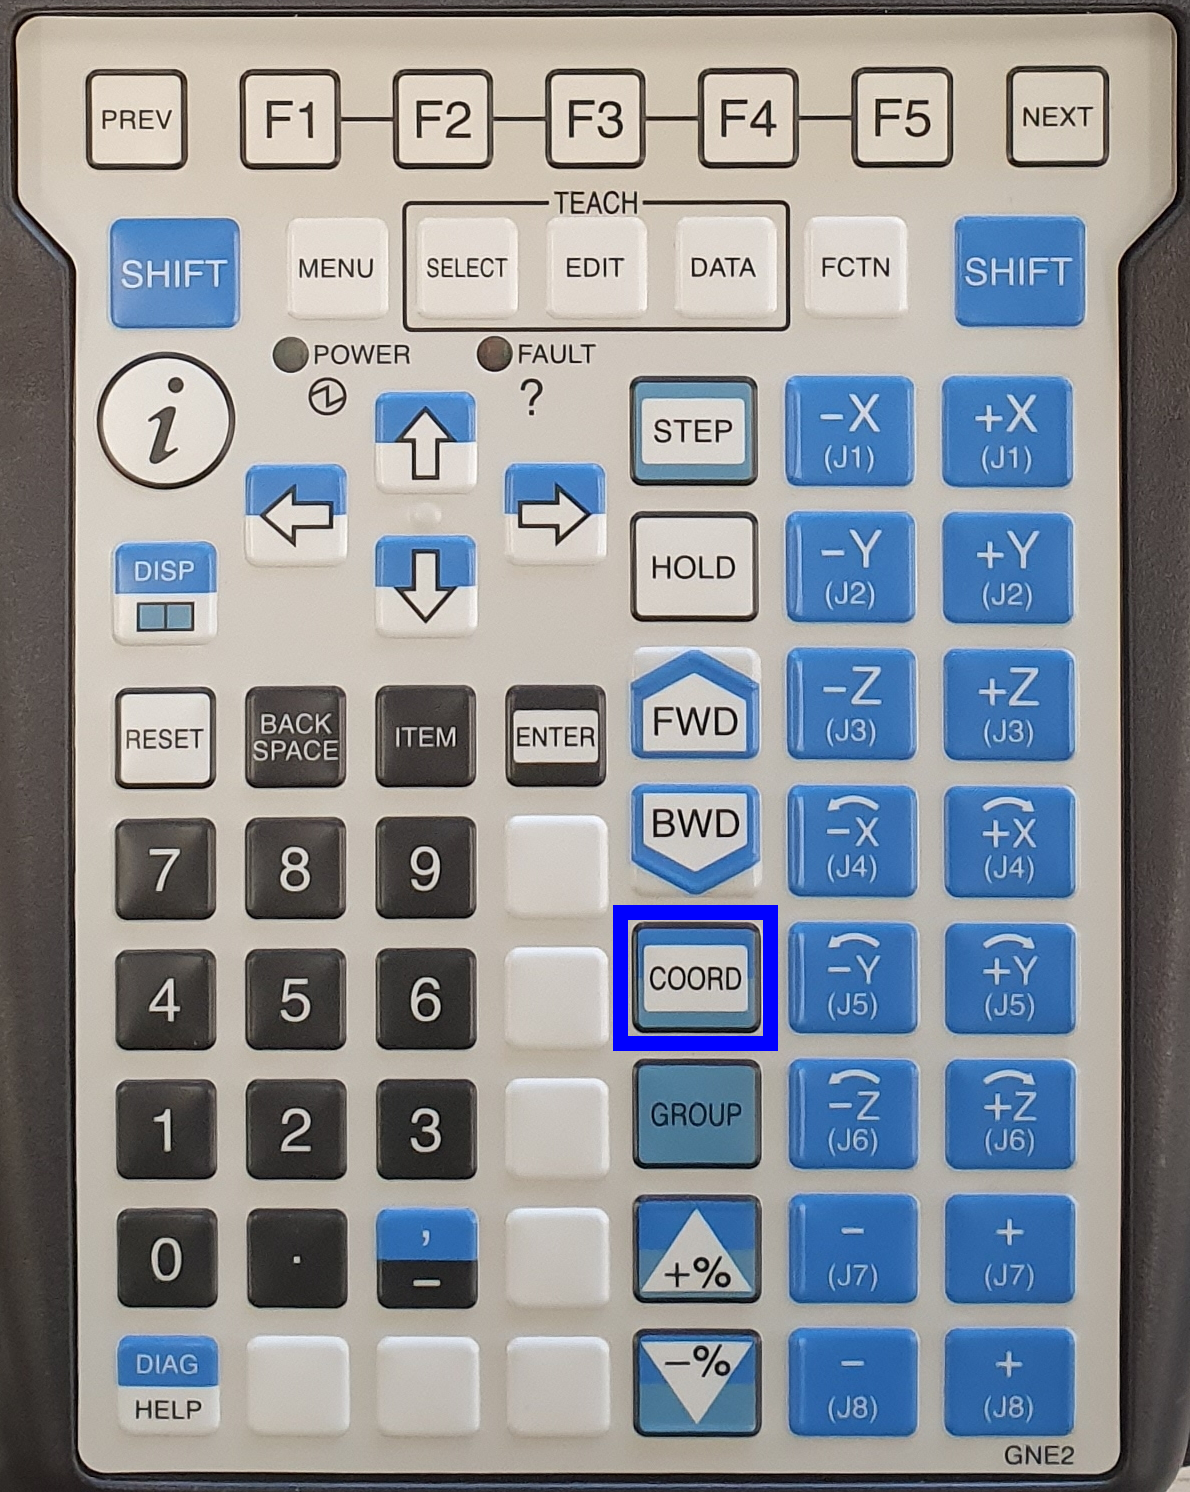
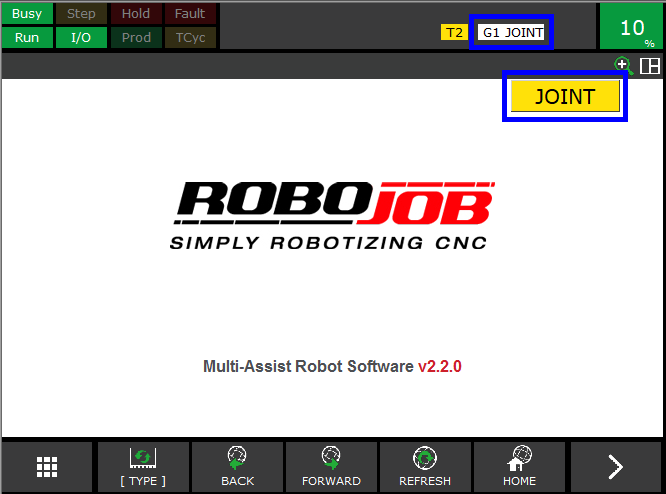
Press COORD to change the way of moving. Keep pressing until JOINT is selected. The JOINT movement mode is the easiest to work with. You move the Joints from the robot one by one.
|
|
|
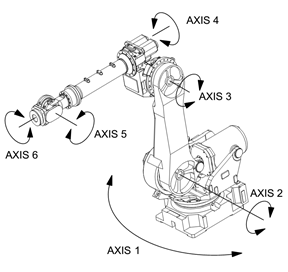
Press SHIFT + ±J1-8 to move the robot close to its home position.
|
|
|
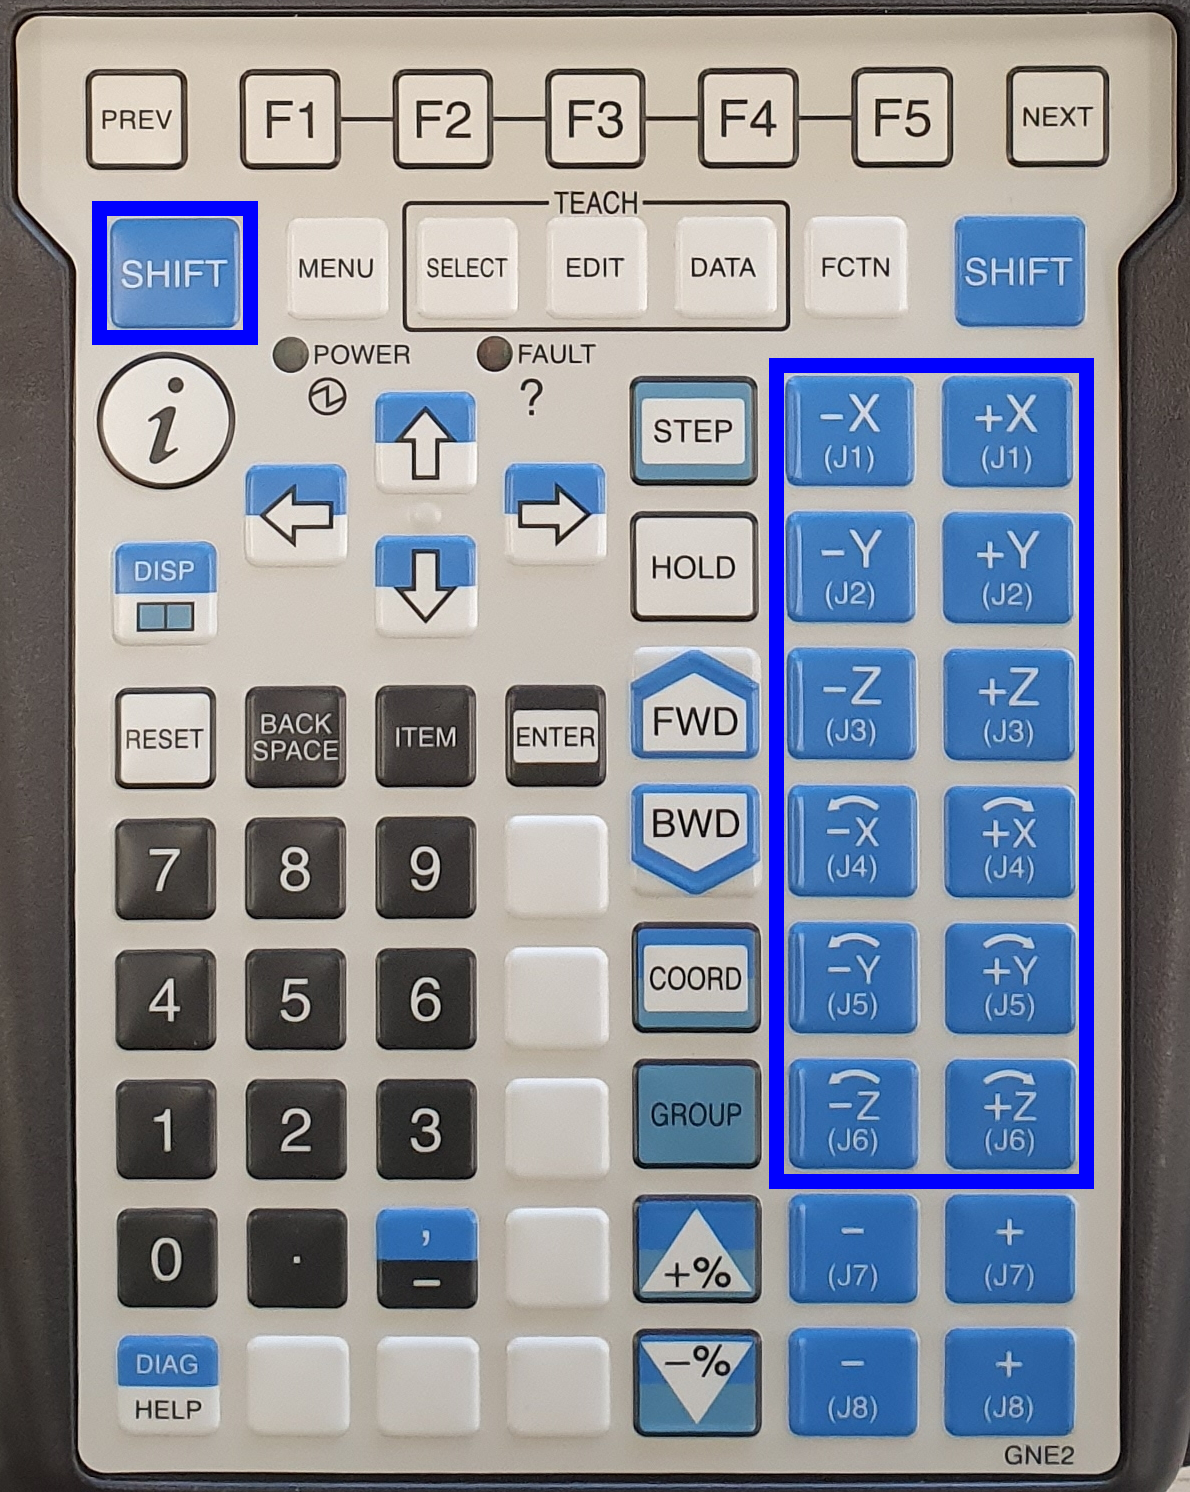
Press SHIFT + +% or -% to adjust the speed.
2.2. Move the robot to the safe location for transportation
2.2.1. Remove jaws
Remove the jaws from the jawbase to prevent them from causing damage or getting damaged.
2.2.2. Bring tables up
Use the software to bring the servo stacker tables to their highest point.
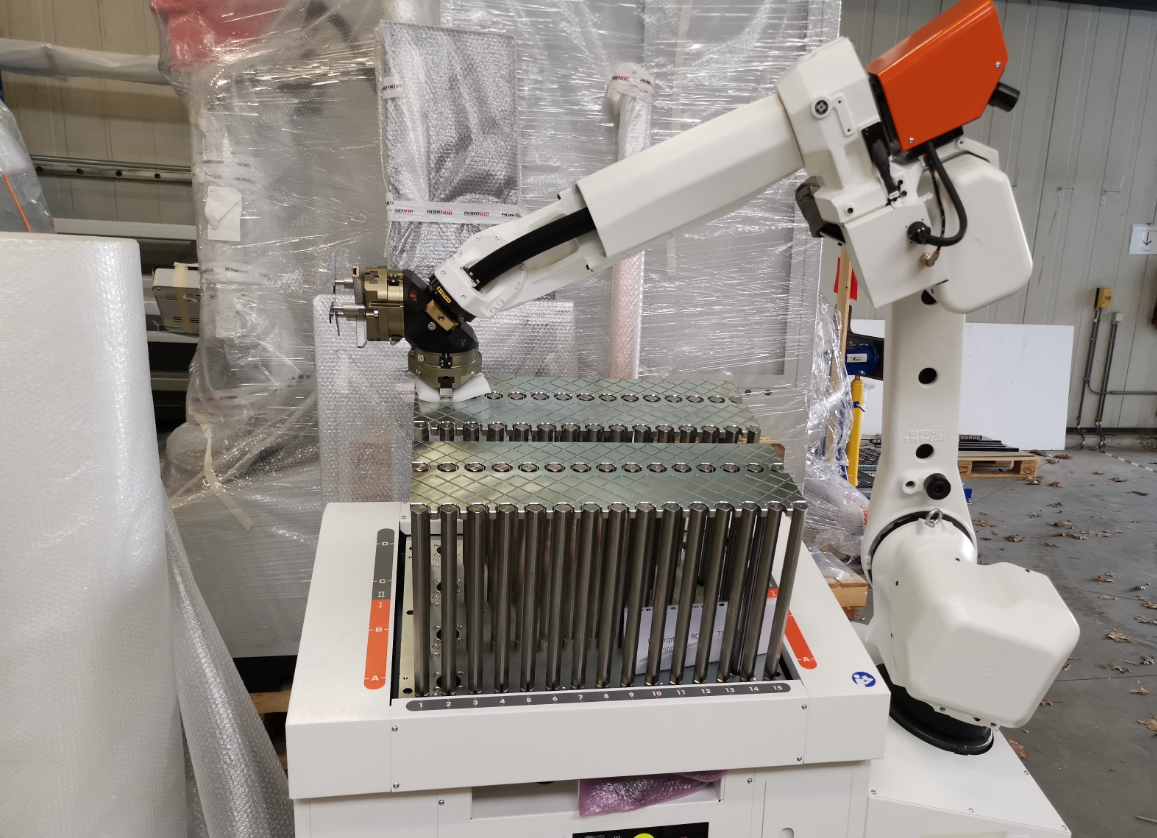
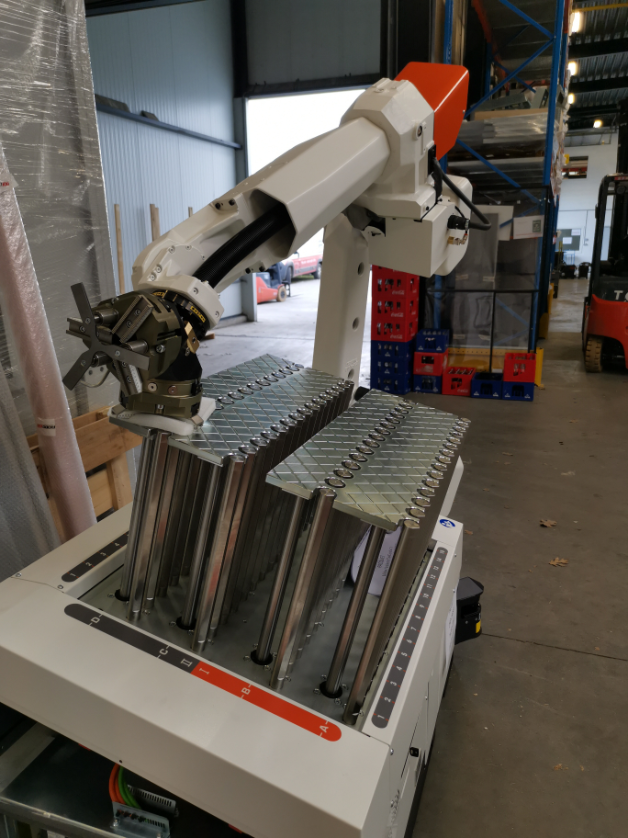
2.2.3. Move the robot
Move the robot manually using the controller to the position in the example below.
| Note |
Reduce the moving speed when the jawbase approaches the upper table to prevent the jawbase colliding with the table.
| Note |
Place something soft (for example some foam) between the jawbase and the upper table to protect them against damage.
|
|
|
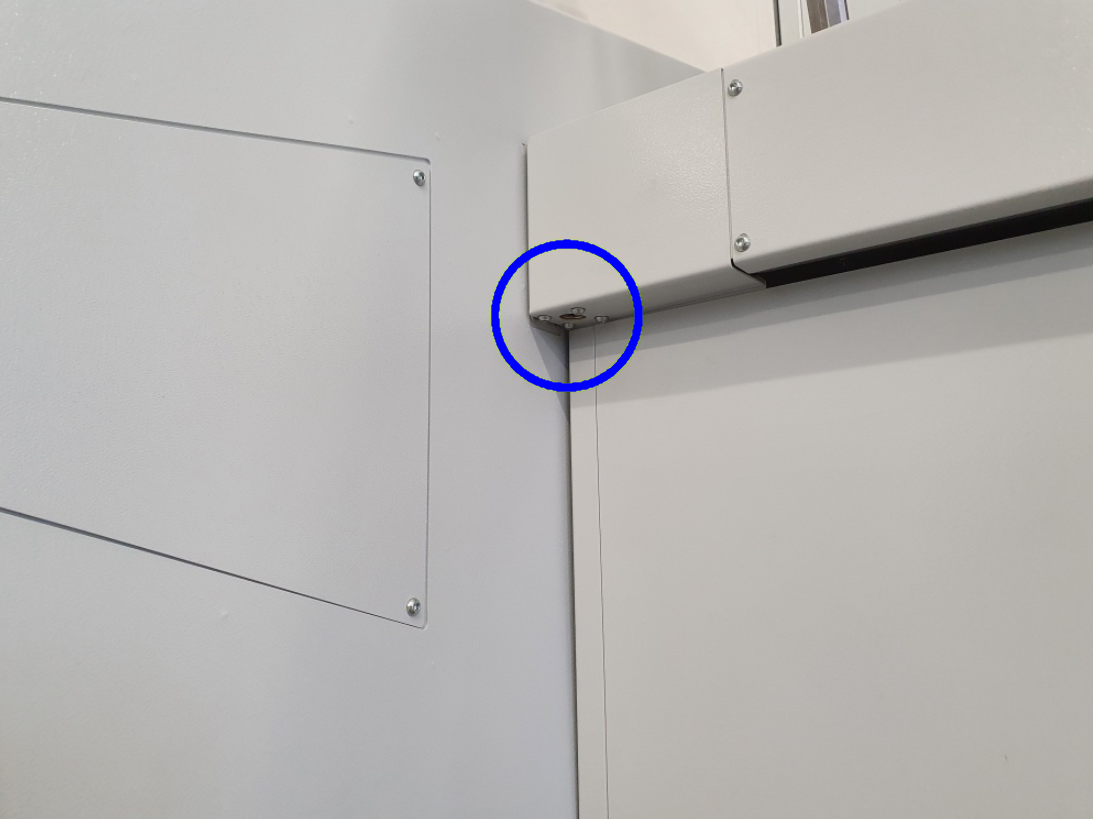
2.3. Optionally: Remove the integrated safety fence
Should this be necessary because of height restrictions on the transporting vehicle, the integrated safety fence can be removed. This is however not mandatory. The Integrated systems are shipped from RoboJob with the safety fence mounted in place.
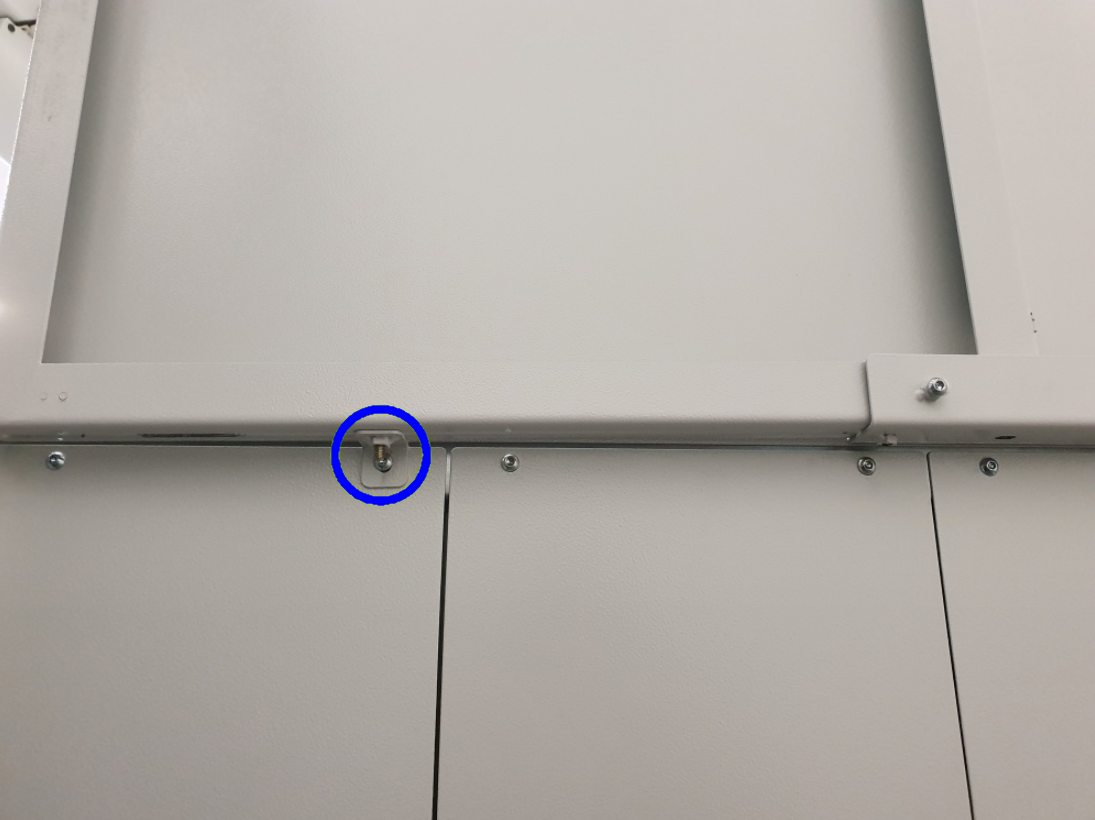
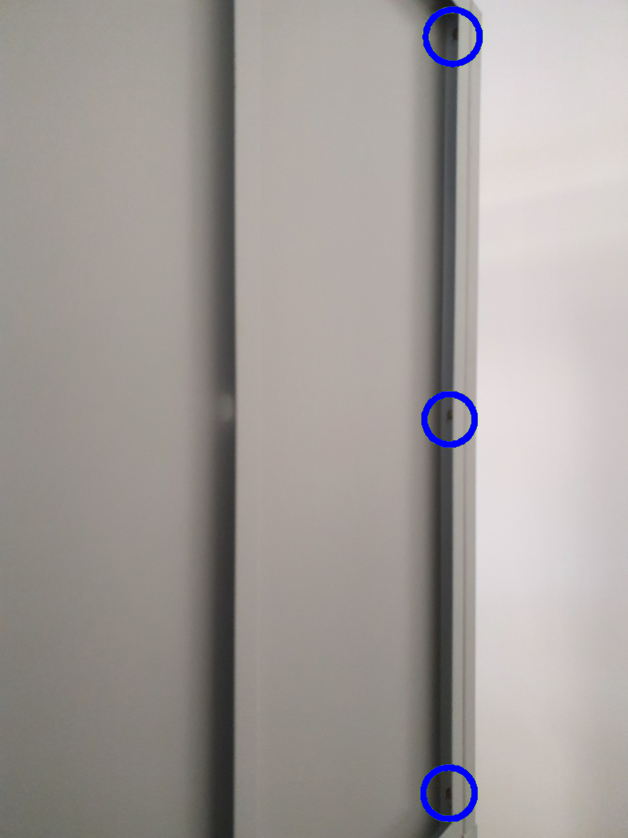
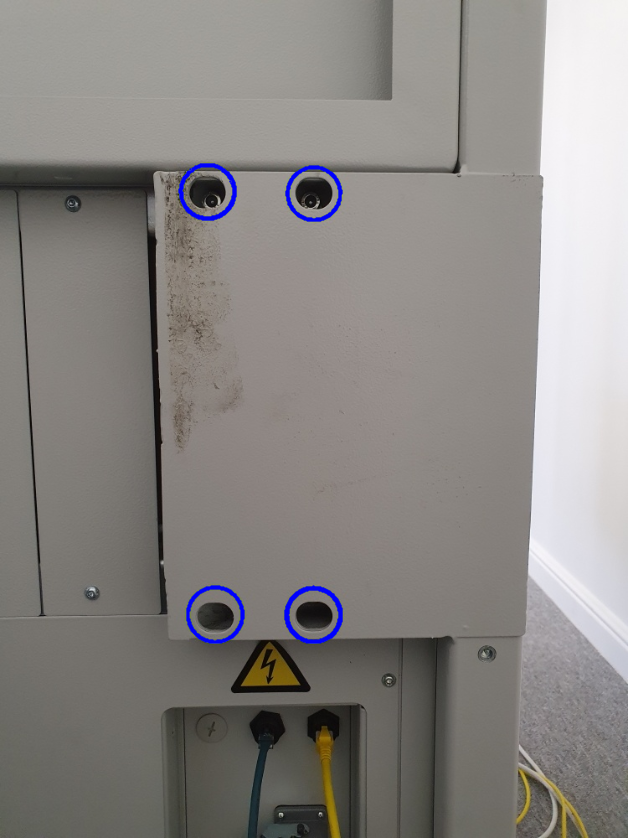
To remove the safety fence, first unlock the safety door using the locking mechanism on the bottom of the table. You can then open the door and lift it off its hinges. The back panel can be released by unscrewing the bolts connecting it to the door support and the stacker table. The door support can then be removed by unscrewing it from the back off the stacker table.
|
|
|
|
|
|
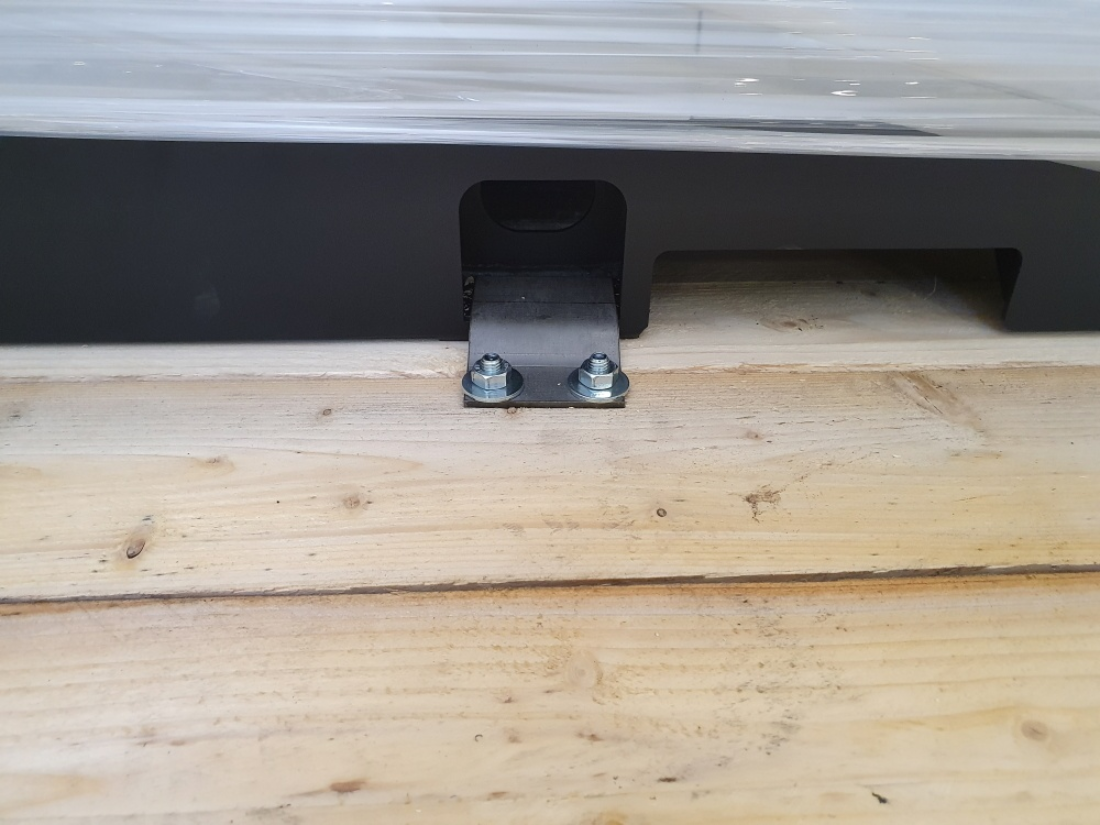
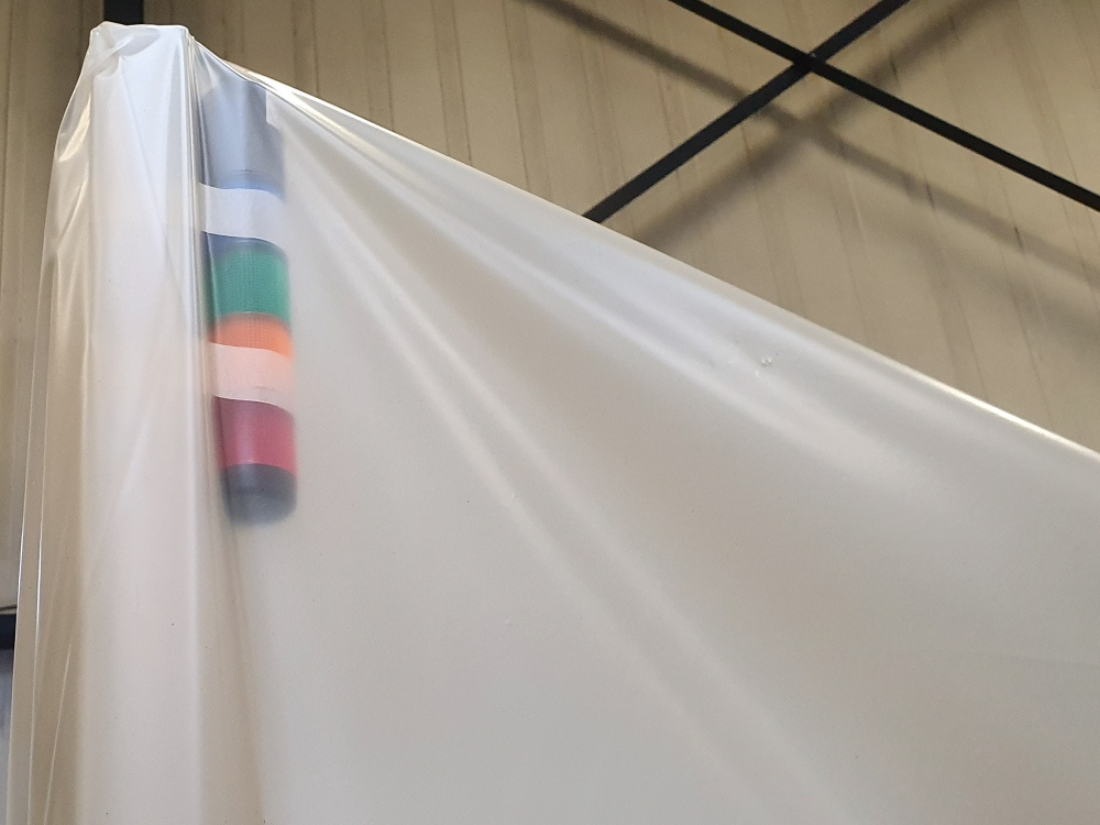
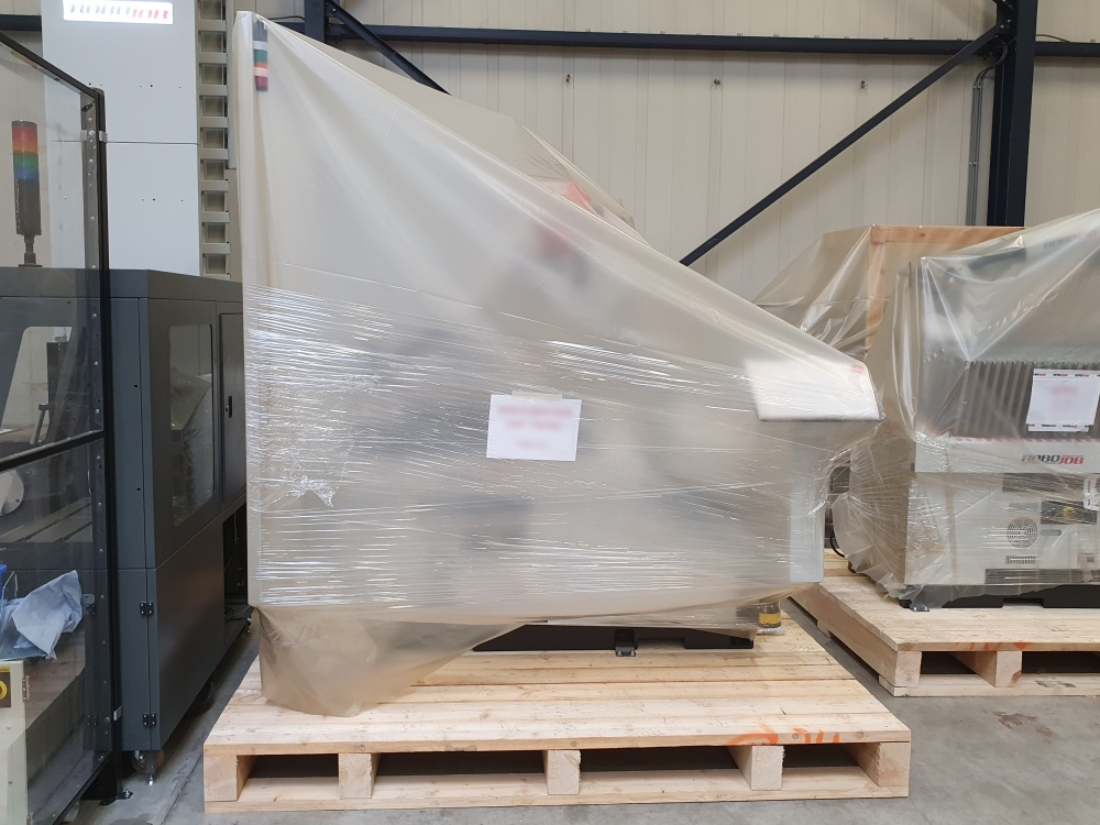
2.4. Secure the system onto a pallet
Place the system onto a pallet and secure it using the provided mounting brackets holes in the robot base. Place straps through the mounting bracket holes to secure the pallet and RoboJob system onto the transport vehicle. Do NOT strap the system down using straps on the top of the table or only by the pallet itself. Take care to not damage the signalling lamp during shipment.
|
|
|
| Note |
Do not try to dismantle any other part of the robot. Do not remove the batteries from the robot. Do not disconnect the motors or the encoders from the robot.
| Note |
Only move the robot using the controller. Do not try to move the robot manually.
3. How to get further help
Do not hesitate to contact us when you need additional support beyond the documents provided in the RoboJob Service Knowledge Base.
You may contact the RoboJob Service department using following means:
-
Help Center: service.robojob.eu
-
Email: service@robojob.eu
-
Phone: +32 15 70 89 70
We kindly ask you to provide us the following information:
-
Serial number xx-xx-xxx
-
Description of the fault or defective part
-
Exact error code or message
-
What did the robot do
-
What was the robot supposed to do
-
Pictures or videos
You can send this information to us via email.To send large files you may make use of a file transfer service like WeTransfer: robojob.wetransfer.com.
An automatic confirmation will be sent upon receipt of your mail.