Replace valve in pneubox
|
Replacing a valve in the pneubox on the robot arm |
|
Mark the cables and tubes before removing them. It is important to put them back in the exact same place after the work is done. |
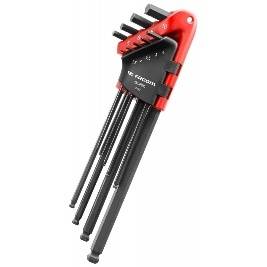
1. Use following tools
|
|
|
2. Procedure
2.1. Power off the robot and shut off the air supply
Power off the robot. Make sure the air supply to the robot is closed before removing tubes.
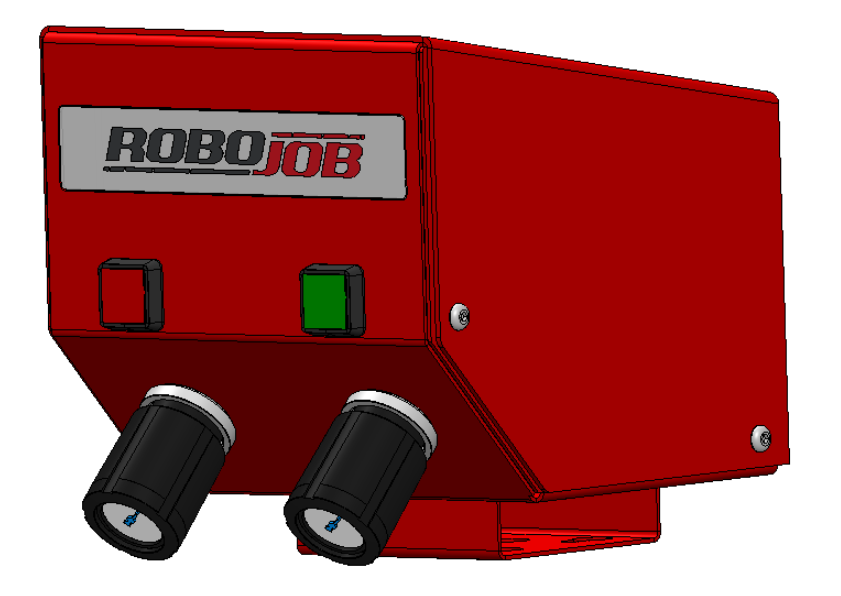
2.2. Remove the cover of the pneubox
The cover of the pneubox can be removed by unscrewing the six socket bolts. Depending on the type of robot, the bolts are located in a different locations. Some examples are given below.
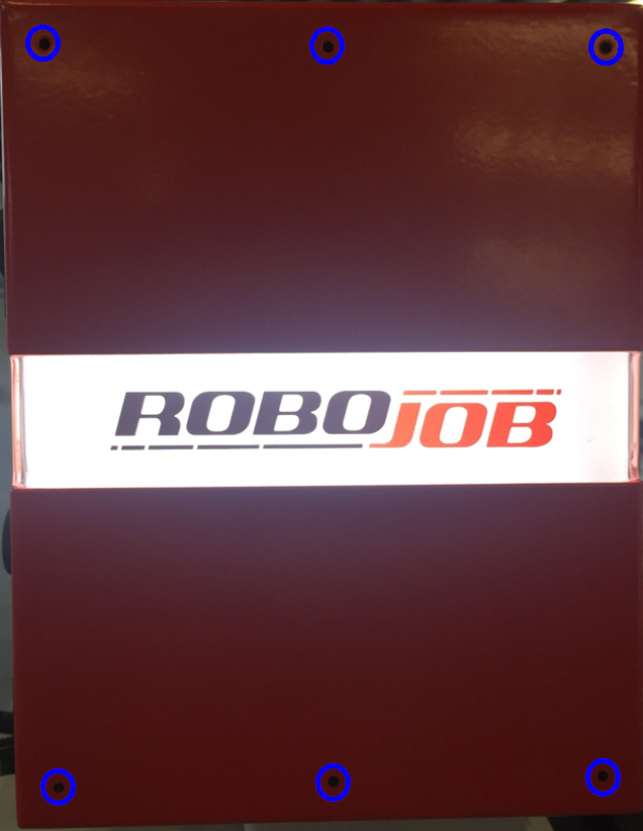
The bolts are located behind the six holes in the cover. You should move the key inside the hole until you reach the bolt. Loosen the bolts, but don’t unscrew them completely. Slide the cover up or down and then pull to remove it.
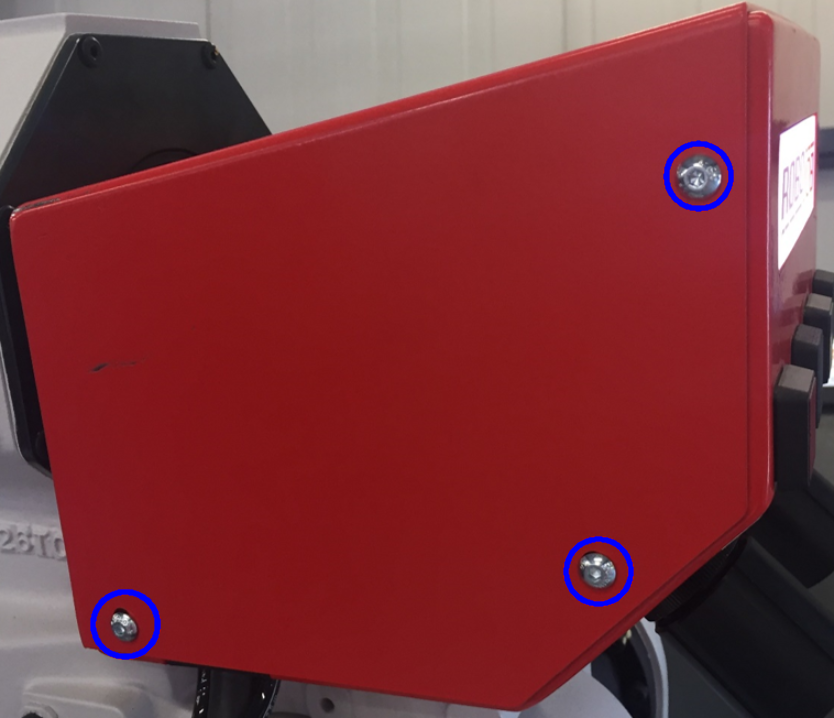
The bolts are located at the side of the pneubox, three at each side.
2.3. Uncouple the valve of the pneubox
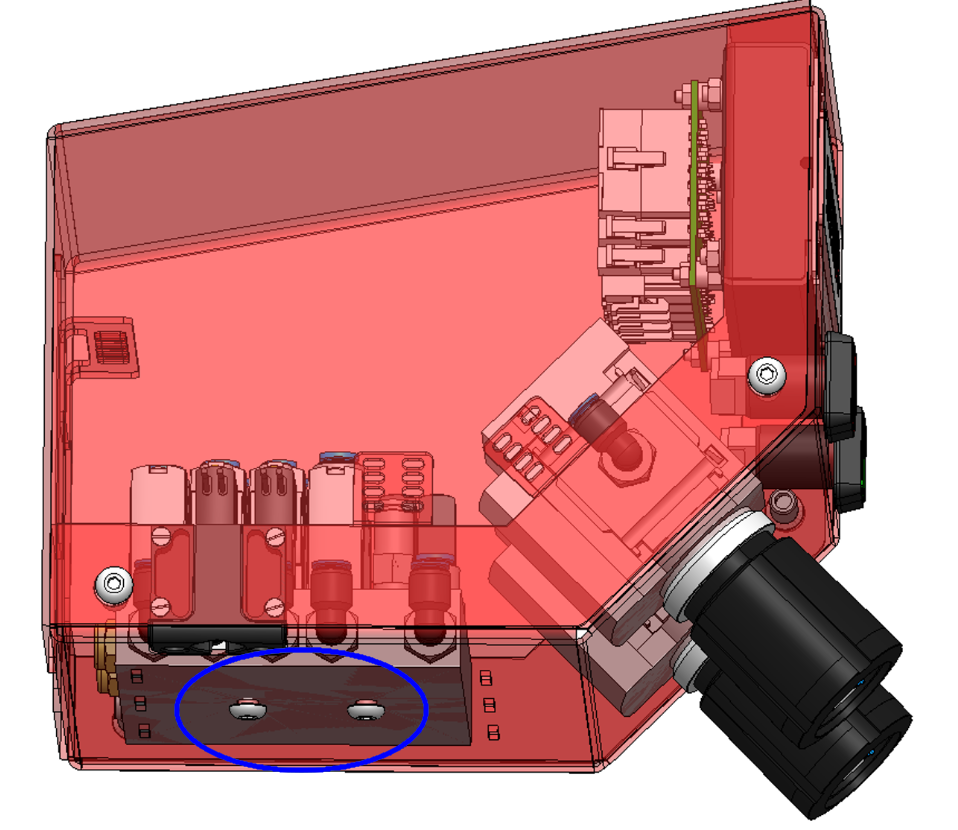
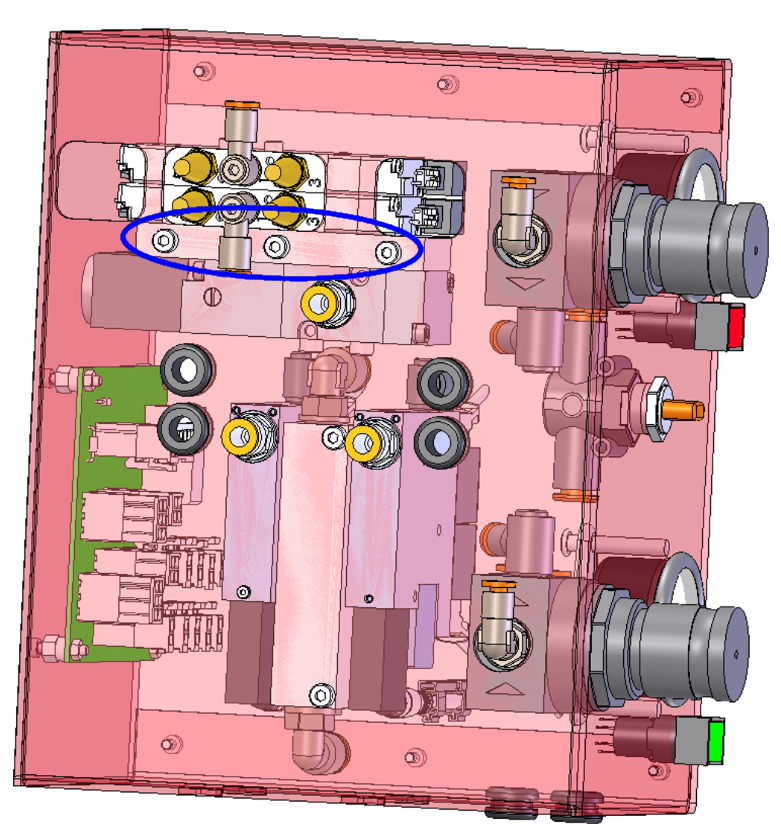
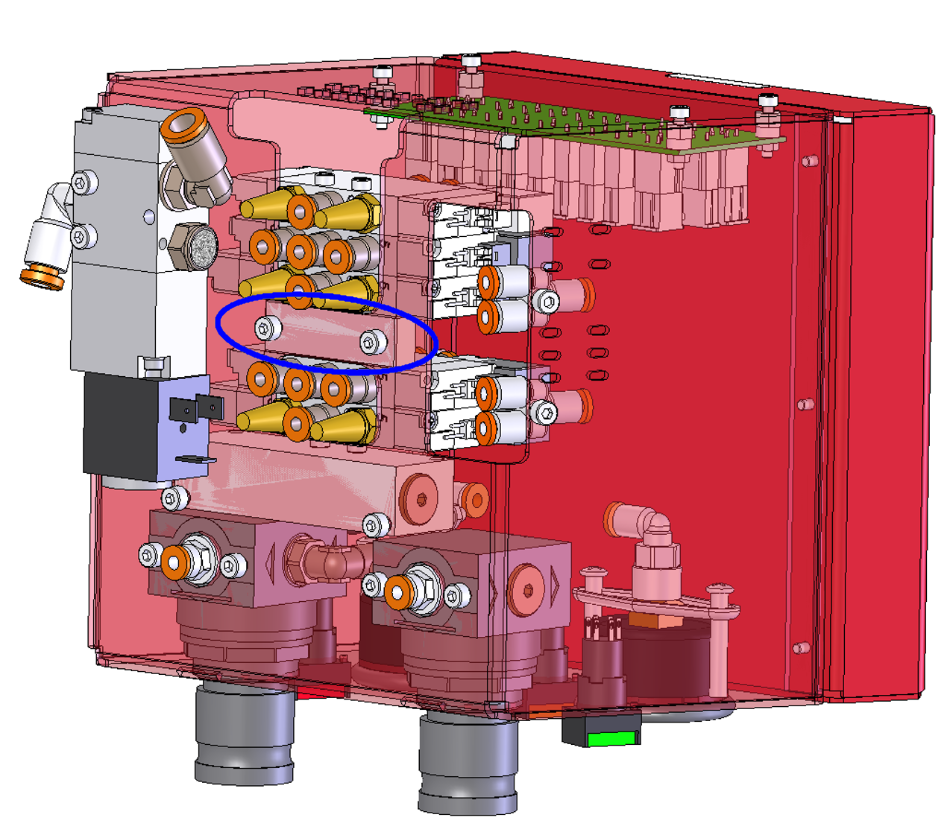
At the back of the pneubox, the valve manifold is fixed with bolts. These can be removed using a hex key. According to the type of installation, the placement and number of bolts can differ.
The valve manifold is fixed with two bolts at the back of the pneubox:
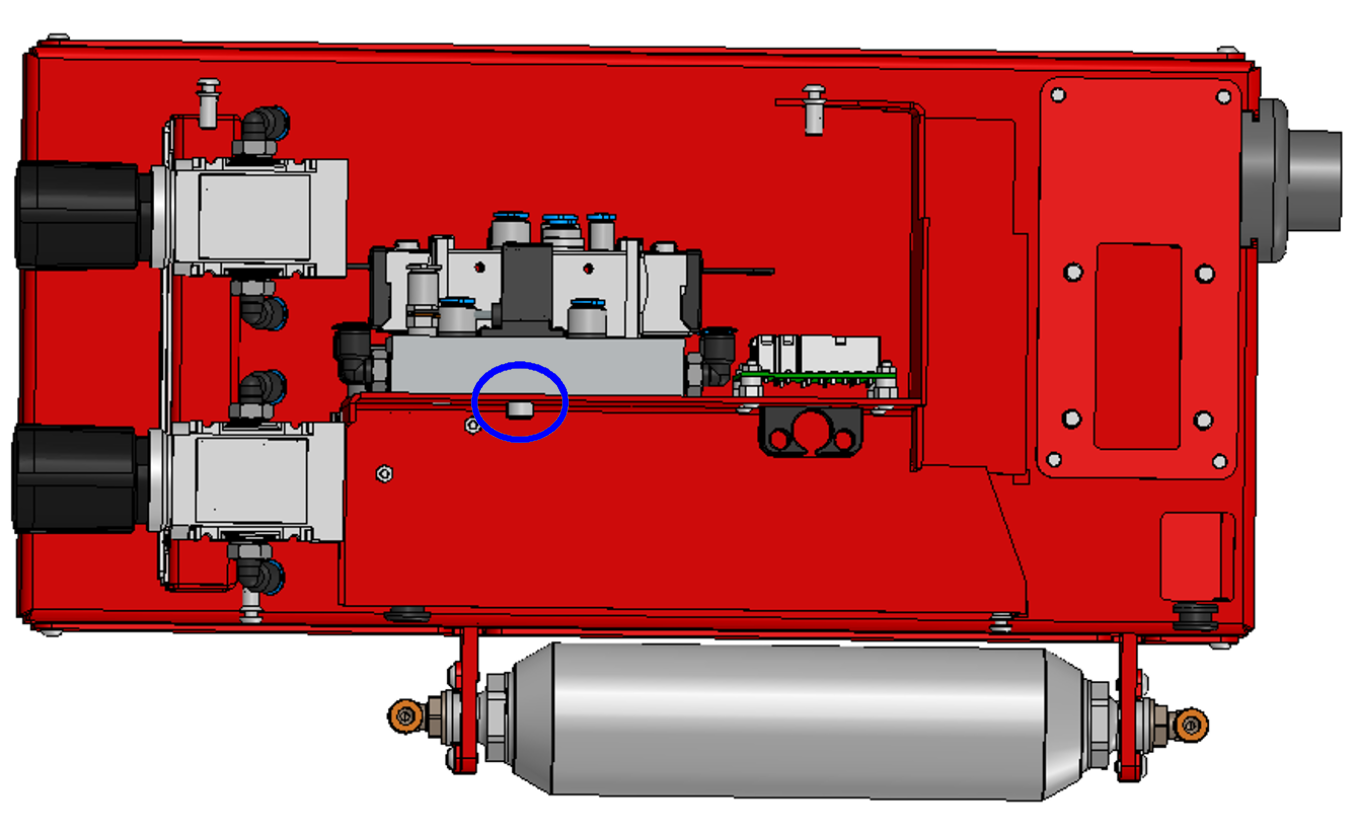
The valve manifold is fixed with two bolts at the bottom of the pneubox:
The valve manifold is fixed with three bolts at the back of the pneubox:
The valve manifold is fixed with two bolts at the back of the pneubox:
2.4. Detach the cables and tubes
According to the type of installation, the valves can be located in the pneubox in a slightly different way.
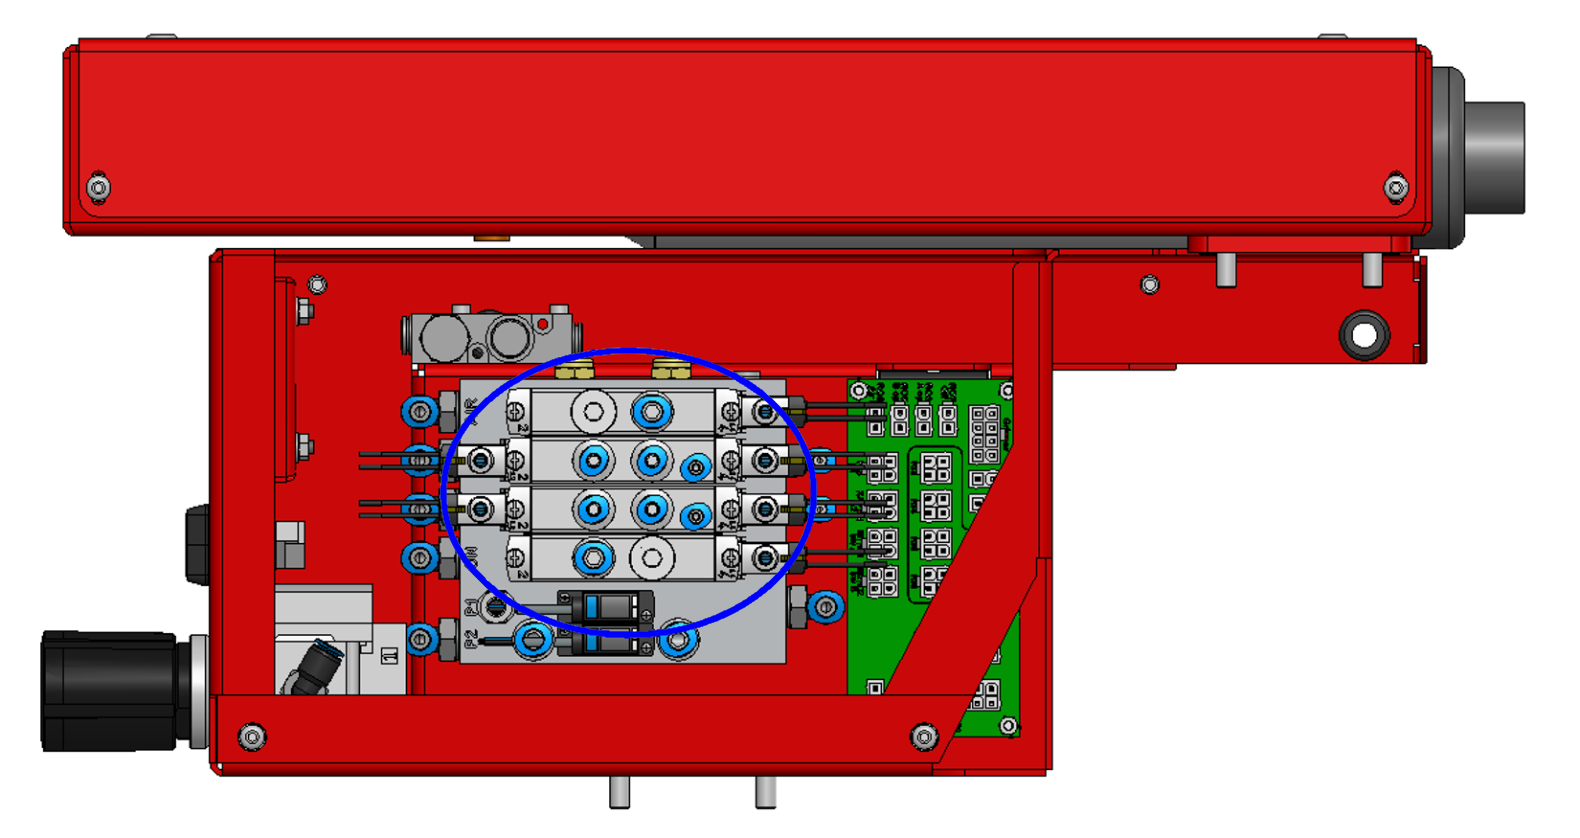
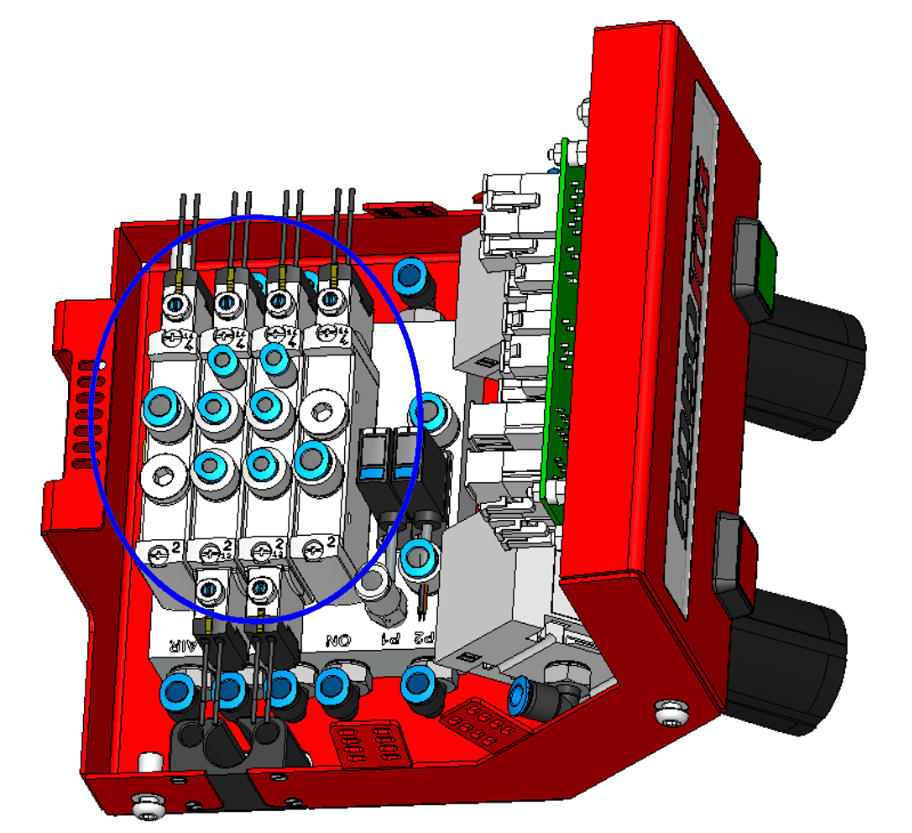
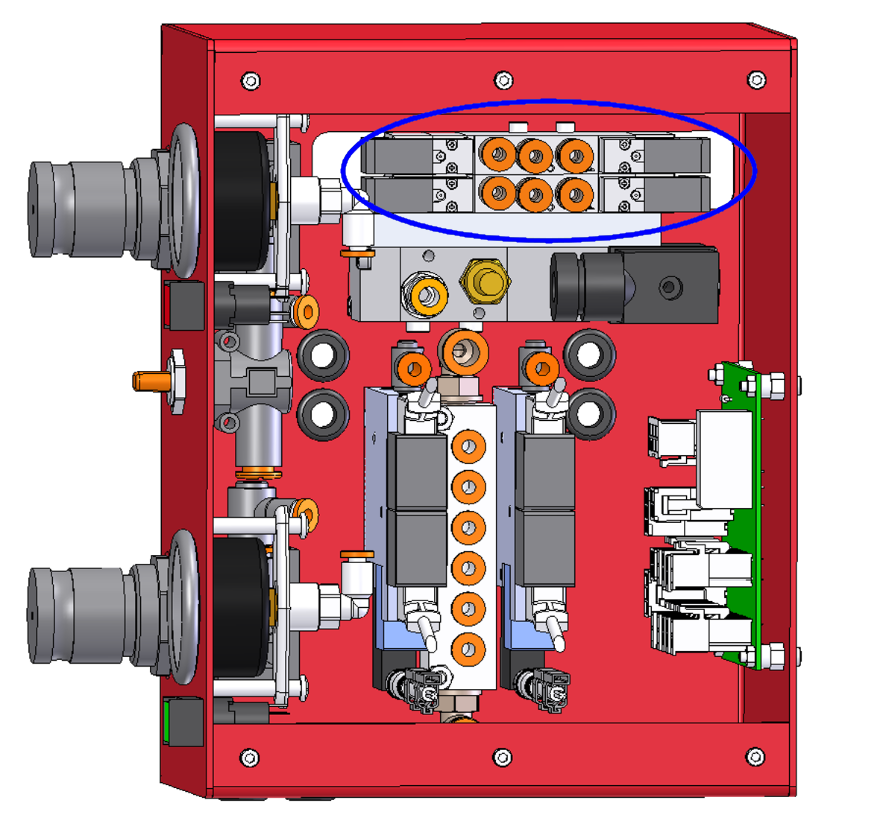
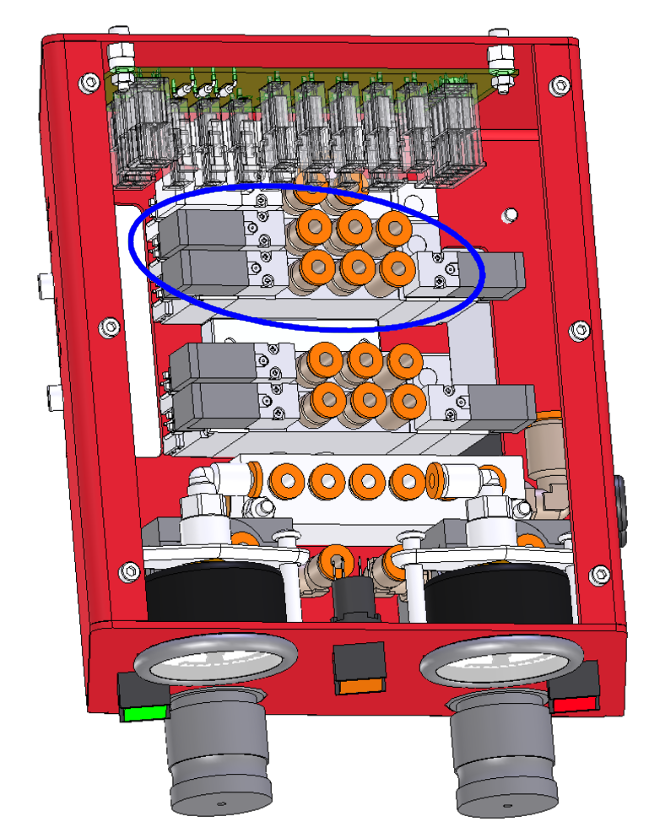
Now the valves are detached from the pneubox, the cables and tubes connected to the valve should be removed to be able to replace it.
| Tip |
Label the cables and tubes when disconnecting them.This will make it easier to reconnect them later.
2.5. Replace the valve
Take the valve out of the pneubox and put the new one in.Attach the cables and tubes to the new valve in exact the same way as you removed them.
2.6. install the valve to the pneubox
Fix the bolts at the back of the pneubox as in step 3 where you removed them.
2.7. install the cover to the pneubox
Put the cover back on the pneubox and fix the cover with the six screws in the same way as you removed them.
| Tip |
Other components in the pneubox can be replaced in a similar way.
3. How to get further help
Do not hesitate to contact us when you need additional support beyond the documents provided in the RoboJob Service Knowledge Base.
You may contact the RoboJob Service department using following means:
-
Help Center: service.robojob.eu
-
Email: service@robojob.eu
-
Phone: +32 15 70 89 70
We kindly ask you to provide us the following information:
-
Serial number xx-xx-xxx
-
Description of the fault or defective part
-
Exact error code or message
-
What did the robot do
-
What was the robot supposed to do
-
Pictures or videos
You can send this information to us via email.To send large files you may make use of a file transfer service like WeTransfer: robojob.wetransfer.com.
An automatic confirmation will be sent upon receipt of your mail.