Battery Replacement
|
The Fanuc industrial robot used in the RoboJob system contains a backup battery.This battery is used to power the position encoders inside the robot when they cannot receive power from the robot controller.If the robot encoders lose power, the robot must be remastered.It is therefore very important to periodically replace the backup battery cells. RoboJob recommends replacing the batteries every year or when the robot will be turned off for a longer period of time. The robot has a system to alert the user when the battery voltage is becoming low, an alarm is then issued. On Robot Teach pendant: SRVO-065 BLAL alarm On RoboJob IPC software screen: CMOS battery low |
|
Keep the controller powered ON while replacing the batteries! Once you get a battery low alert, do NOT shut down the robot controller until the batteries are replaced. |
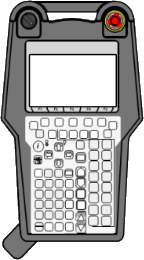
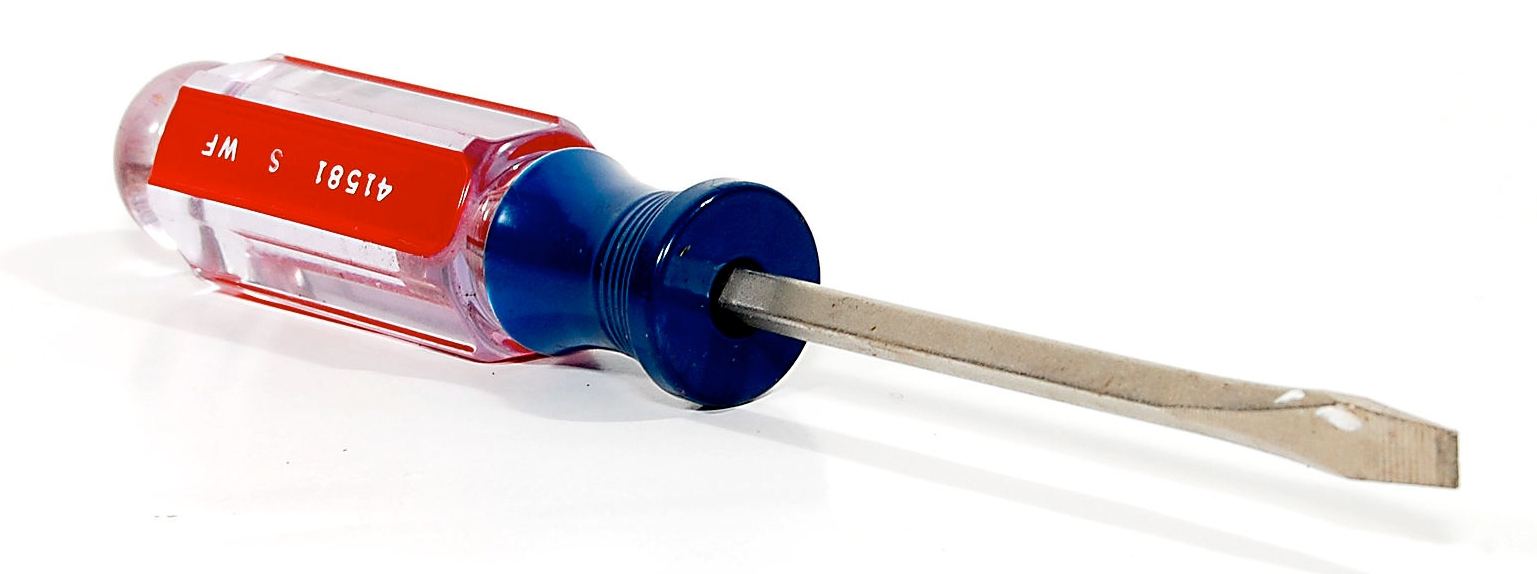
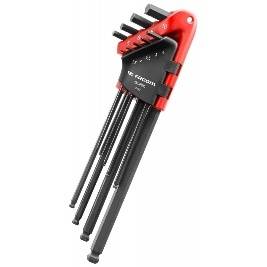
1. Use following tools
|
|
|
|
|
|

2. Procedure
|
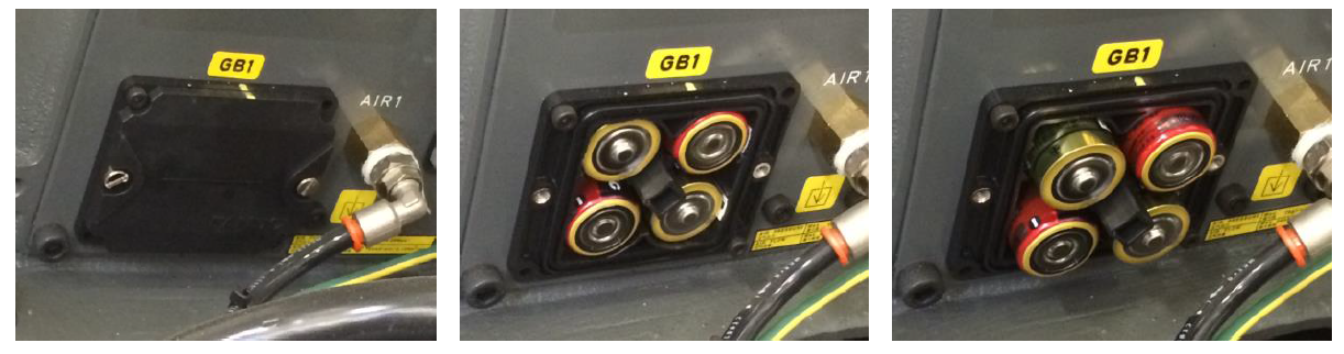
Depending on the type of robot you need a different type of alkaline batteries. For a robot with payload below 70 kg you need 4 C-type (LR14) alkaline batteries. 
Figure 1. C-type batteries
For a robot with payload above 70 kg you need 4 D-Type (LR20) alkaline batteries. 
Figure 2. D-type batteries
Do NOT use rechargeable batteries as they are known to lose their charge quickly. |
2.1. Keep the robot controller on
Keep the controller powered ON while replacing the batteries!The controller must power the robot encoders while the batteries are removed.
2.2. Change the batteries of the robot
2.2.1. Remove the battery cover
The batteries are located in the base of the robot.Use your flathead screwdriver to unscrew the two screws securing the cover and take it off.
|
On the second-generation systems it is necessary to remove part of the cover plates to access the robot base and battery cover. 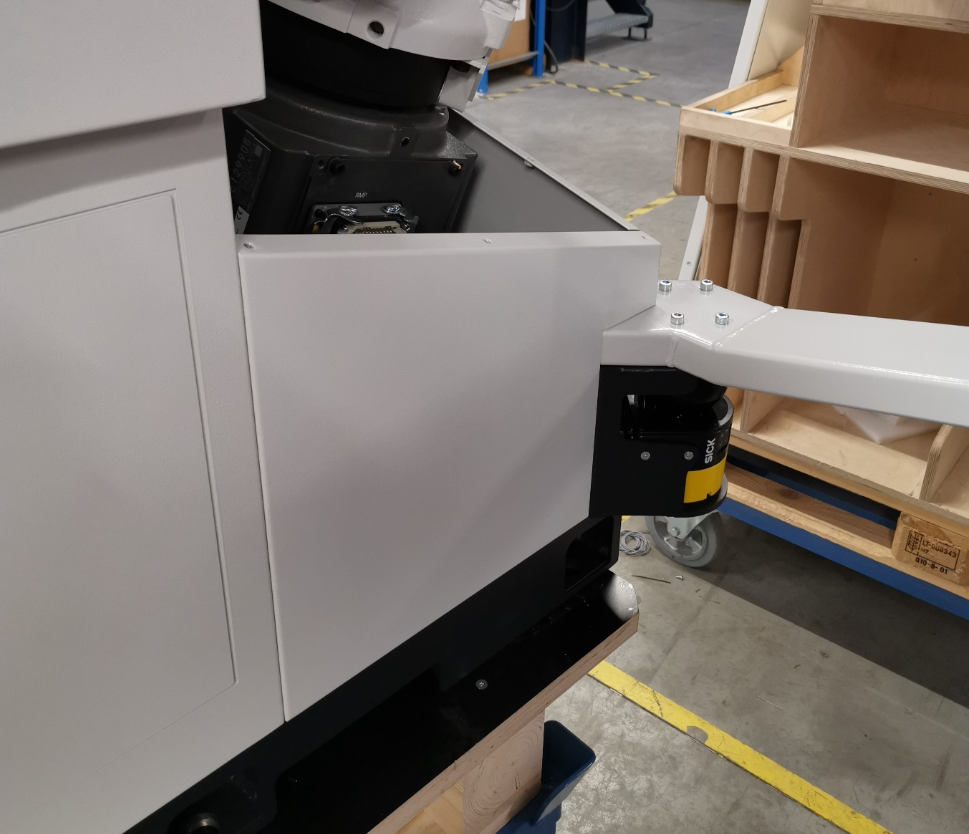
Figure 4. cover plate removed
|
|
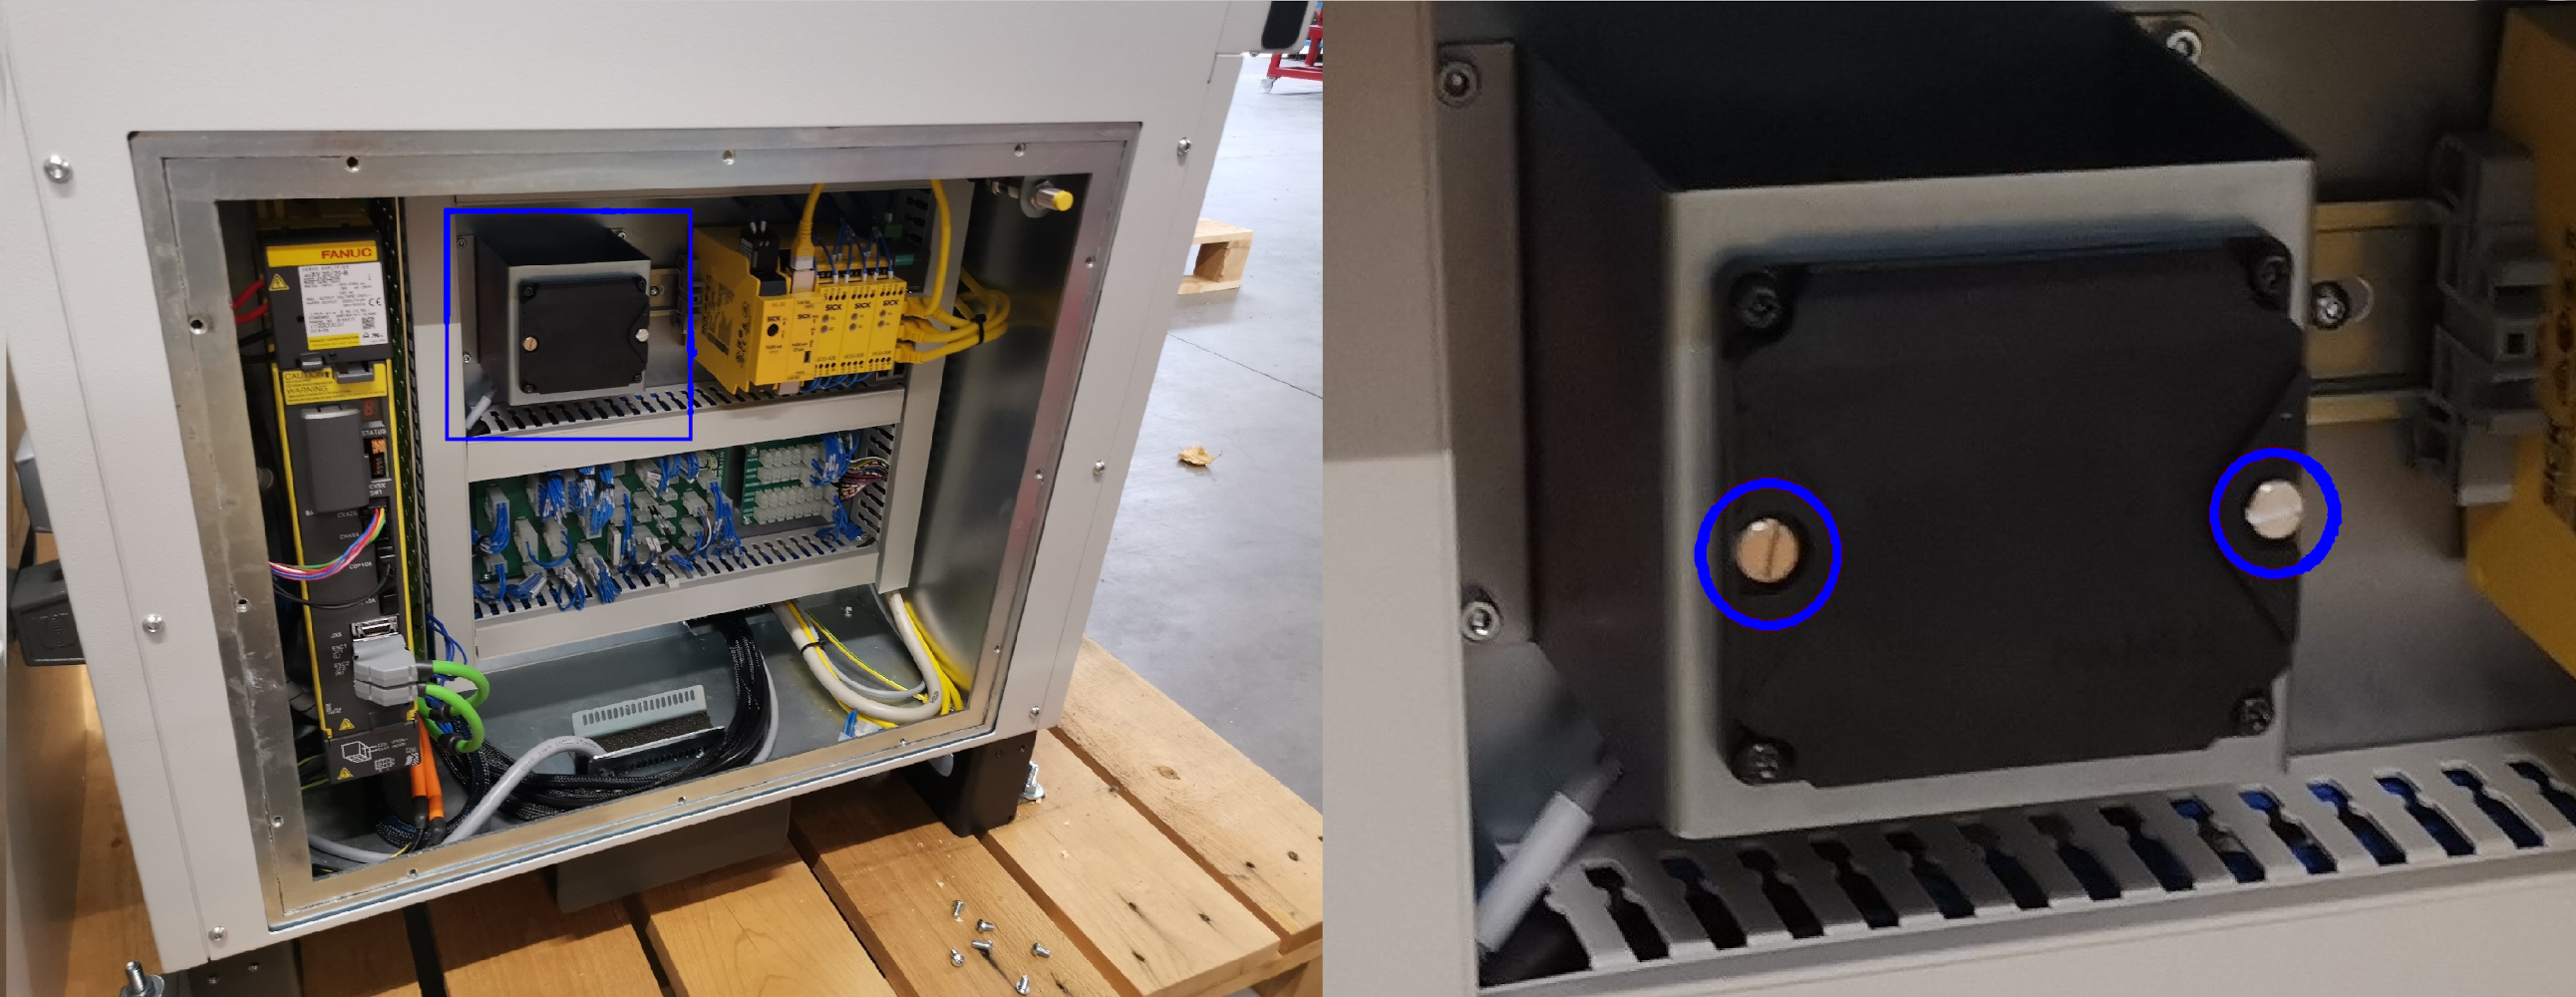
Do NOT remove the cable above the battery cover.It is through this cable that the encoders are powered while you replace the batteries. 
Figure 5. robot power cable
|
|
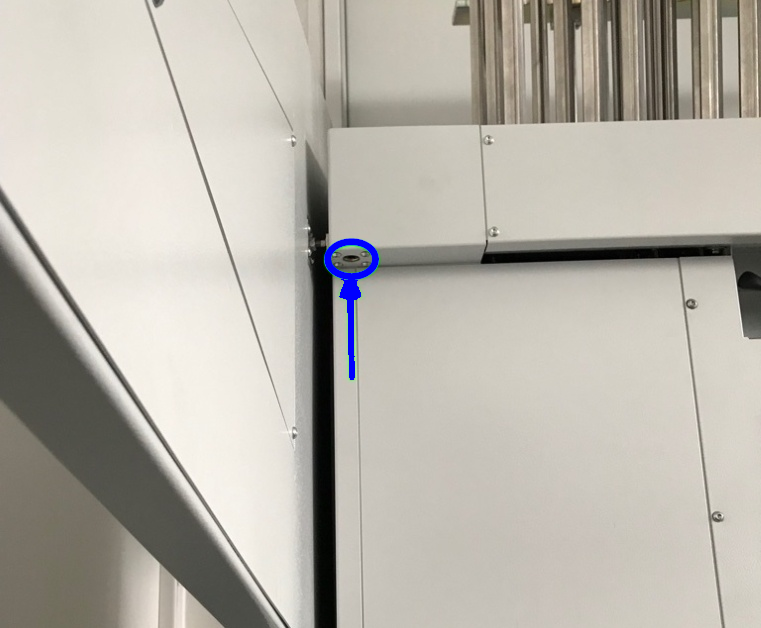
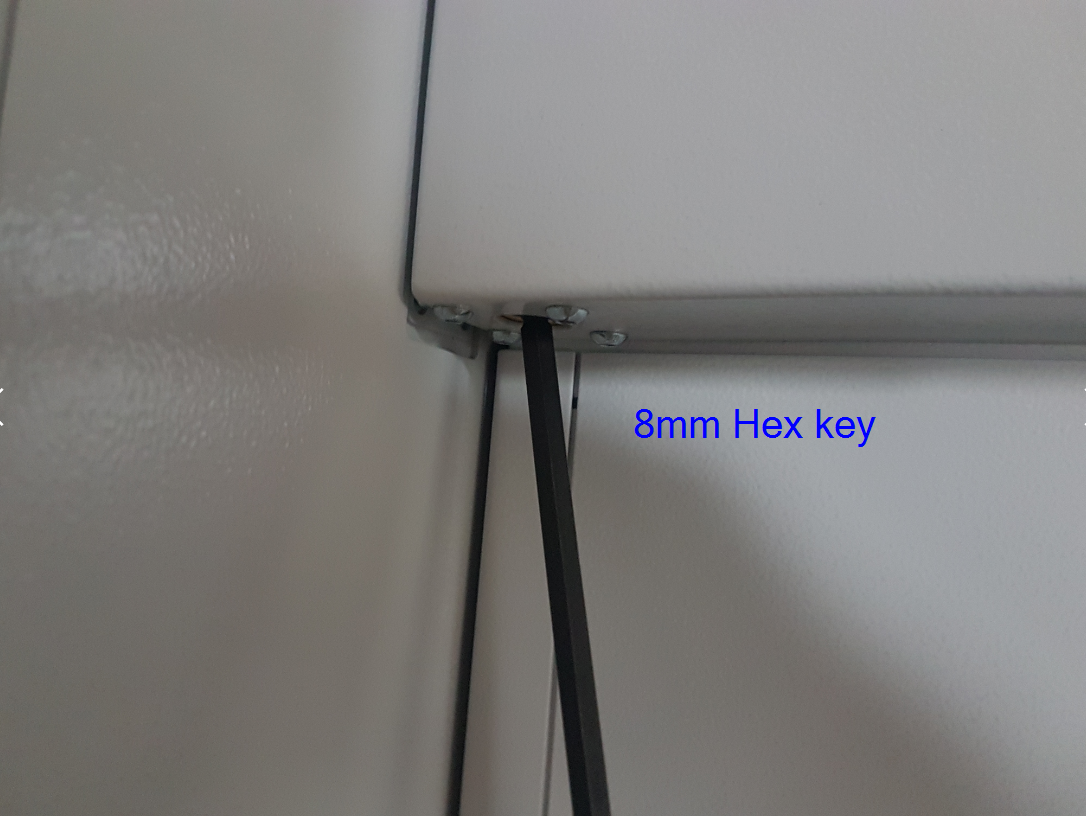
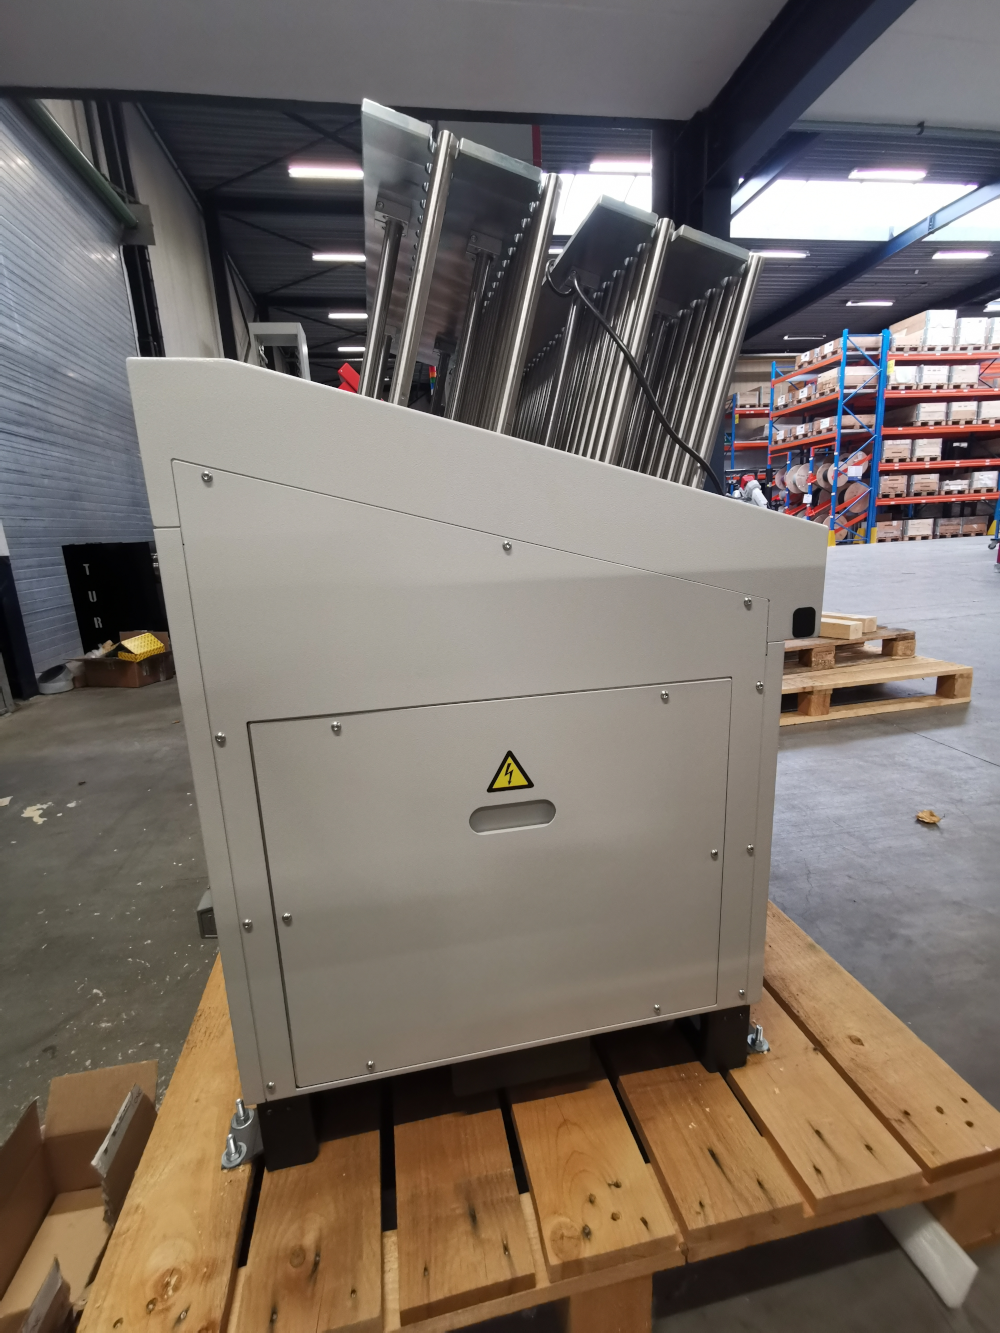
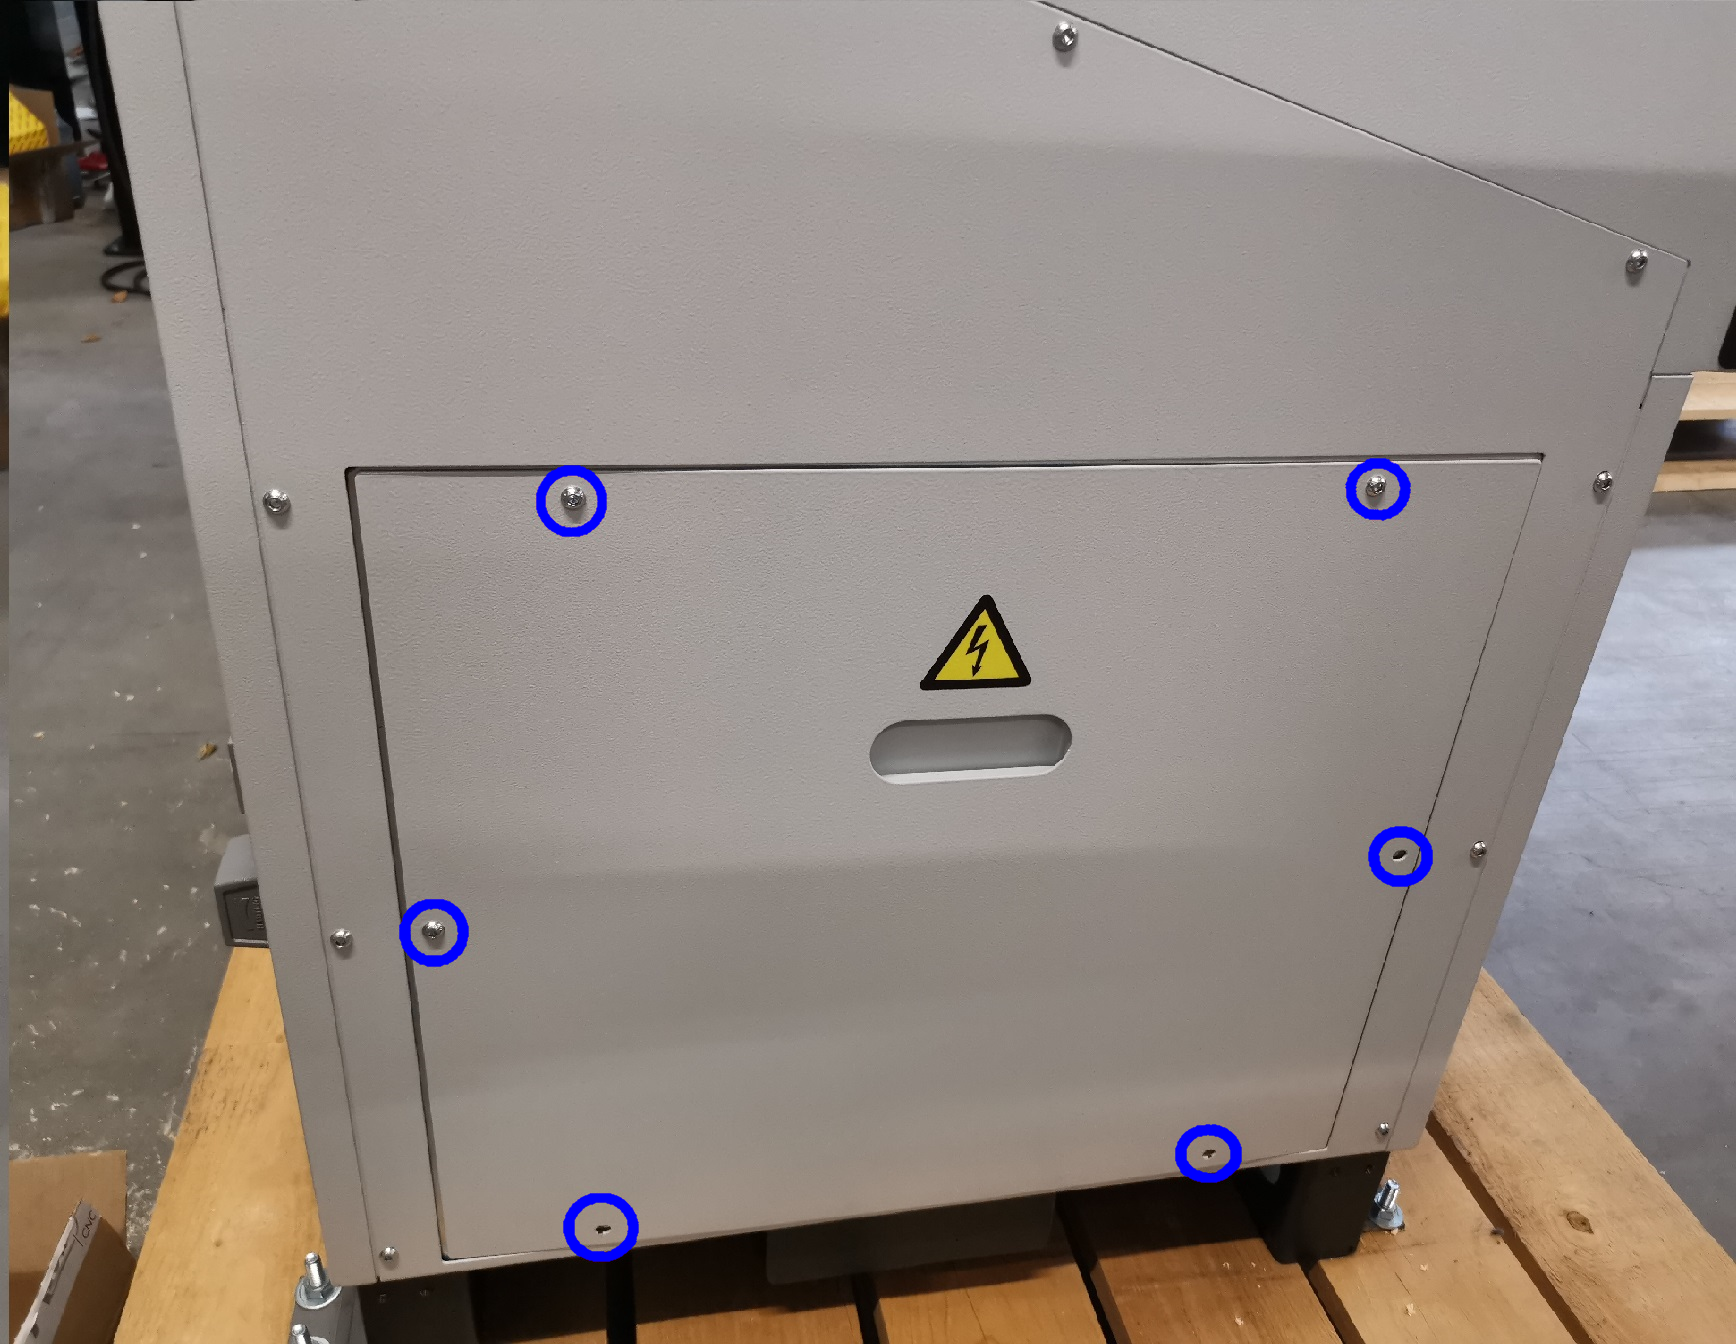
On the second-generation systems with an iD robot the batteries are located in the electrical cabinet of the table.It is necessary to open the electrical cabinet to reach the batteries. |
Use a 8mm hex key to open the electrical cabinet door.Turn counter clockwise to open.
2.2.2. Replace the batteries
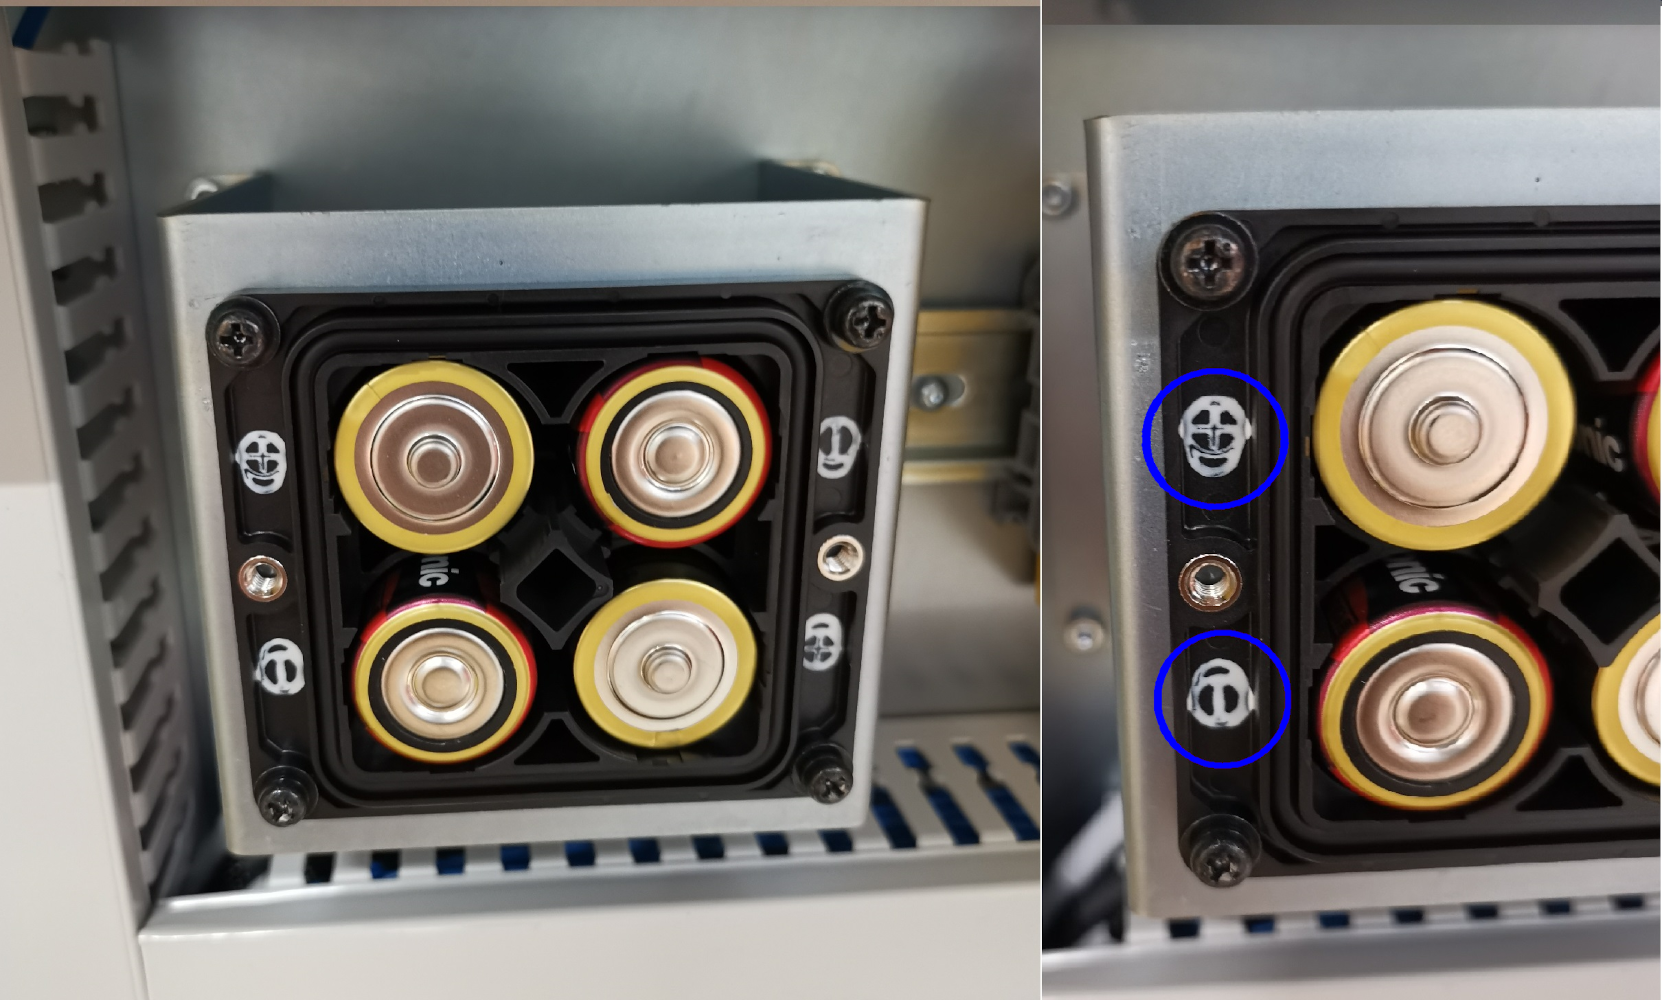
Replace the batteries one by one so that you can make sure that their orientation (polarity) stays the same.
2.2.3. Mount the battery cover
Re-mount the battery cover.
2.3. Changing the batteries of the Servo Table (Optional)
If your RoboJob system has a 2nd generation servo table with the robot seperated (see image below) follow this procedure below to change the batteries of the table. Otherwise,skip to Reset all faults.
2.3.1. Remove the battery cover
The batteries are located behind a part of the housing on the side of the stacker table.
Unscrew the bolts so it is possible to remove this part of the housing.
When the housing is gone the battery compartment is visible.Unscrew the two screws to remove the cover of the battery compartment.
2.3.2. Replace the batteries
Before inserting the new batteries, write the current date on each battery with a permanent marker.For example, you could write '12/2022'.During maintenance, the battery life can then be easily checked.
Replace the batteries one by one.Next to the batteries is an indication how the batteries should be oriented.
2.3.3. Mount the battery cover
Re-mount the battery cover.
2.3.4. Mount housing
Re-mount the part of the housing to cover up the electrical compartment.
2.4. Reset all faults
Push RESET on the robot teach pendant to clear all fault.Do NOT power the robot down until the battery low error has been reset.
When it is not possible to reset the error, contact RoboJob.
3. How to get further help
Do not hesitate to contact us when you need additional support beyond the documents provided in the RoboJob Service Knowledge Base.
You may contact the RoboJob Service department using following means:
-
Help Center: service.robojob.eu
-
Email: service@robojob.eu
-
Phone: +32 15 70 89 70
We kindly ask you to provide us the following information:
-
Serial number xx-xx-xxx
-
Description of the fault or defective part
-
Exact error code or message
-
What did the robot do
-
What was the robot supposed to do
-
Pictures or videos
You can send this information to us via email.To send large files you may make use of a file transfer service like WeTransfer: robojob.wetransfer.com.
An automatic confirmation will be sent upon receipt of your mail.