Replacing the IPC
|
This document describes how to replace IPC of your system. |
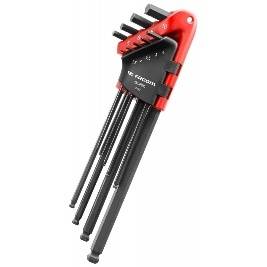
1. Use following tools
|
|
|
|

2. Procedure
2.1. Power off the installation
Shut down the IPC and turn off the system.
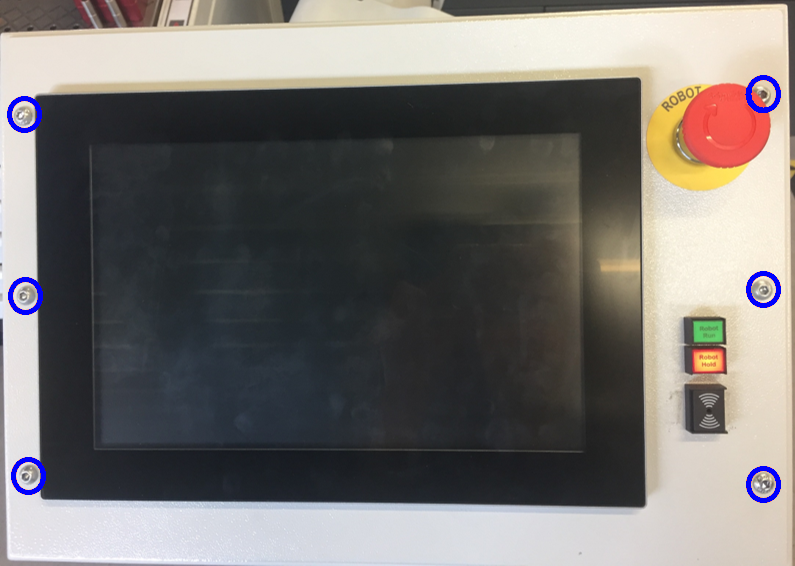
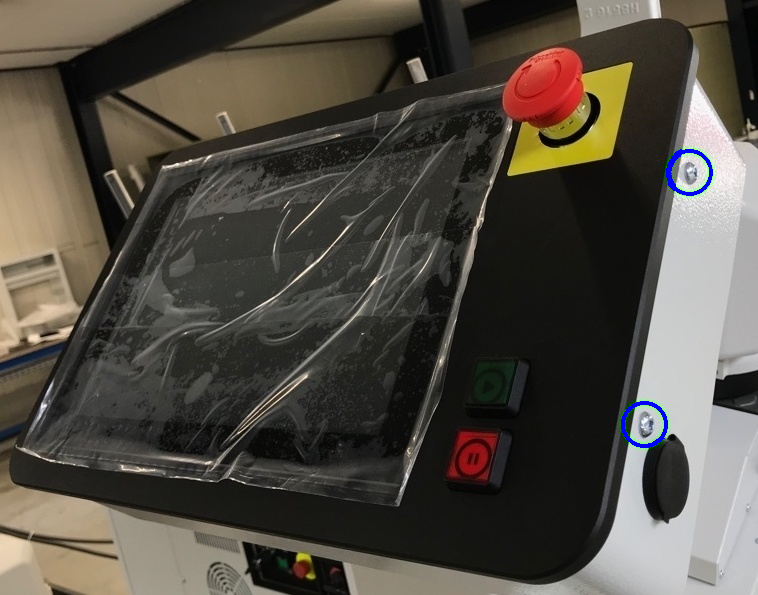
2.2. Open the IPC housing
Unscrew the bolts on the IPC housing so that you can lift the top panel, containing the IPC.
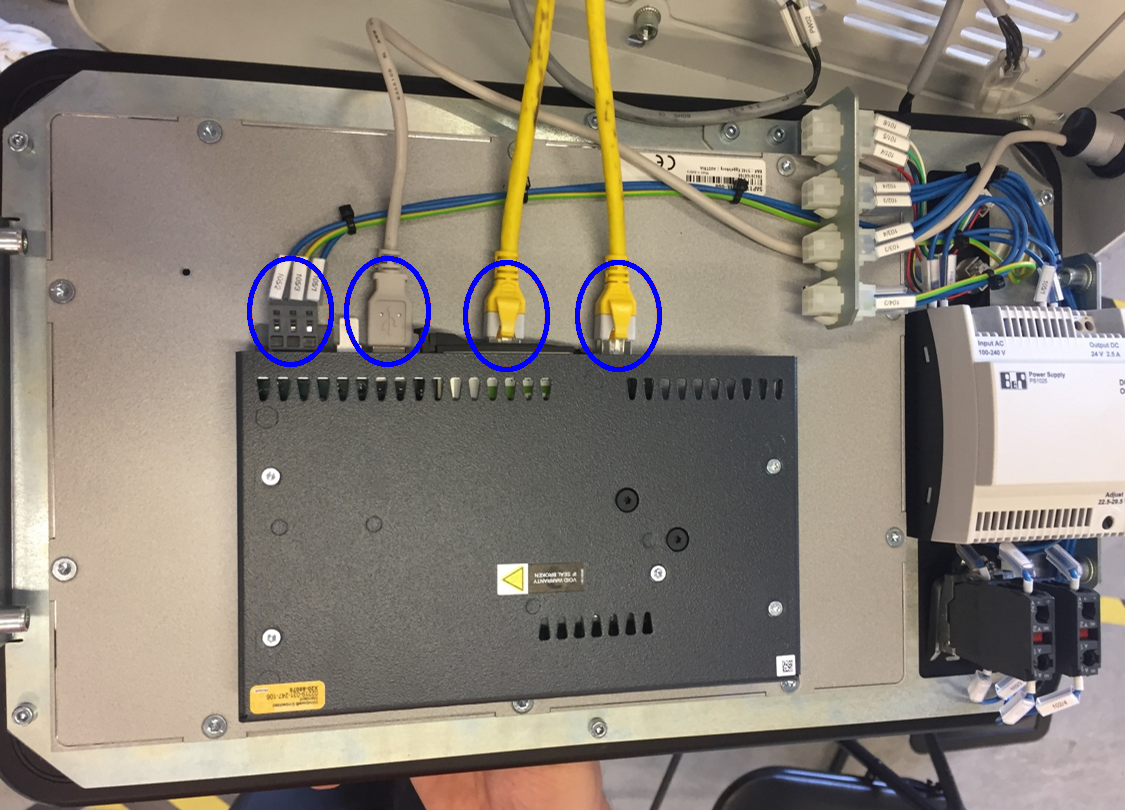
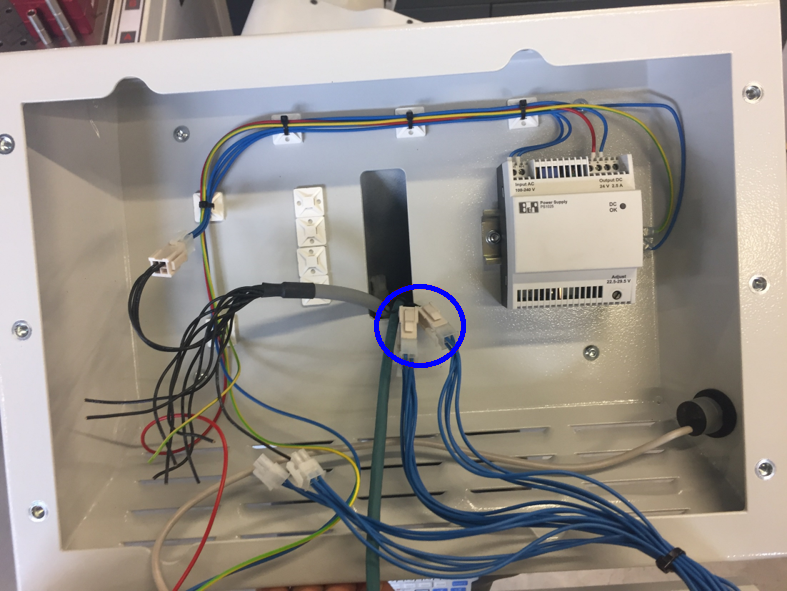
2.3. Unplug the cables
Lift the IPC to gain access to the cables connected to the IPC.Unplug all cables so that you remove the IPC.On some installations, the connectors are located inline and can thus be hidden inside the IPC post.
|
The cables have to be reconnected to the new IPC.Pay attention witch cables you detach and where exactly they were attached.It might be useful to labels the cables and write down where they should be connected. |
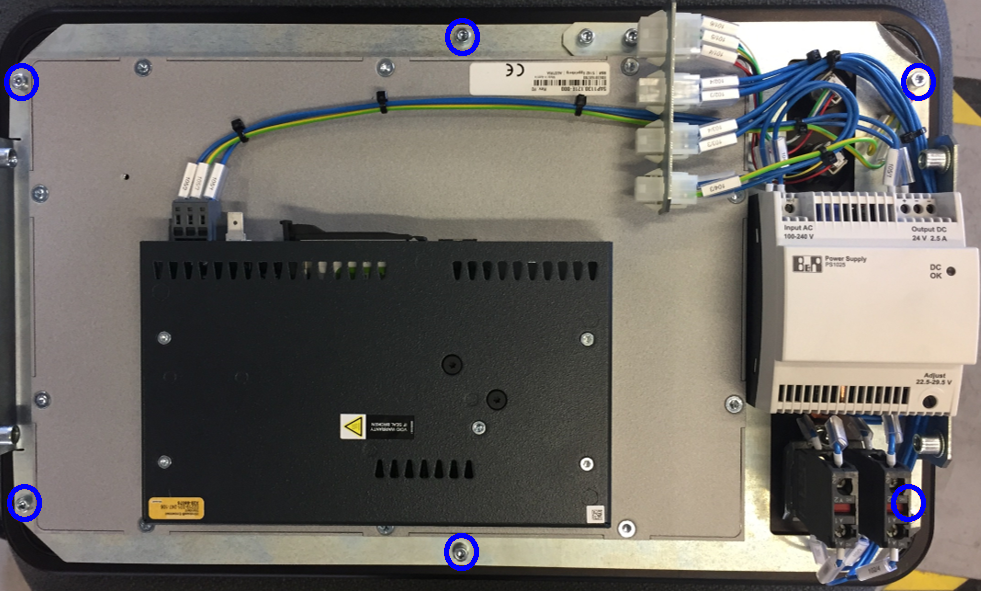
2.4. Remove the IPC from the front plate
Remove the socket bolts securing the IPC to the front plate.You can then slide the tabs holding the bolts out of the side of the IPC.Now the IPC is free to slide out of the front plate.
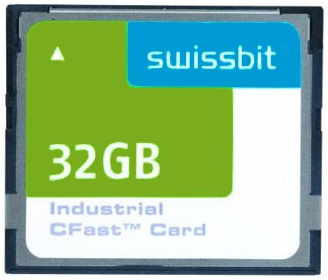
2.5. Transfer the CFast card
The CFast card is located in the middle of the IPC.Open the CFast card holder by first removing the securing lid.This might be a plastic cover with a button to push, see below.In other models the cover is simply mounted with a screw.
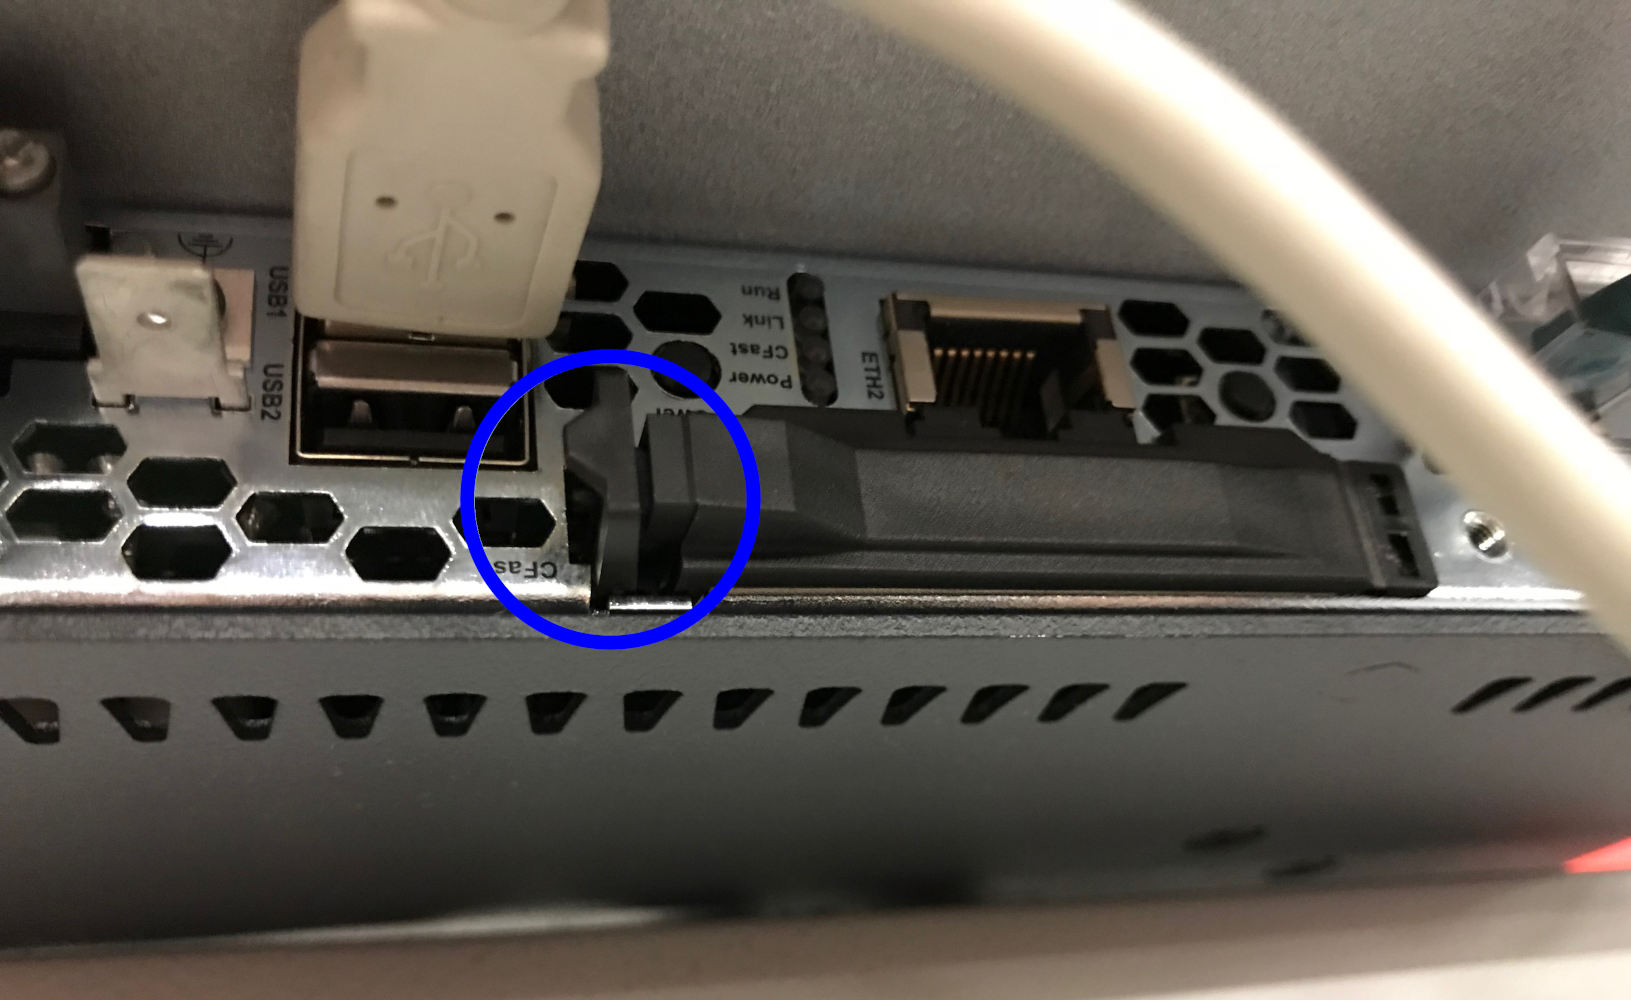
Eject the CFast card by pushing the button on the left of the card.Pull out the card by hand.
Slide the CFast card into the empty slot of the new IPC.Make sure the CFast is seated correctly in the slot, then close the securing lid.
2.6. Install the new IPC in the front plate
The new IPC should be mounted in the same way as the old IPC you just removed.
2.7. Plug in all cables
Reconnect all cables exactly in the same way as you removed them.It is important the connect the cables in the correct ports for the system to function correctly.
|
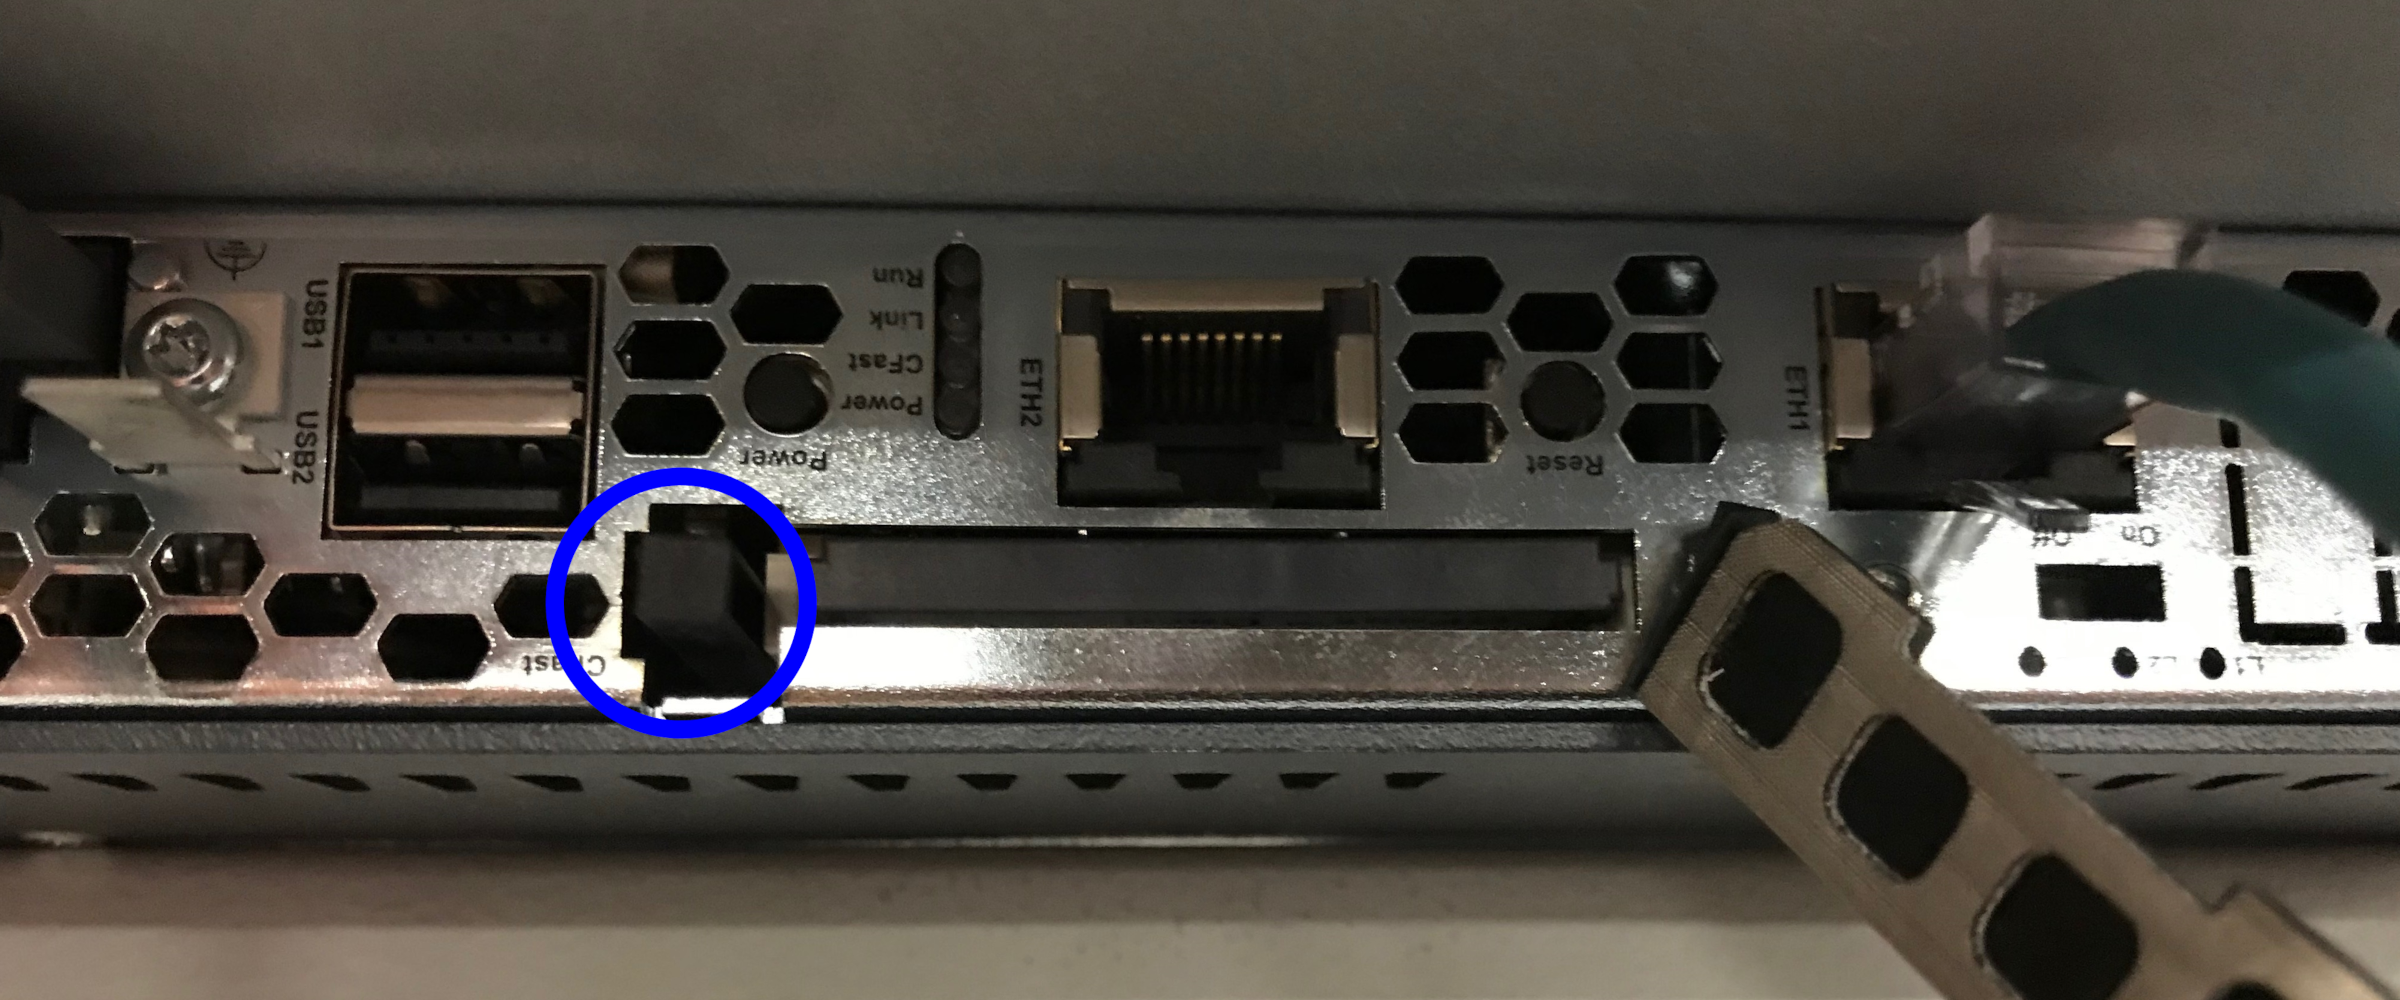
Be sure to plug the Ethernet cable back into exactly the same ports.When there is only one ethernet cable, this should normally have been installed in the port labeled 'ETH1'. |
2.8. Reinstall the IPC housing
Carefully put the IPC back into the panel.Mount the cover using the screws you removed earlier.Install the IPC and the panel in the housing with the same screws you removed.
2.9. Turn on the system
Turn on the system, the IPC should boot into the Windows environment.Check if all functions are working properly.
3. How to get further help
Do not hesitate to contact us when you need additional support beyond the documents provided in the RoboJob Service Knowledge Base.
You may contact the RoboJob Service department using following means:
-
Help Center: service.robojob.eu
-
Email: service@robojob.eu
-
Phone: +32 15 70 89 70
We kindly ask you to provide us the following information:
-
Serial number xx-xx-xxx
-
Description of the fault or defective part
-
Exact error code or message
-
What did the robot do
-
What was the robot supposed to do
-
Pictures or videos
You can send this information to us via email.To send large files you may make use of a file transfer service like WeTransfer: robojob.wetransfer.com.
An automatic confirmation will be sent upon receipt of your mail.