ERROR: Disconnected (Multi-Assist)
|
Follow this document when a device is disconnected. 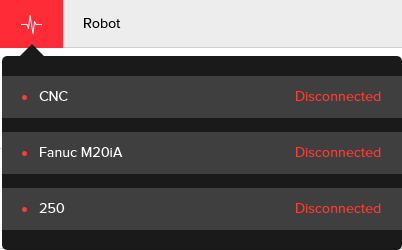 |
1. Use following tools
|
|
|
|
|
|
|
|
2. Procedure
2.1. Restart all devices
Restart all devices: the IPC, Robot controller, stacker table, Device Interface and machine.
After restarting the software, make sure all devices are powered on and running.
2.2. Verify software configuration
Verify that the IP adresses and port numbers are configured correctly in the software.This can only happen if software changes have been made.
2.3. Check cables
Verify that all cables are connected. Verify that no cables are interrupted, broken or damaged in any way.
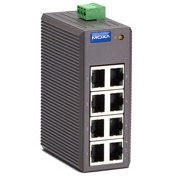
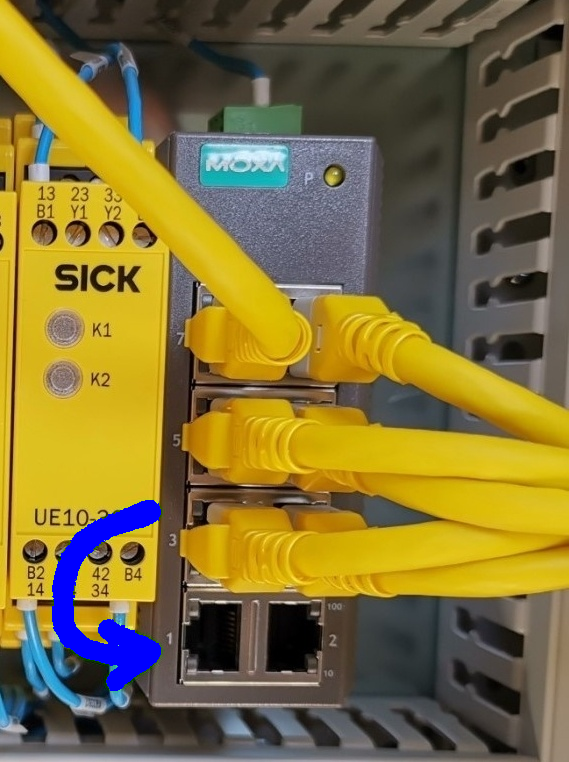
All cables are connected to a central Ethernet switch located in the stacker table or in the robot controller.
2.3.1. Stacker Table
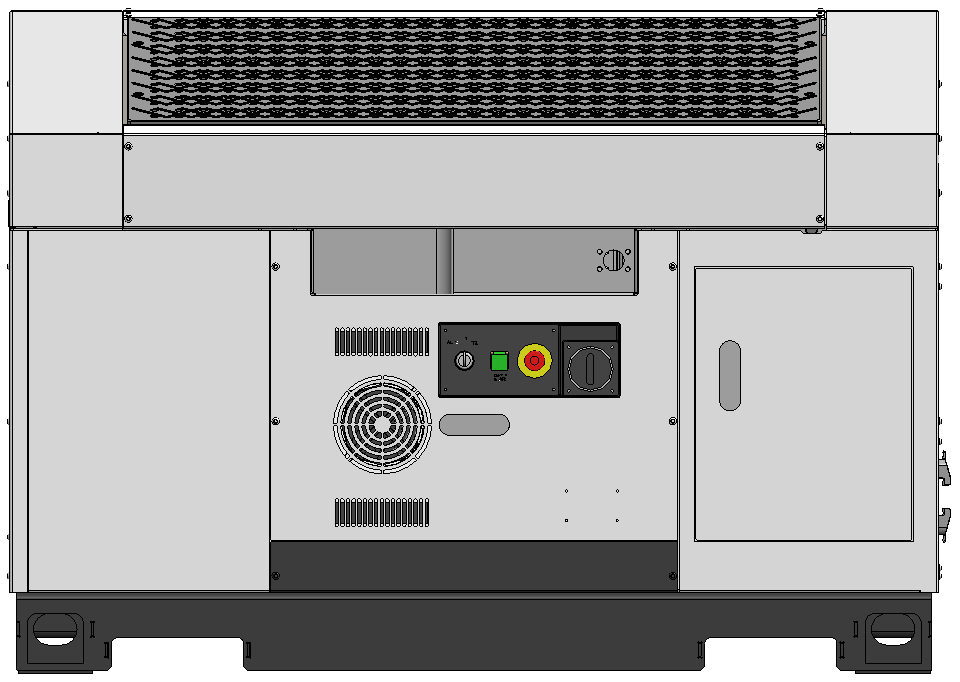
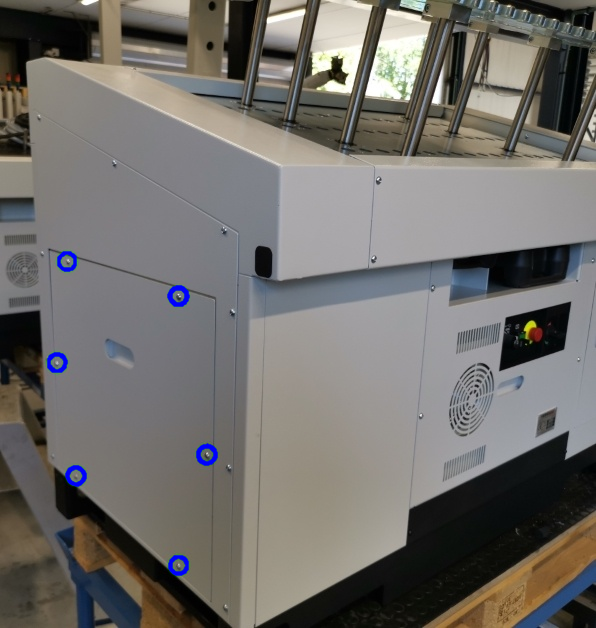
Check the Ethernet connections on the exterior of the stacker table.Depending on the setup the number of connections may vary.
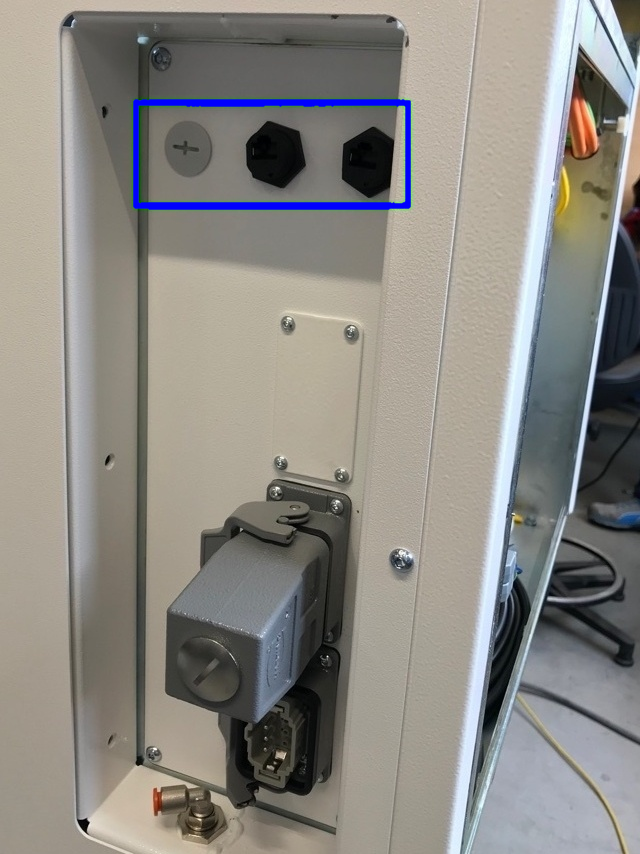
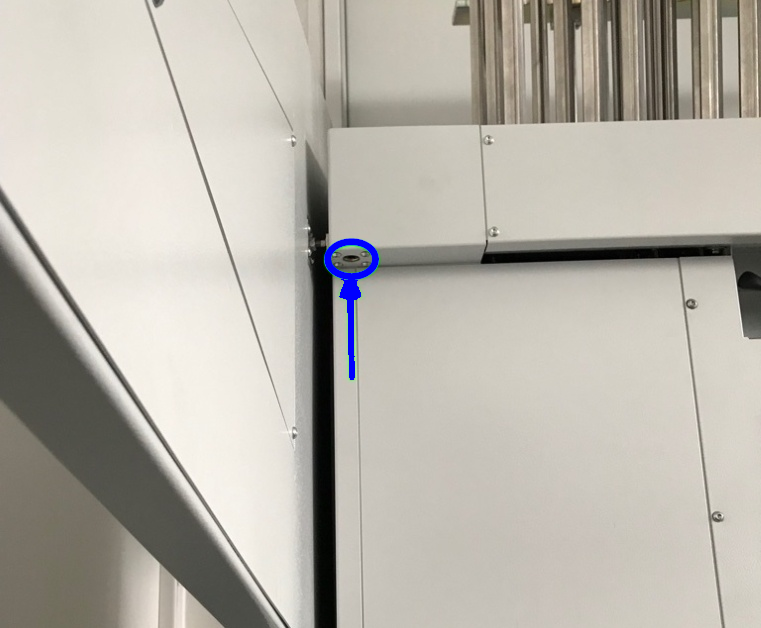
Open the cabinet door on the left side of the stacker table using a hex key.If the setup consists of an integrated safety panel.open the safety panel.Check all connections on the inside of the cabinet
Try moving the connections in the switch one by one.Check if the indicator lights are on or blinking.
2.3.2. Device Interface PLC
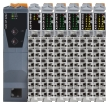
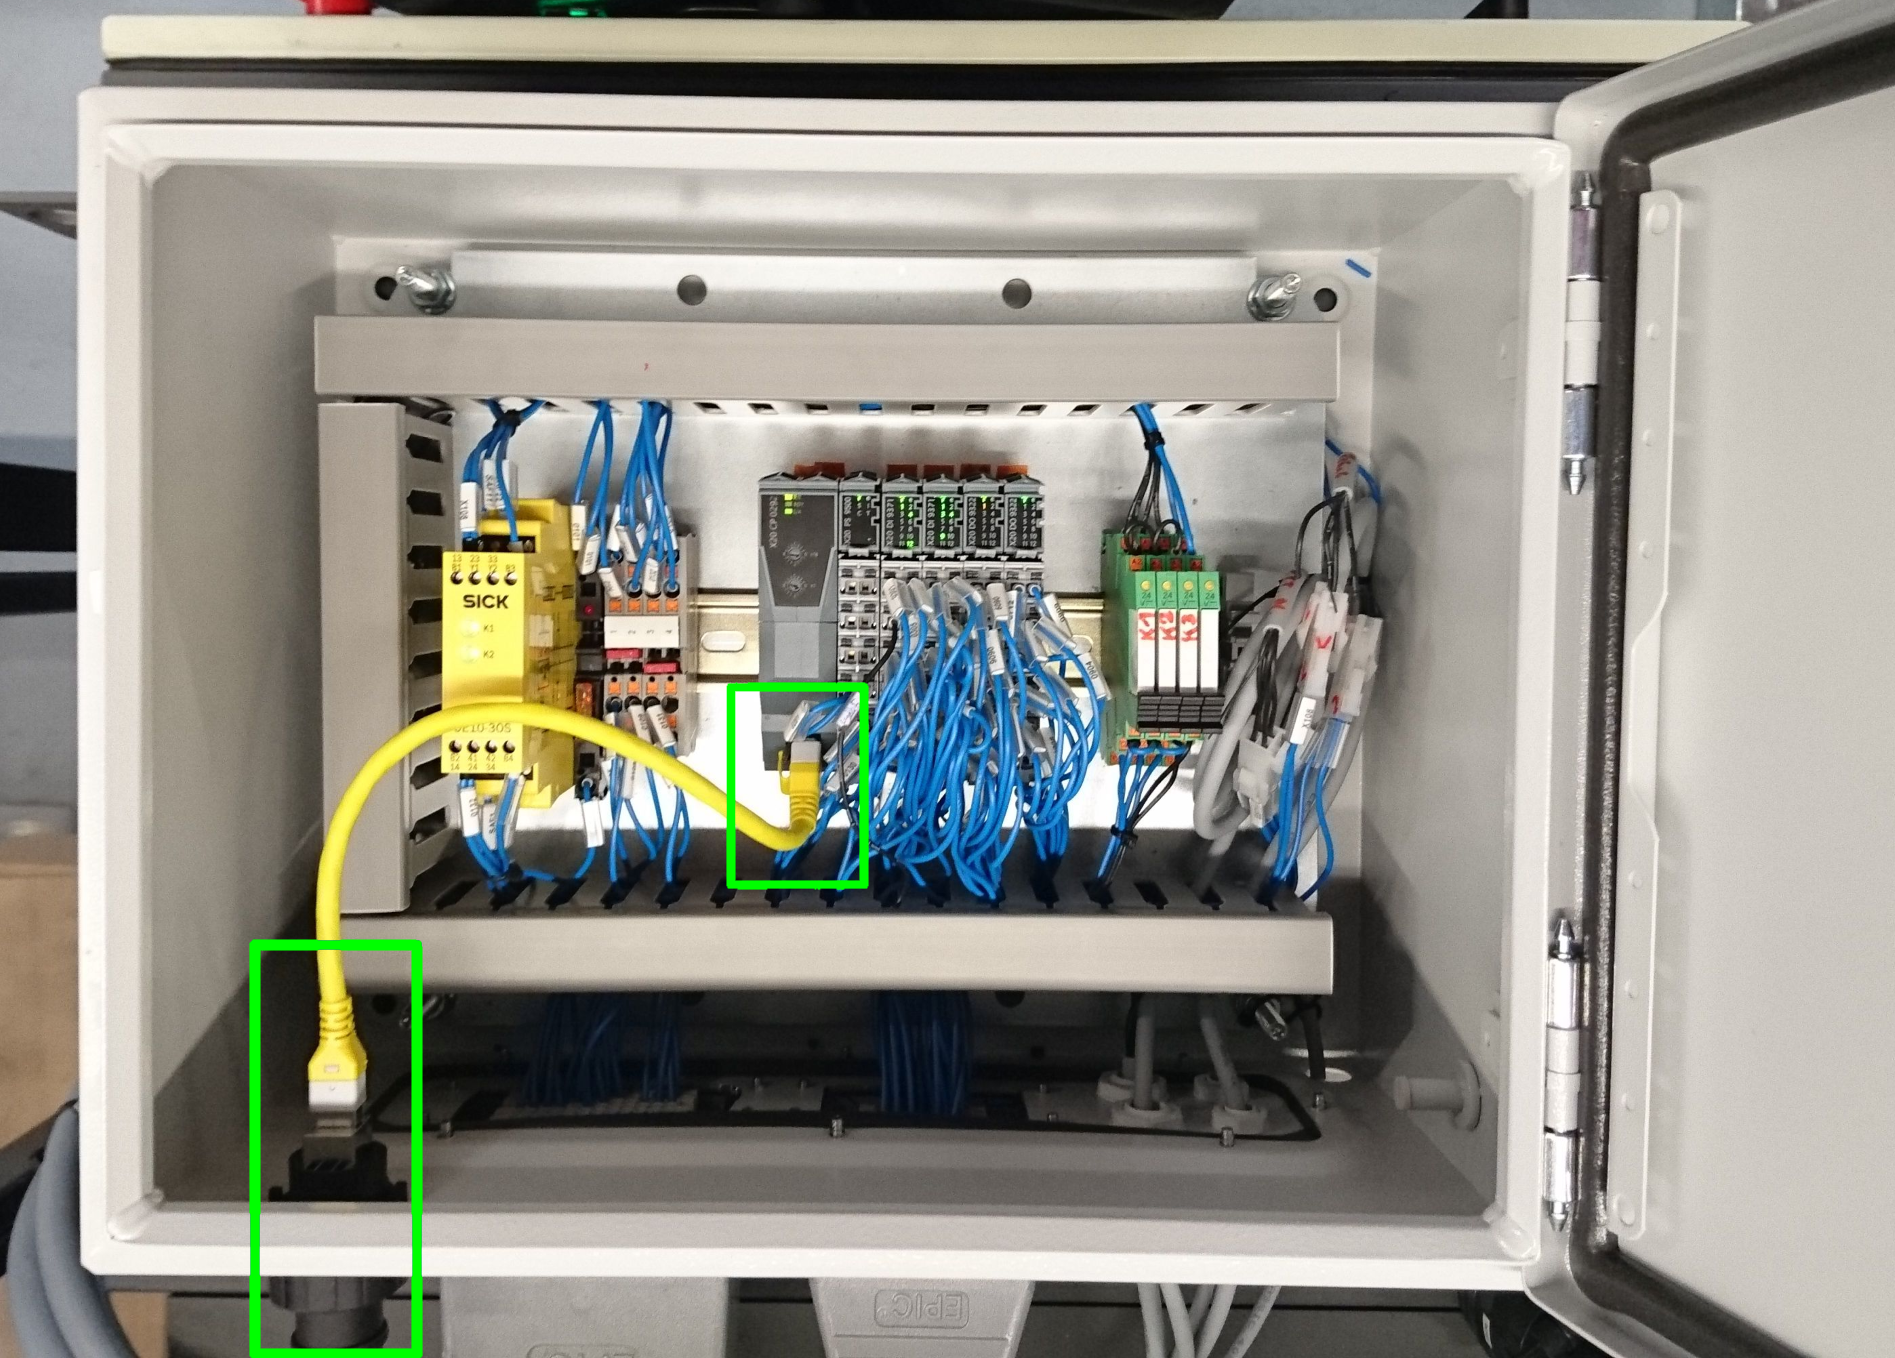
Check the Ethernet cable at the device interface build in to the machine or in a seperate electrical cabinet close to the machine.The device interface is a PLC that is used by RoboJob to communicate with the machine.
2.3.3. Robot
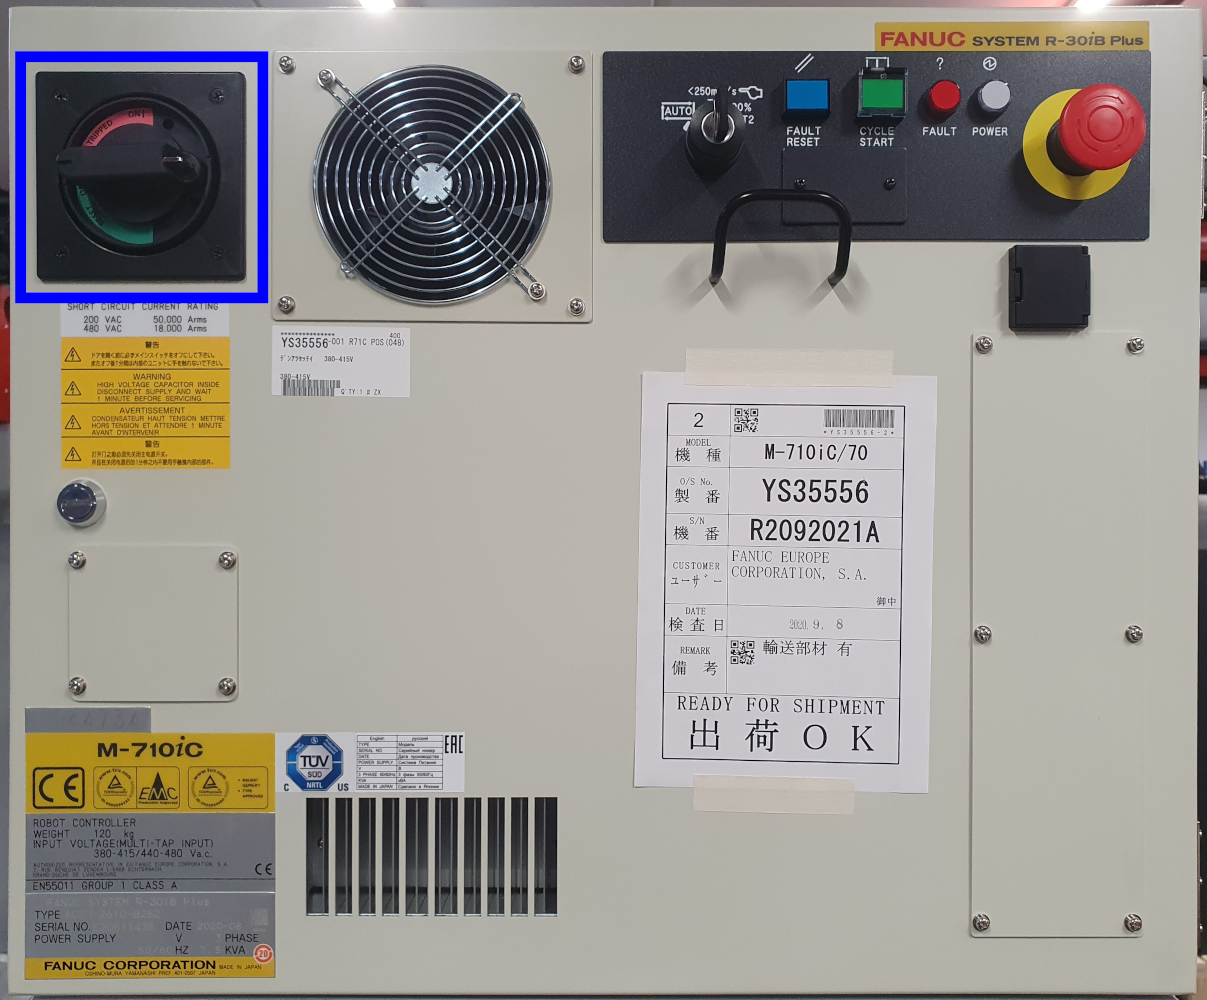
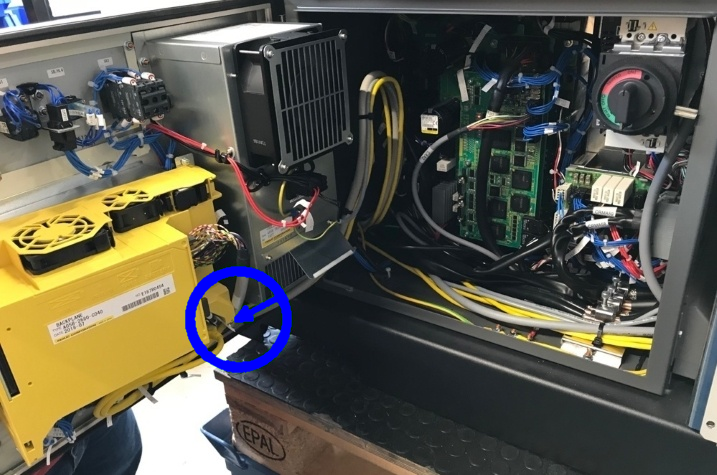
Open the door of the robot controller and check all Ethernet connections inside.Make sure the Ethernet cable is connected to the correct port.
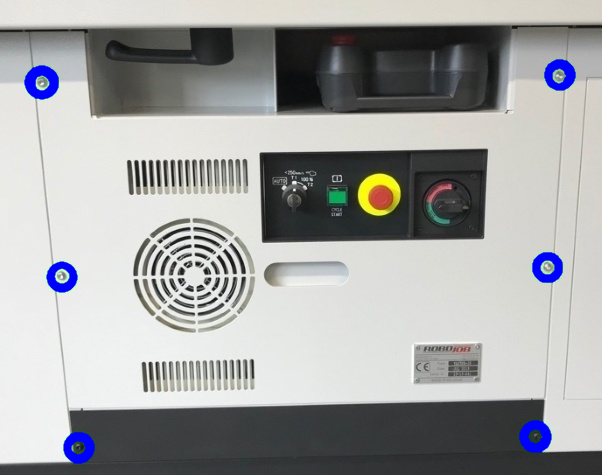
Depending on the setup the robot controller can be found as a standalone unit or integrated into the stacker table.For integrated systems the robot controller can be accessed by unscrewing the six hex bolts on the front of the stacker.
To open the door of the robot controller, you must put the power switch in the off position and then turn it a bit further untill the door releases.
2.3.4. IPC
Check that the Ethernet cable is correctly connected to the correct Ethernet port.
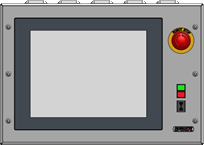
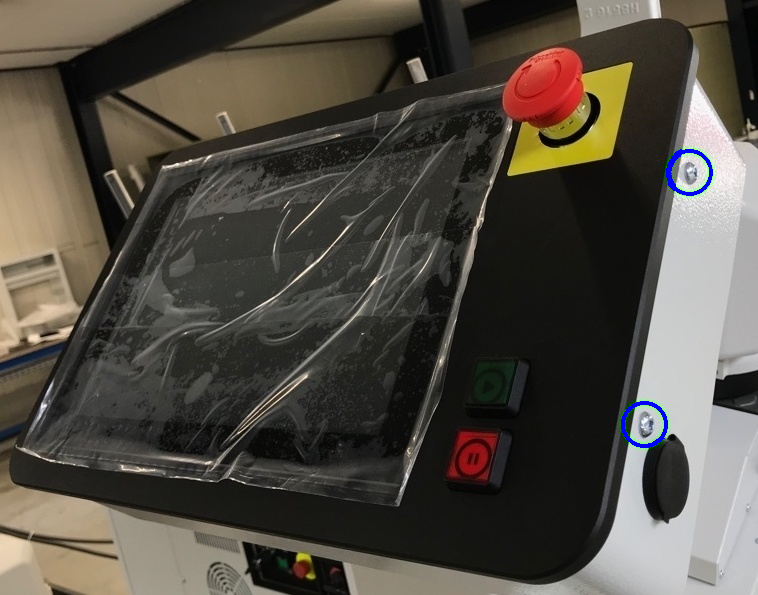
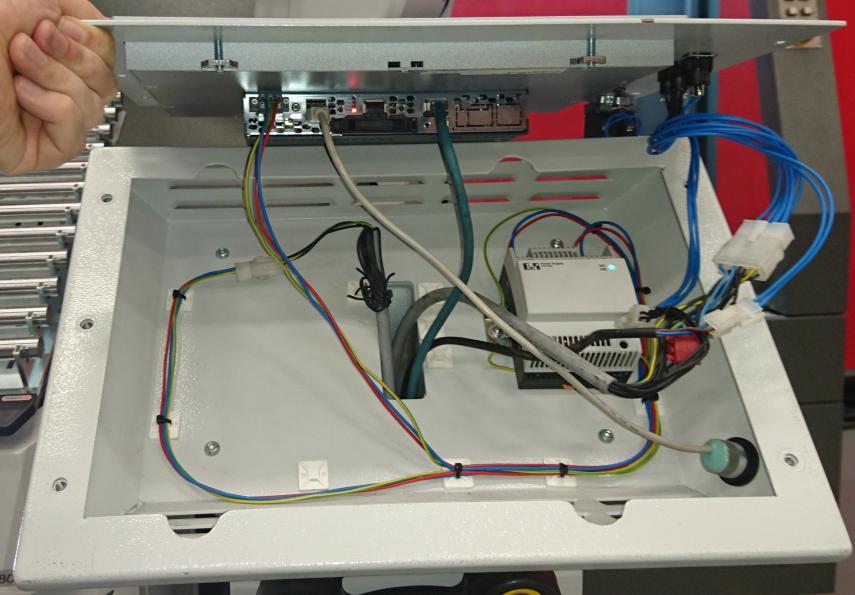
For separated systems the IPC can be dismounted by removing the six hex bolts on the sides of the screen.
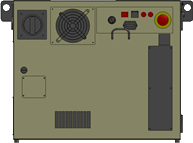
For integrated systems the IPC can be dismounted by removing the four hex bolts on the sides of the IPC box.
Be careful when lifting the IPC screen not to tear any cables.

2.4. Use a cable tester
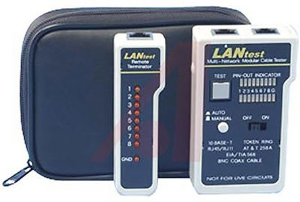
Use a LAN cable tester to check all Ethernet cables.See the manual of the cable tester on how to use it.This test will check if the Ethernet cables themselves are wired correctly.
2.5. Ping test
A ping test can be used to check if the network is configured correctly.A successful ping test means that communication is possible with the device, but the network may still be unreliable or there might still be a problem with the software.
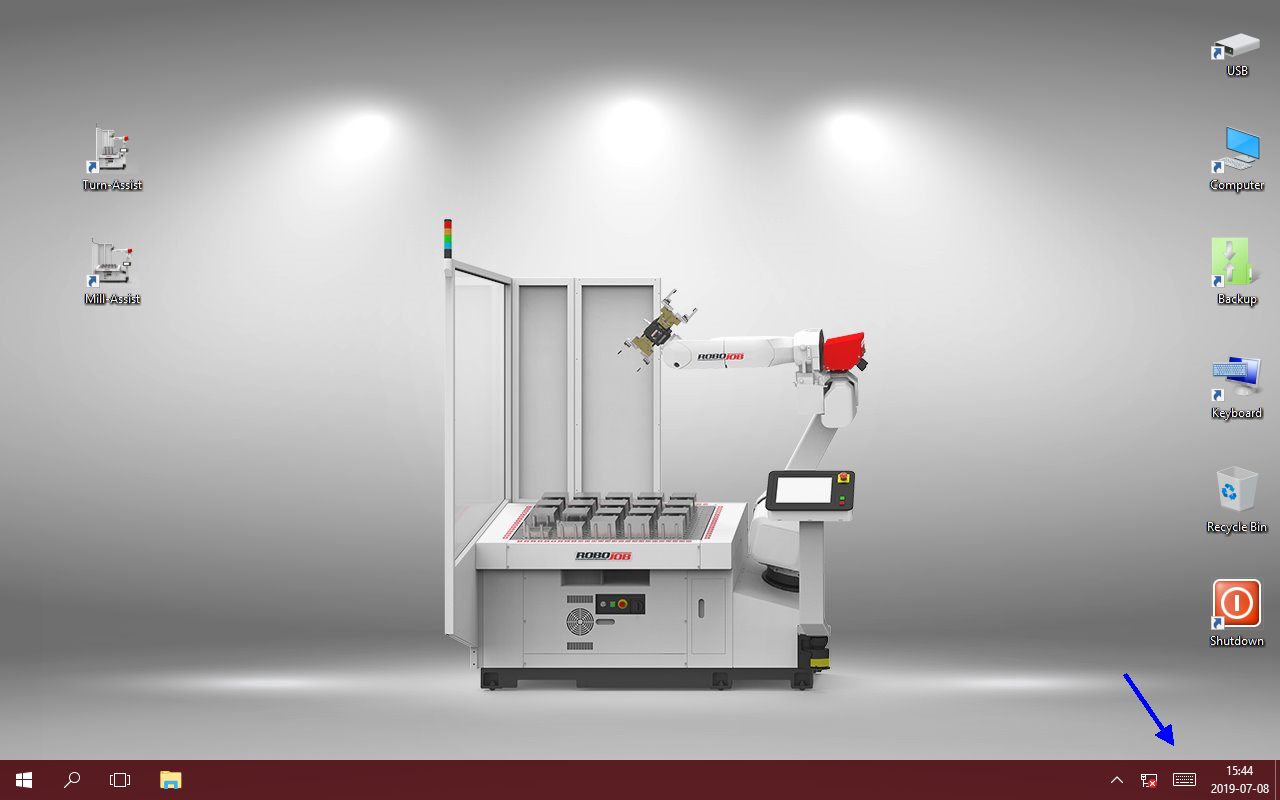
Open the on-screen keyboard on the IPC or attach a USB-keyboard.
To open the on-screen keyboard press the bottom of the screen to show the windows task bar.Press the keyboard icon located in the bottom right corner.
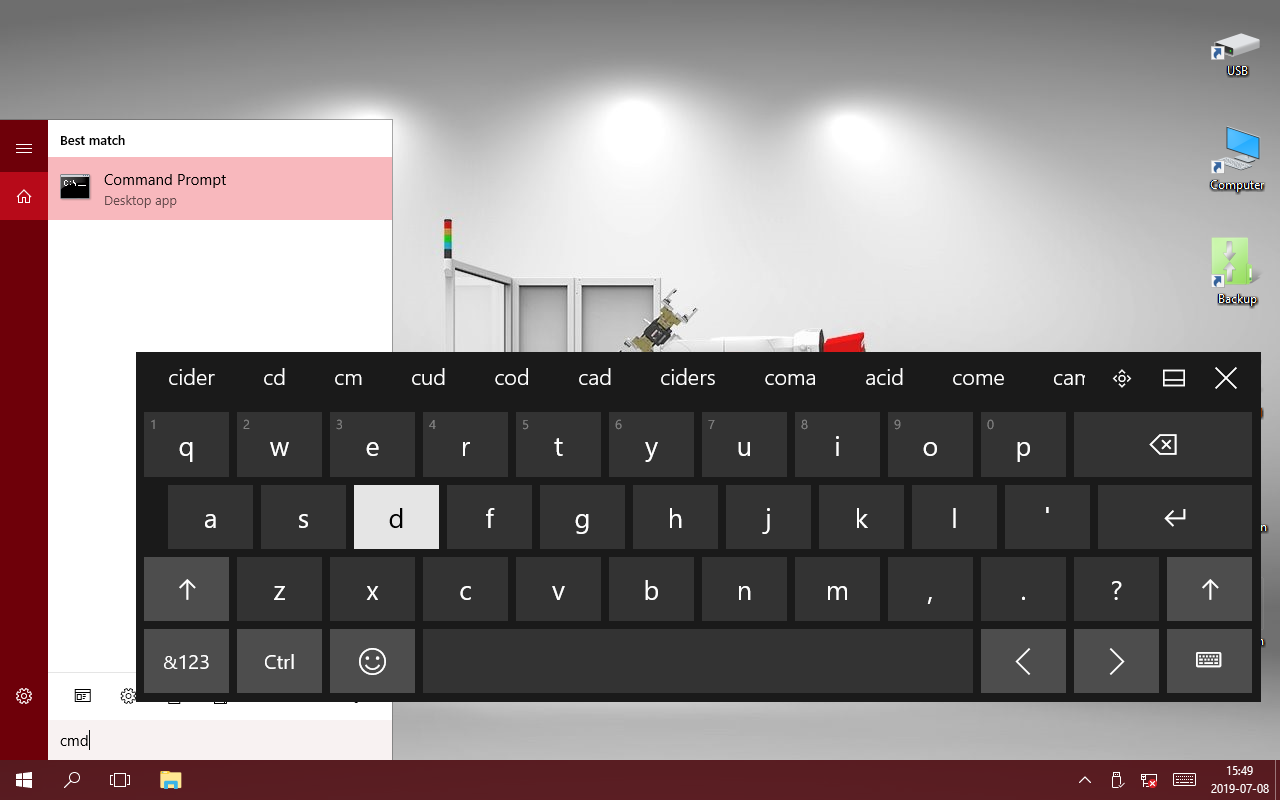
Press the start icon located in the bottom left corner and type cmd to search for the Command Prompt.Press once on the Command Prompt to open.
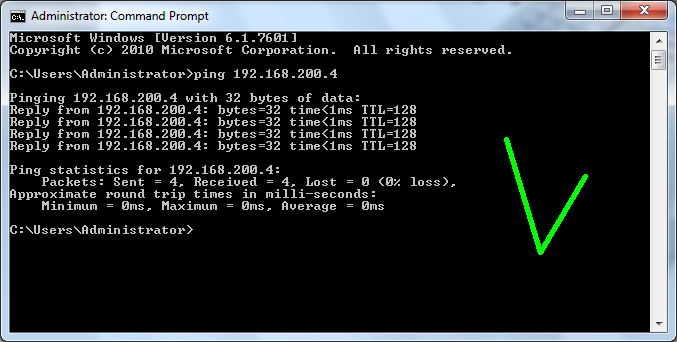
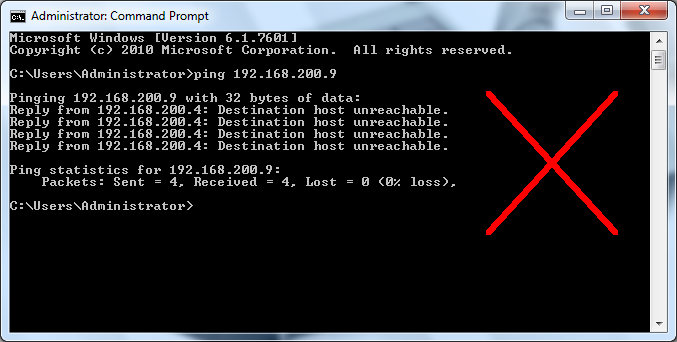
Type ping followed by the IP-address and press enter to ping a device.For example type 'ping 192.168.200.9' to check the connection with the robot.
Used IP-adresses for a standard installation:
| Device | IP-address |
|---|---|
|
Device Interface (Machine) |
192.168.200.6 |
|
Robot Controller |
192.168.200.9 |
|
IPC (software console) |
192.168.200.4 |

If there is a response from the device, the output will look like the image below, then communication is OK.When there is no response from the device, the output will be different and will have an error message.Check the communication cables and verify that the software is running.
2.6. Replace cables
Replace all cables that fail one of the tests above.
If the test above succeeded, but there are still problems with the connection try replacing the cable with a temporary cable that is known to function correctly.This temporary cable can be routed around the machine, just for testing.If the connection problems still occur then they are for sure not caused by the cable.
3. How to get further help
Do not hesitate to contact us when you need additional support beyond the documents provided in the RoboJob Service Knowledge Base.
You may contact the RoboJob Service department using following means:
-
Help Center: service.robojob.eu
-
Email: service@robojob.eu
-
Phone: +32 15 70 89 70
We kindly ask you to provide us the following information:
-
Serial number xx-xx-xxx
-
Description of the fault or defective part
-
Exact error code or message
-
What did the robot do
-
What was the robot supposed to do
-
Pictures or videos
You can send this information to us via email.To send large files you may make use of a file transfer service like WeTransfer: robojob.wetransfer.com.
An automatic confirmation will be sent upon receipt of your mail.
