Adjust the gripper sensors
|
The sensors need to be adjusted because the workpiece detection in the robot grippers does not work correctly.The procedure below can be followed to adjust the gripper sensors. |
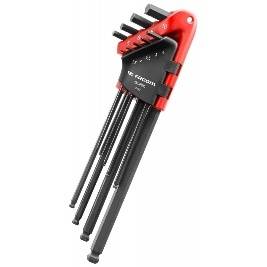
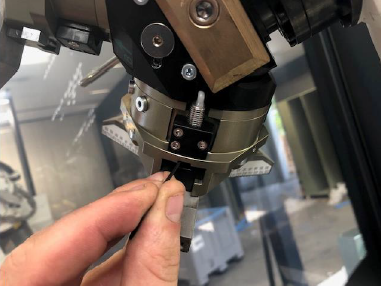
1. Use following tools
|
|
|
2. Procedure
2.1. Determine which is the open sensor and which is the closed sensor
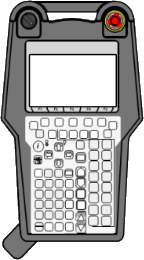
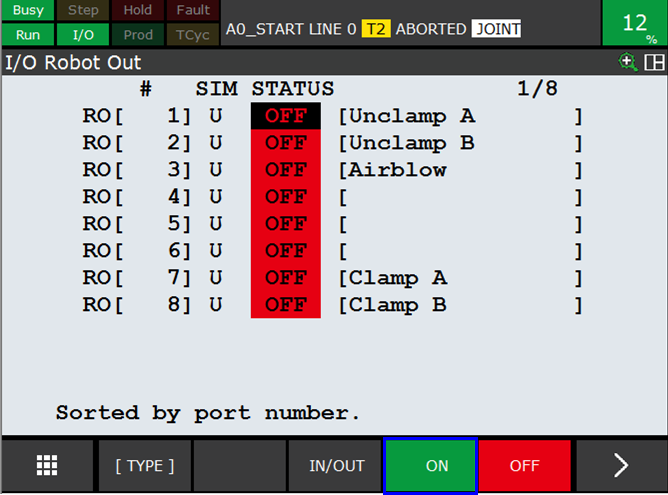
Open the Robot Input screen on the Teach Pendant by pressing Menu, select 5 I/O, go to 6 Robot and press ENTER.
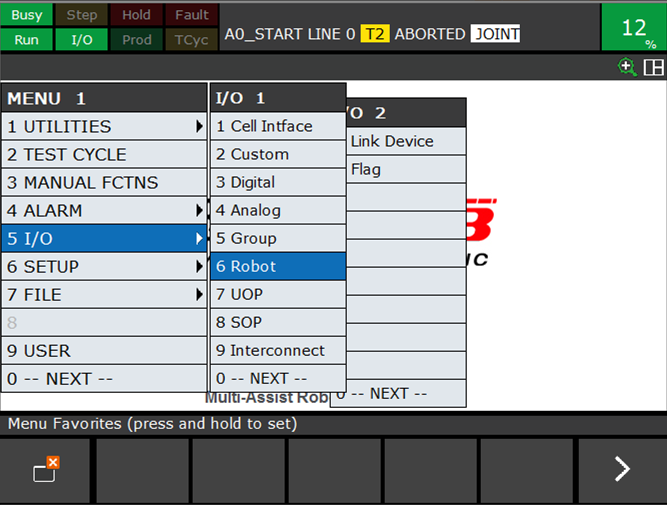
Navigate to the input signals of the robot by pressing F3 IN/OUT.
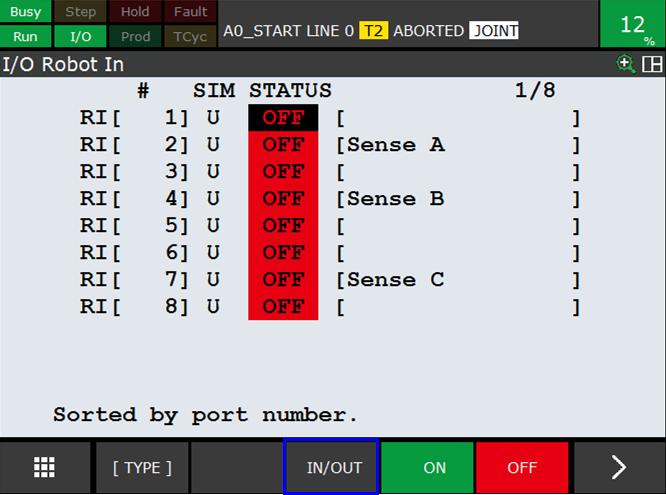
Hold a metal piece before the sensor and verify on the teach pendant which signal is activated.In this way you can detect which sensor is used to detect if the gripper is open and which to detect if the gripper is closed.In this way it is also possible to check if the sensor is working correctly and is giving a signal to the robot.
2.2. Setup the sensor used to detect if the gripper is open
Open the grippers.Change the screen of the Teach Pendant to 'I/O Robot Out' by pressing F3 IN/OUT.Then open the gripper by pressing F4 ON.Change the output so that the gripper is in a open state.
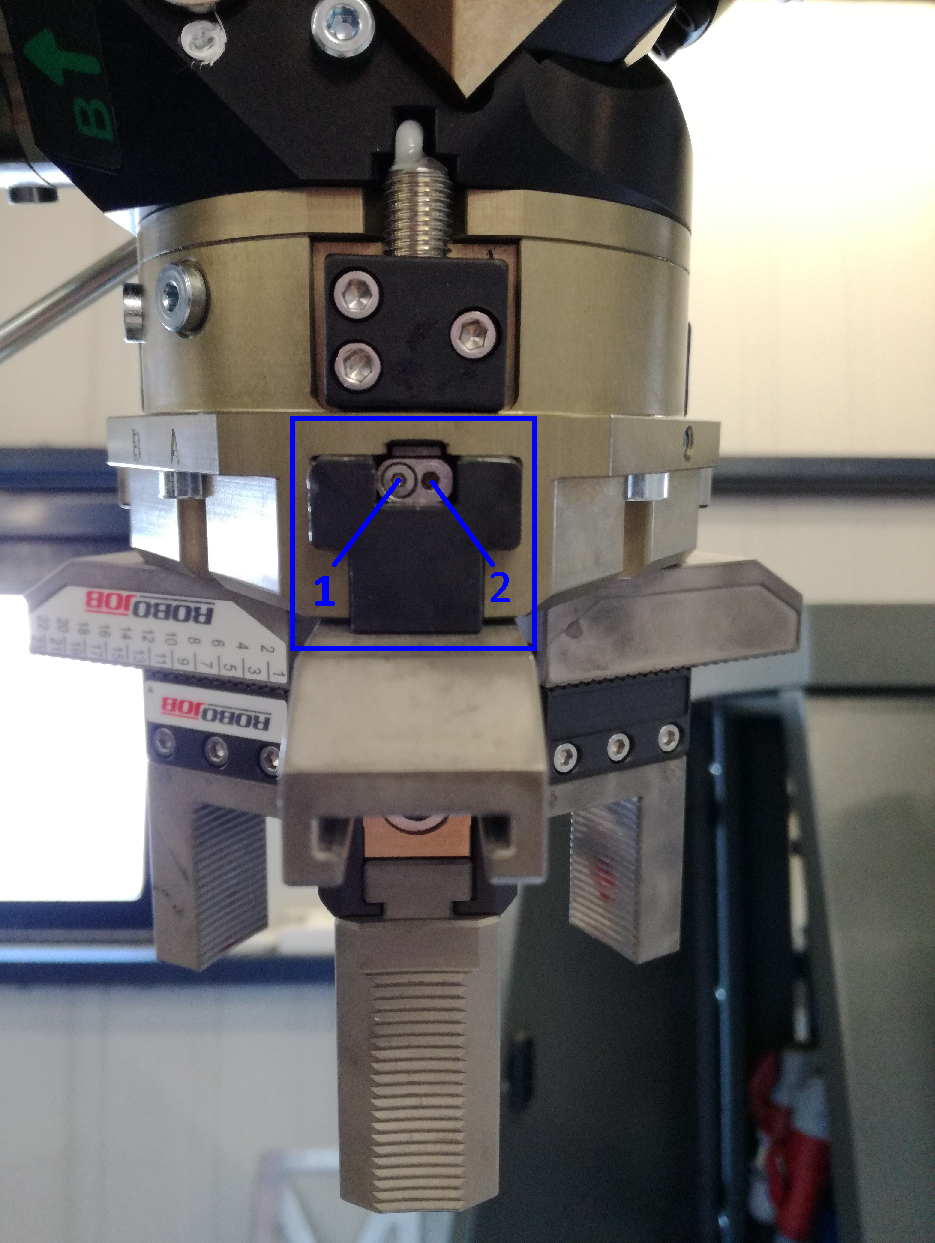
First loosen the left bolt (1) than screw the metal detecting plate from the inside to the outside (2), so at first screw the detecting plate completely in.Now screw the plate slowly back outwards until the LED indication goes off.The sensor is setup if the LED indication goes off.Lock the detecting plate in this position.
|
Be sure not to screw the detecting plate more outwards than necessary. |
In case the sensor is not yet setup on the robot, mount the detecting piece on the gripper.Fix the metal detecting piece in the gripper as indicated in the picture.
|
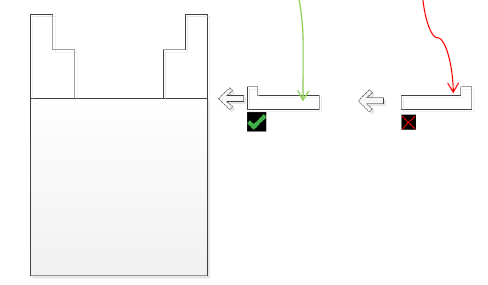
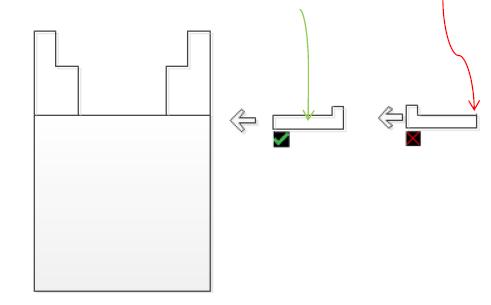
Make sure you mount the metal piece in the right direction. |
2.3. Setup the sensor used to detect if the gripper is closed
Close the grippers.Change the screen of the Teach Pendant to 'I/O Robot Out' by pressing F3 IN/OUT.Then close the gripper by pressing F4 ON.Change the outputs so the right grippers are closed.
Screw the metal detecting plate from the outside to the inside, so at first screw the detecting plate completely out.Now screw the plate slowly back inwards until the LED indication goes off.The sensor is setup if the LED indication goes off. Lock the detecting plate in this position.
|
Be sure not to screw the detecting plate more inwards than necessary. |
In case the sensor is not yet setup on the robot, you should mount the detecting piece on the gripper by yourself.Fix the metal detecting piece in the gripper as indicated in the picture.
|
Make sure you mount the metal piece in the right direction.The direction is opposite to the direction in the sensors to detect an open gripper. |
3. How to get further help
Do not hesitate to contact us when you need additional support beyond the documents provided in the RoboJob Service Knowledge Base.
You may contact the RoboJob Service department using following means:
-
Help Center: service.robojob.eu
-
Email: service@robojob.eu
-
Phone: +32 15 70 89 70
We kindly ask you to provide us the following information:
-
Serial number xx-xx-xxx
-
Description of the fault or defective part
-
Exact error code or message
-
What did the robot do
-
What was the robot supposed to do
-
Pictures or videos
You can send this information to us via email.To send large files you may make use of a file transfer service like WeTransfer: robojob.wetransfer.com.
An automatic confirmation will be sent upon receipt of your mail.