Calibrate TA table height - Turn Assist
|
This document describes how to calibrate the stacker table height.The table needs to be re-calibrated after modifications have been moade to the mechanical or electrical part of the table system. |
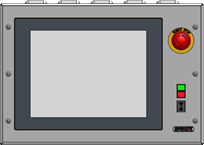
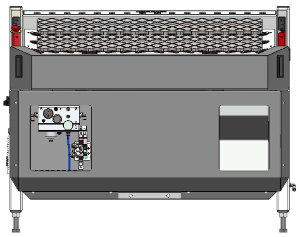
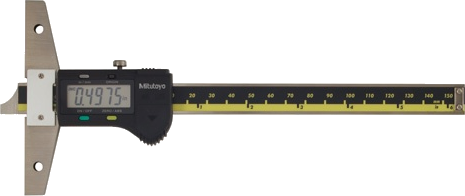
1. Use following tools
|
|
|
|
2. Procedure
2.1. Align and measure the table height
Measure the height of the table close to the support bars, it is measured from the top of the support pillars.Remove all other pillars and use the same pillar for all measurements to avoid measuring errors.
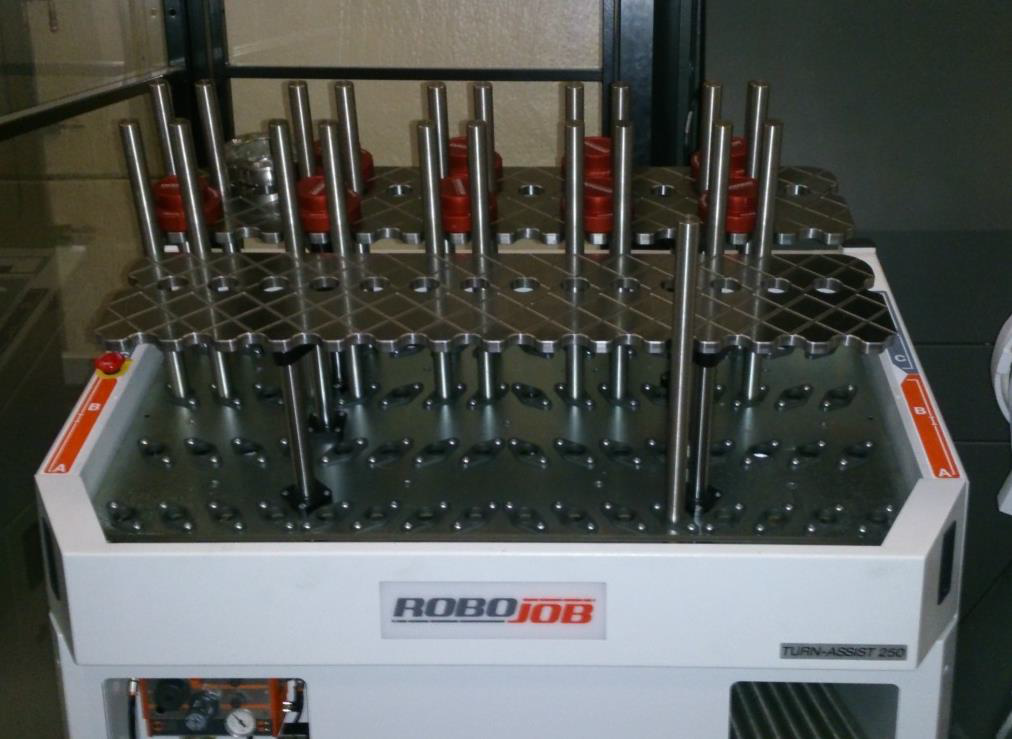
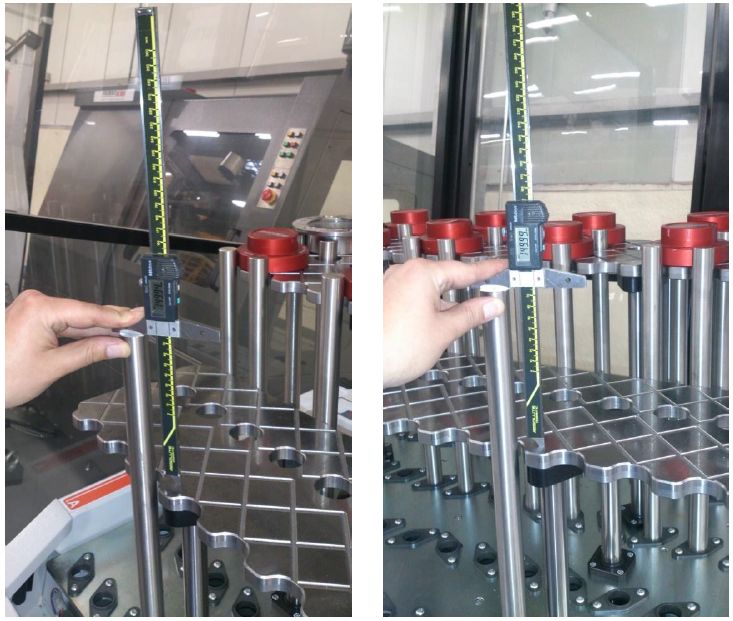
Adjust the height of the support bars until the table is parallel with top plate of the stacker.The difference in table height between the measurements (parallel error) should be less than 0,1 mm.
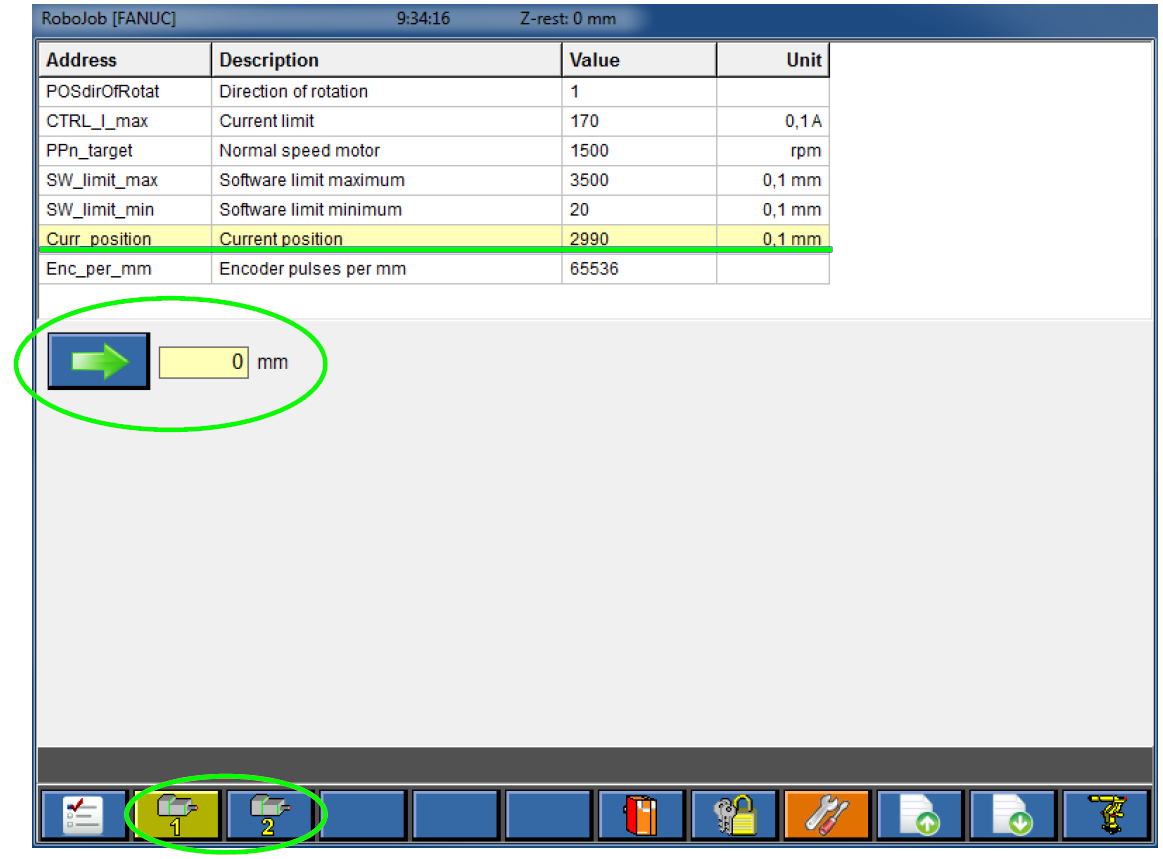
Instead of manually adjusting the table to a manageable height for the measurement, you can use the software to move the table via the motors.Be aware that the indicated current position may not be accurate!Don’t move the table too close to the top or the bottom.The buttons on the bottom left can be used to select the front or the back table.
2.2. Navigate to the settings screen
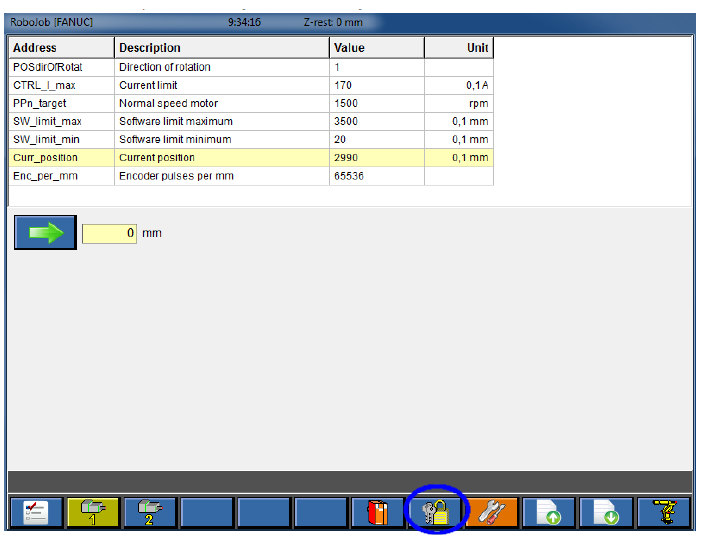
Power on the stacker.Start the IPC and start the Turn-Assist software.Go to the configuration screen and open the motor tab.Unlock the configurations by pressing the padlock and entering the installation level security code confirm by pressing OK.
|
Make sure to not change any other settings than the one shown in this document while the configuration is unlocked.It is not allowed to use the password for any other purpose than explained in this document. |
2.3. Calibrate the table
Now the value of the current position can be adjusted.Select the line with address Curr_position and then press the symbol with the hand on the bottom.Take the average of both measurements form the top of the pilar to enter here.Notice that the unit is 0.1 mm.Measurements should thus be multiplied by 10 before being entered.

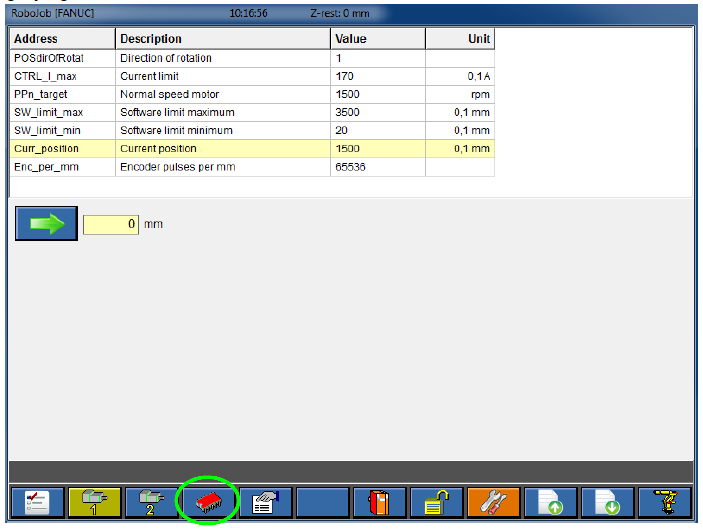
Note that the icon of the processor has now become red.Make sure that the entered data is correct and no other changes were made.Press the icon twice to send the changes to the stacker.The icon should then become grey again.
2.4. Restart the system
Shut down the system and wait for at least 30 seconds before powering back on.This will activate the new configuration in the motor controller.
3. How to get further help
Do not hesitate to contact us when you need additional support beyond the documents provided in the RoboJob Service Knowledge Base.
You may contact the RoboJob Service department using following means:
-
Help Center: service.robojob.eu
-
Email: service@robojob.eu
-
Phone: +32 15 70 89 70
We kindly ask you to provide us the following information:
-
Serial number xx-xx-xxx
-
Description of the fault or defective part
-
Exact error code or message
-
What did the robot do
-
What was the robot supposed to do
-
Pictures or videos
You can send this information to us via email.To send large files you may make use of a file transfer service like WeTransfer: robojob.wetransfer.com.
An automatic confirmation will be sent upon receipt of your mail.